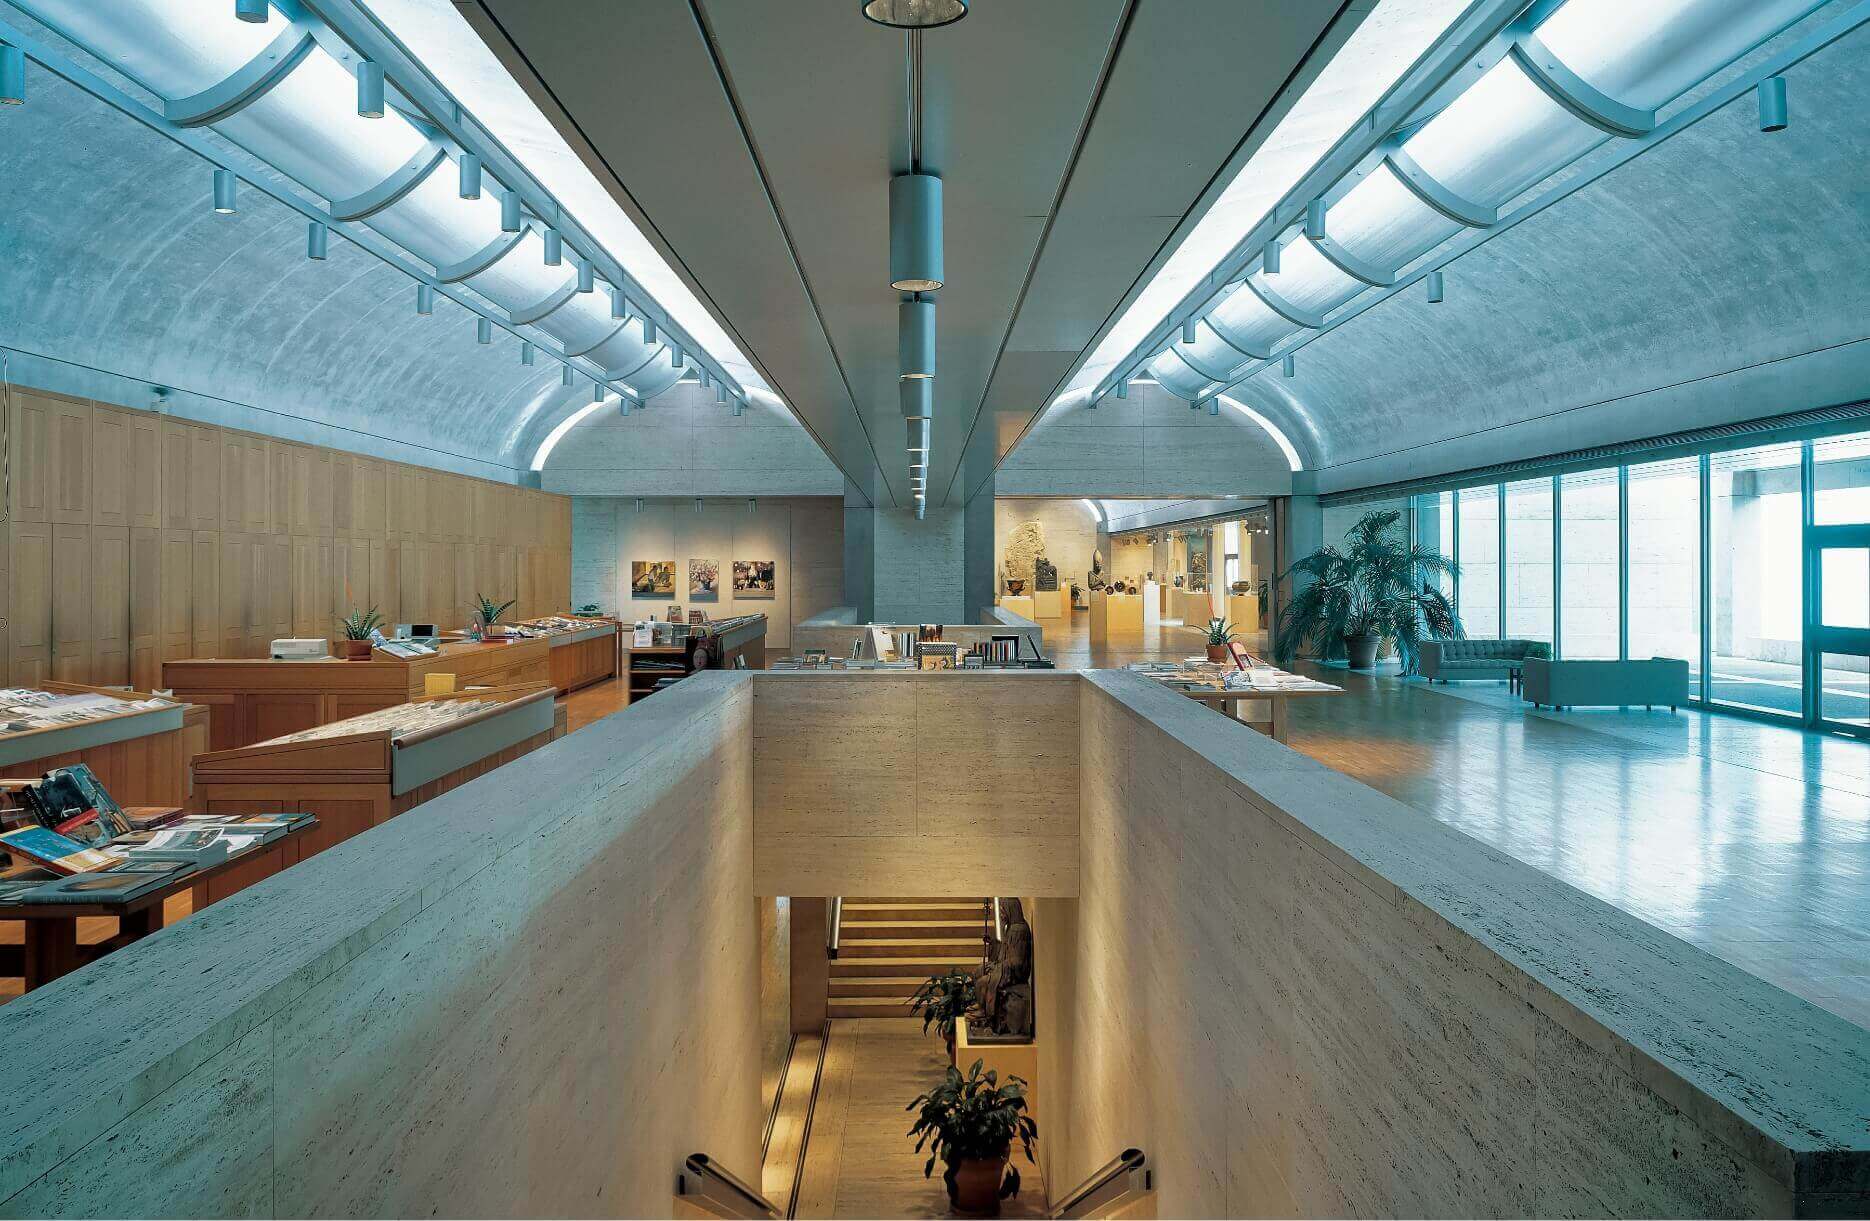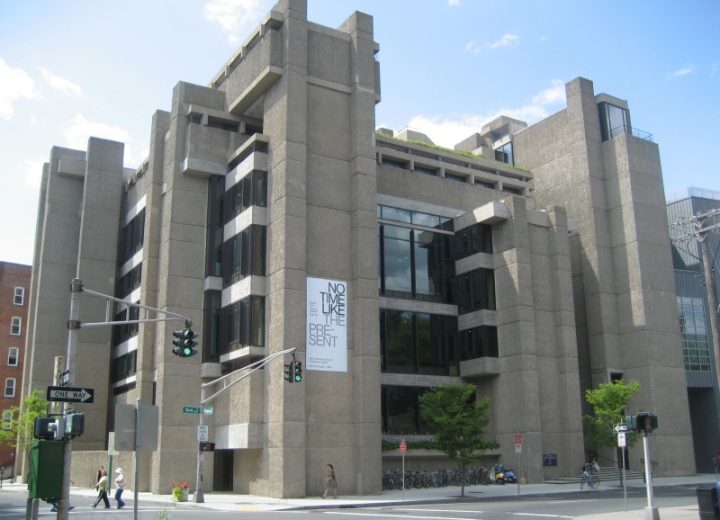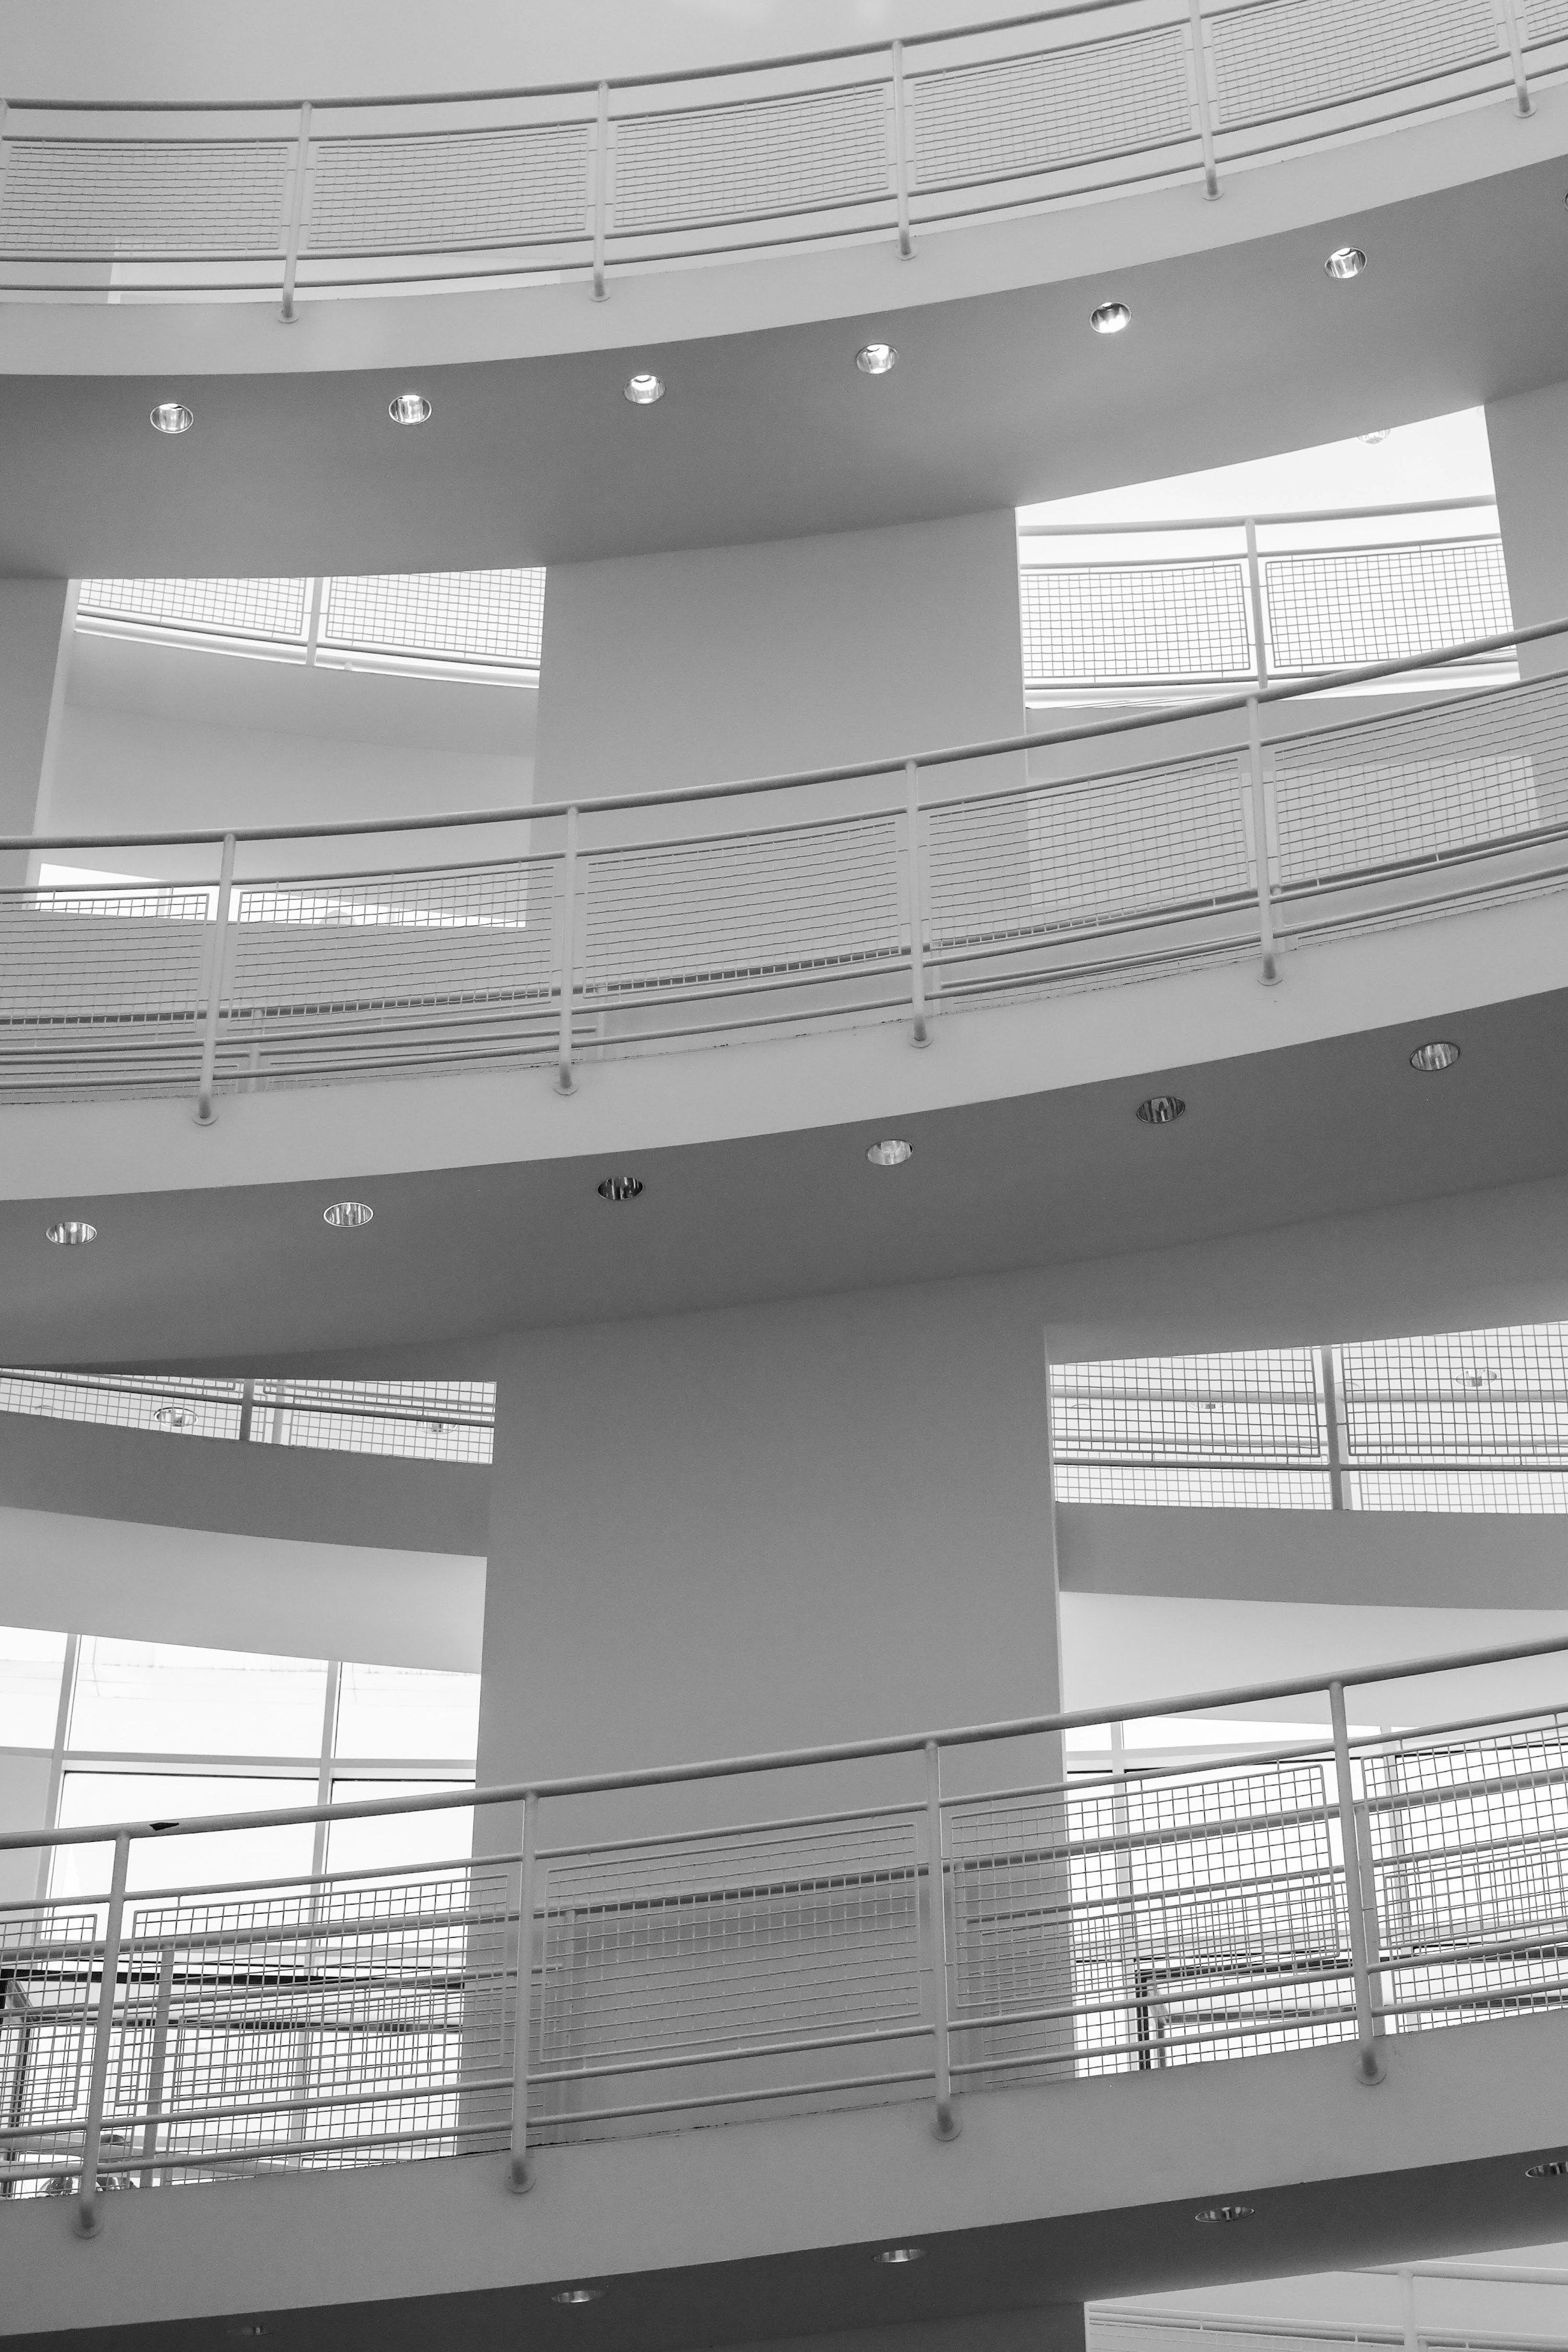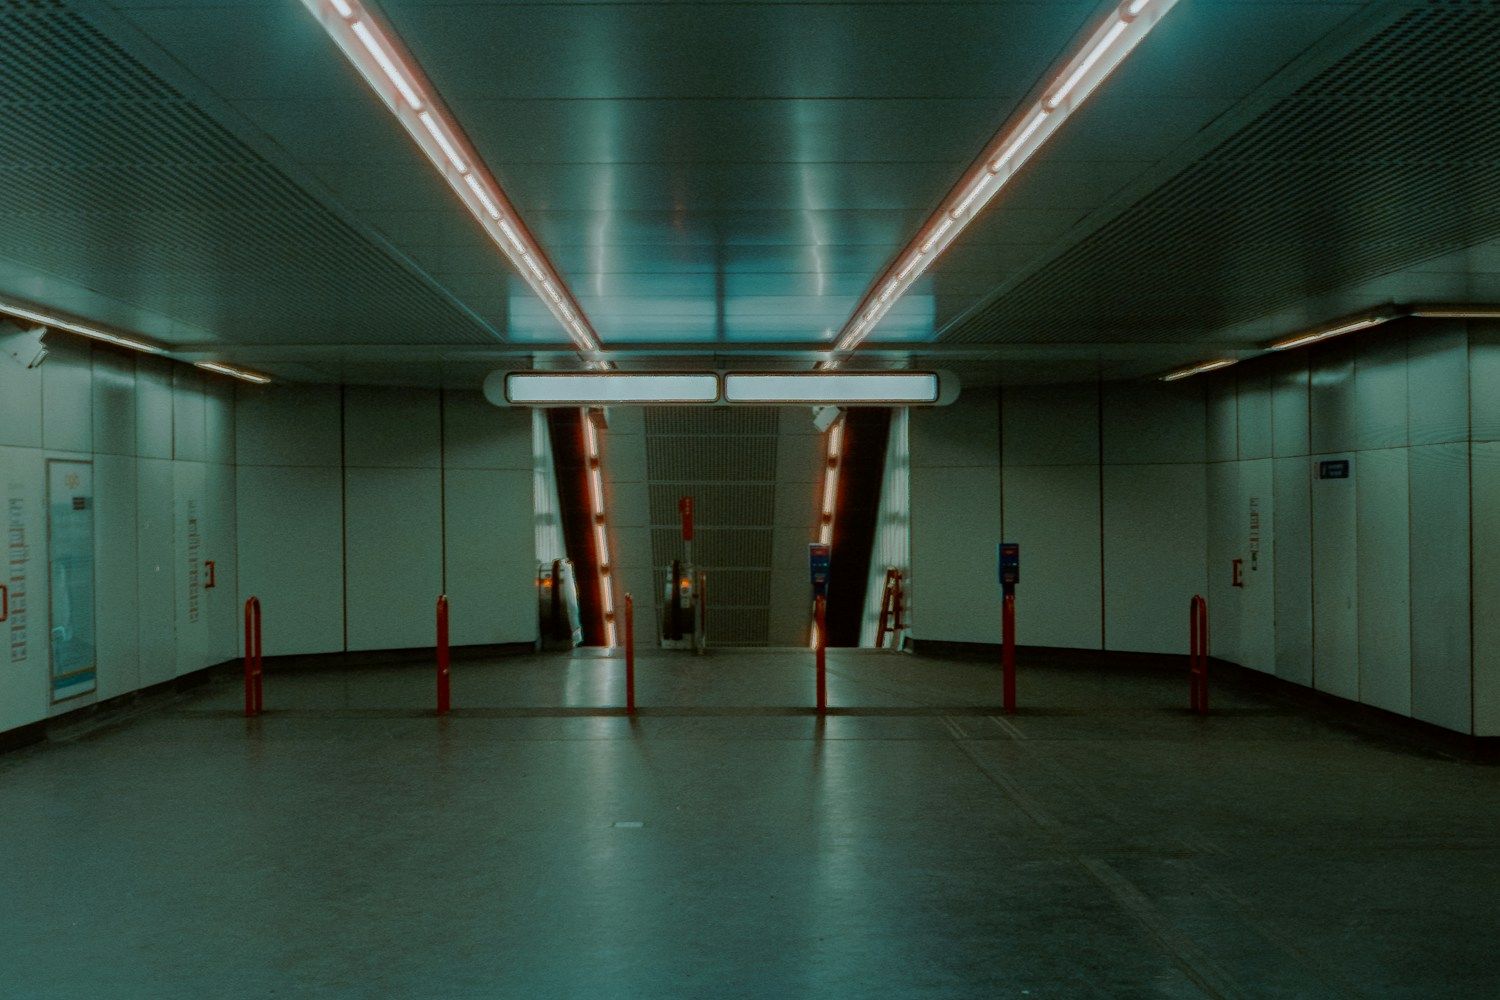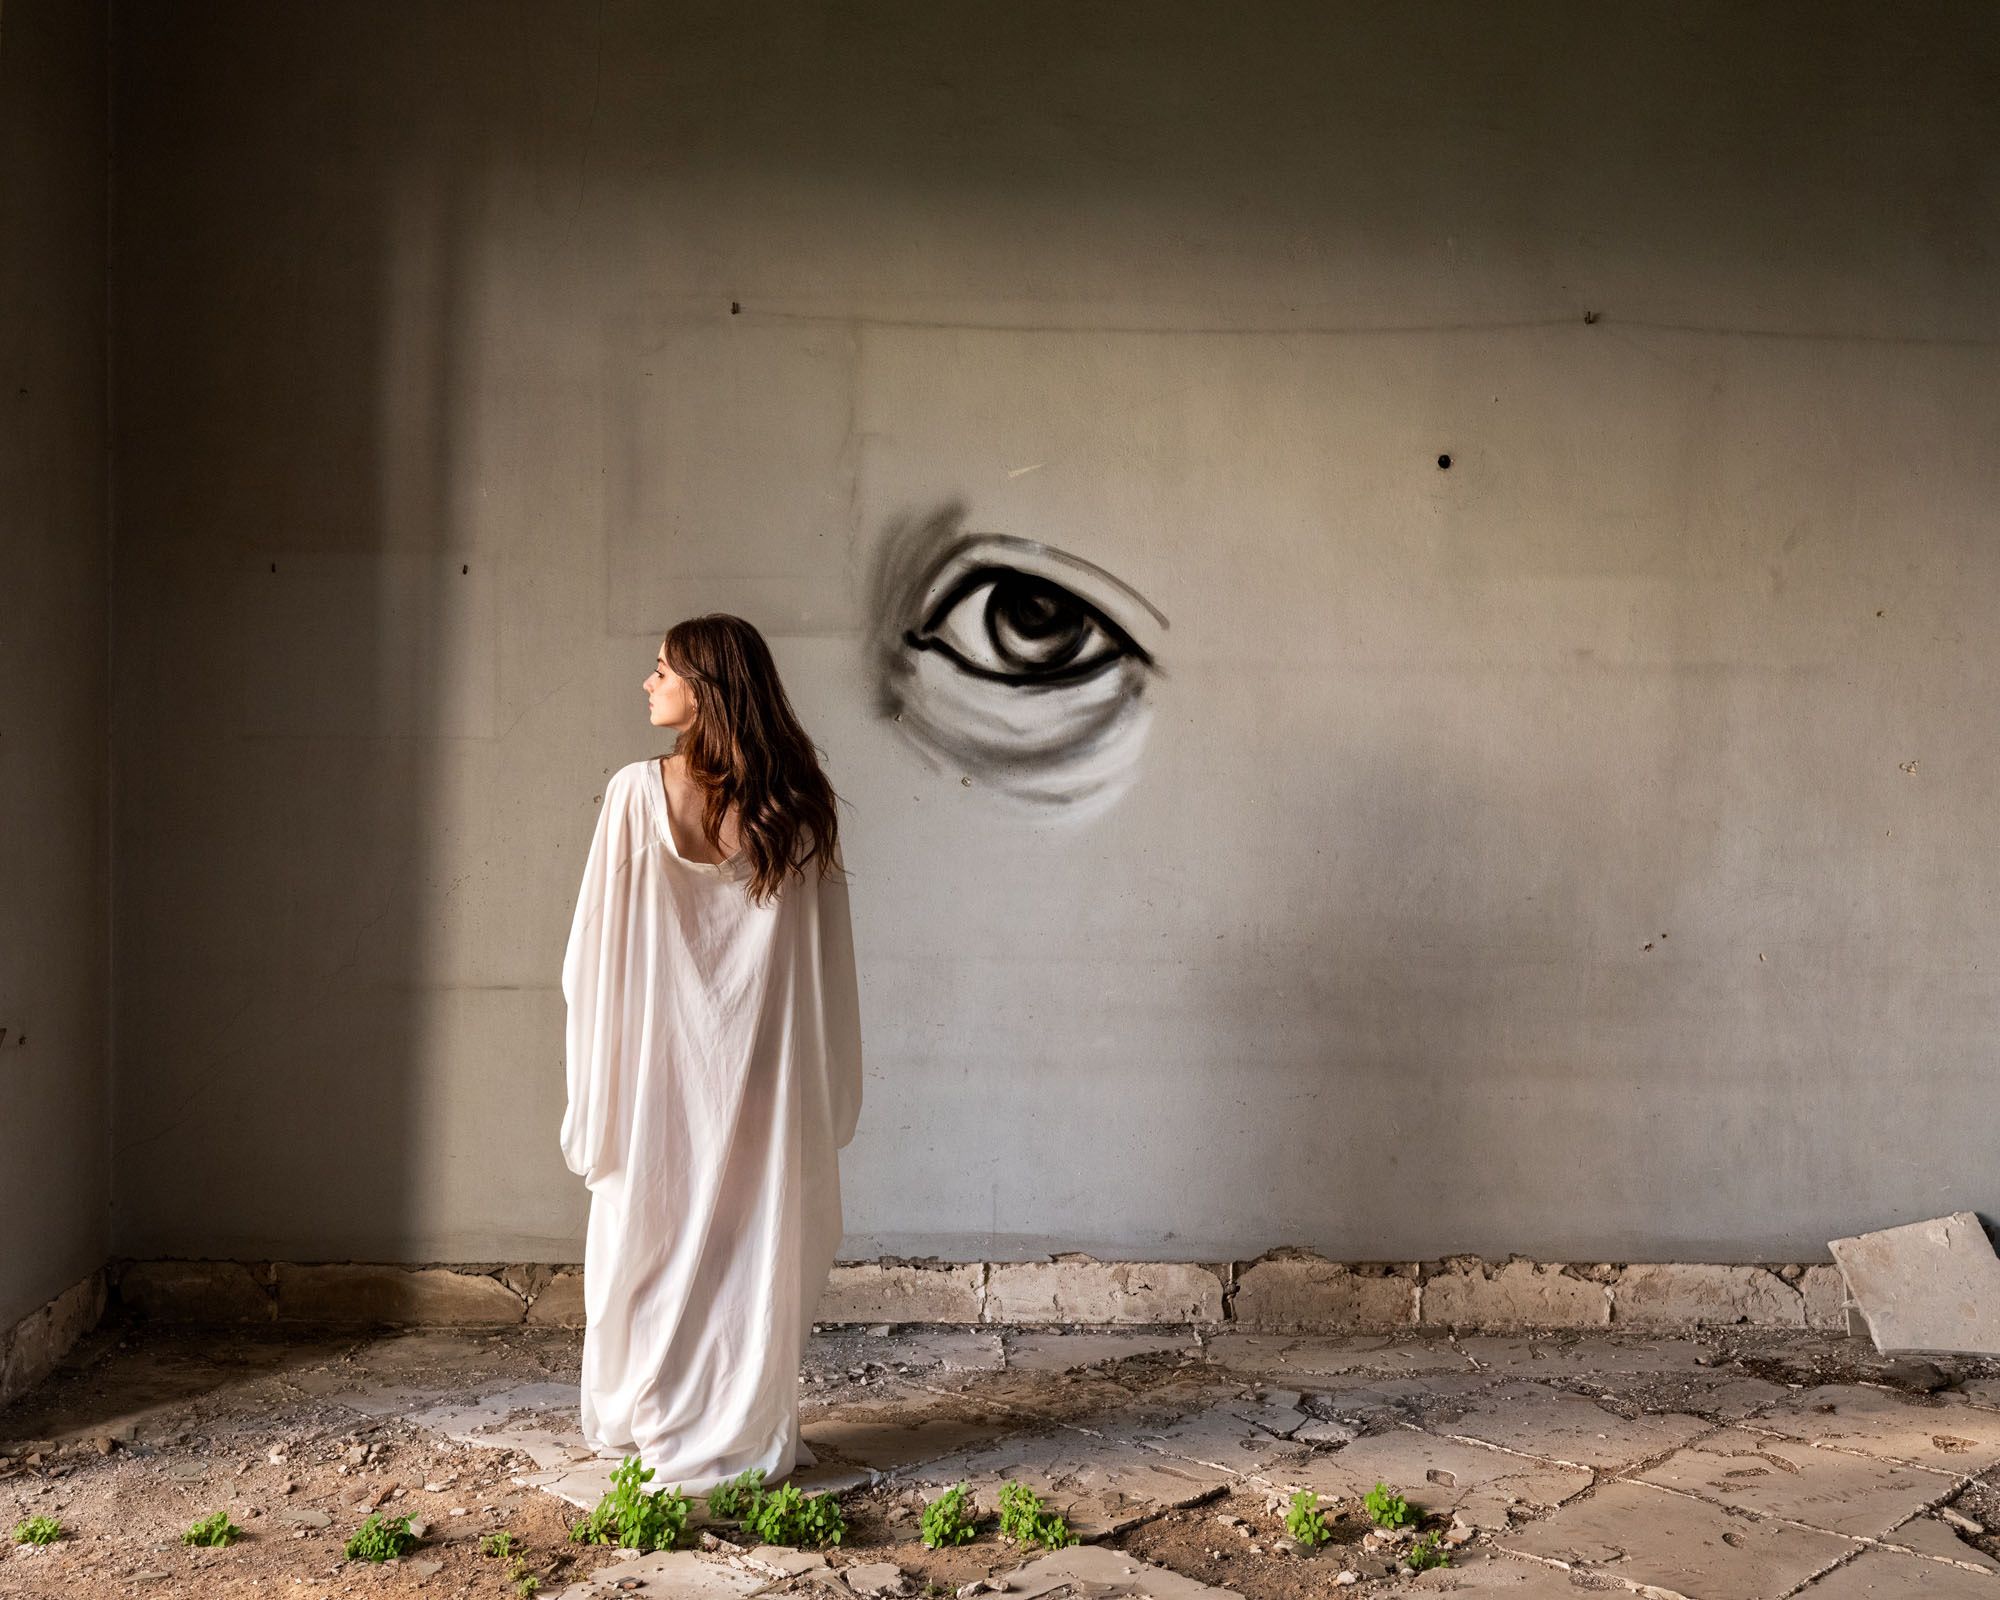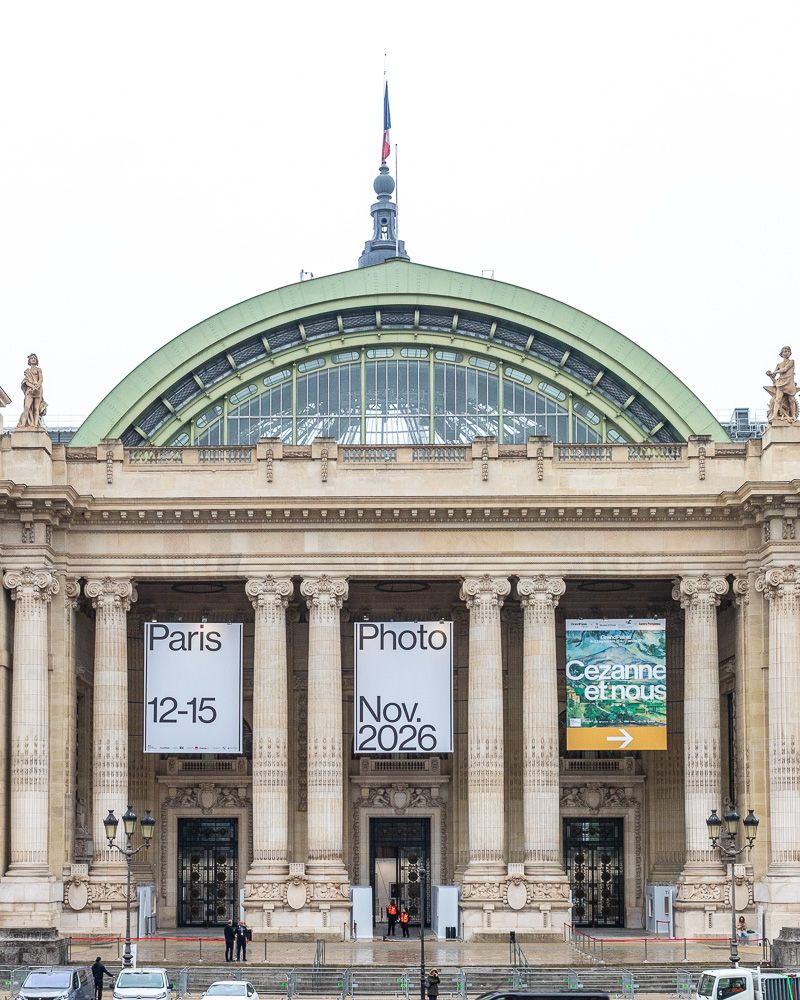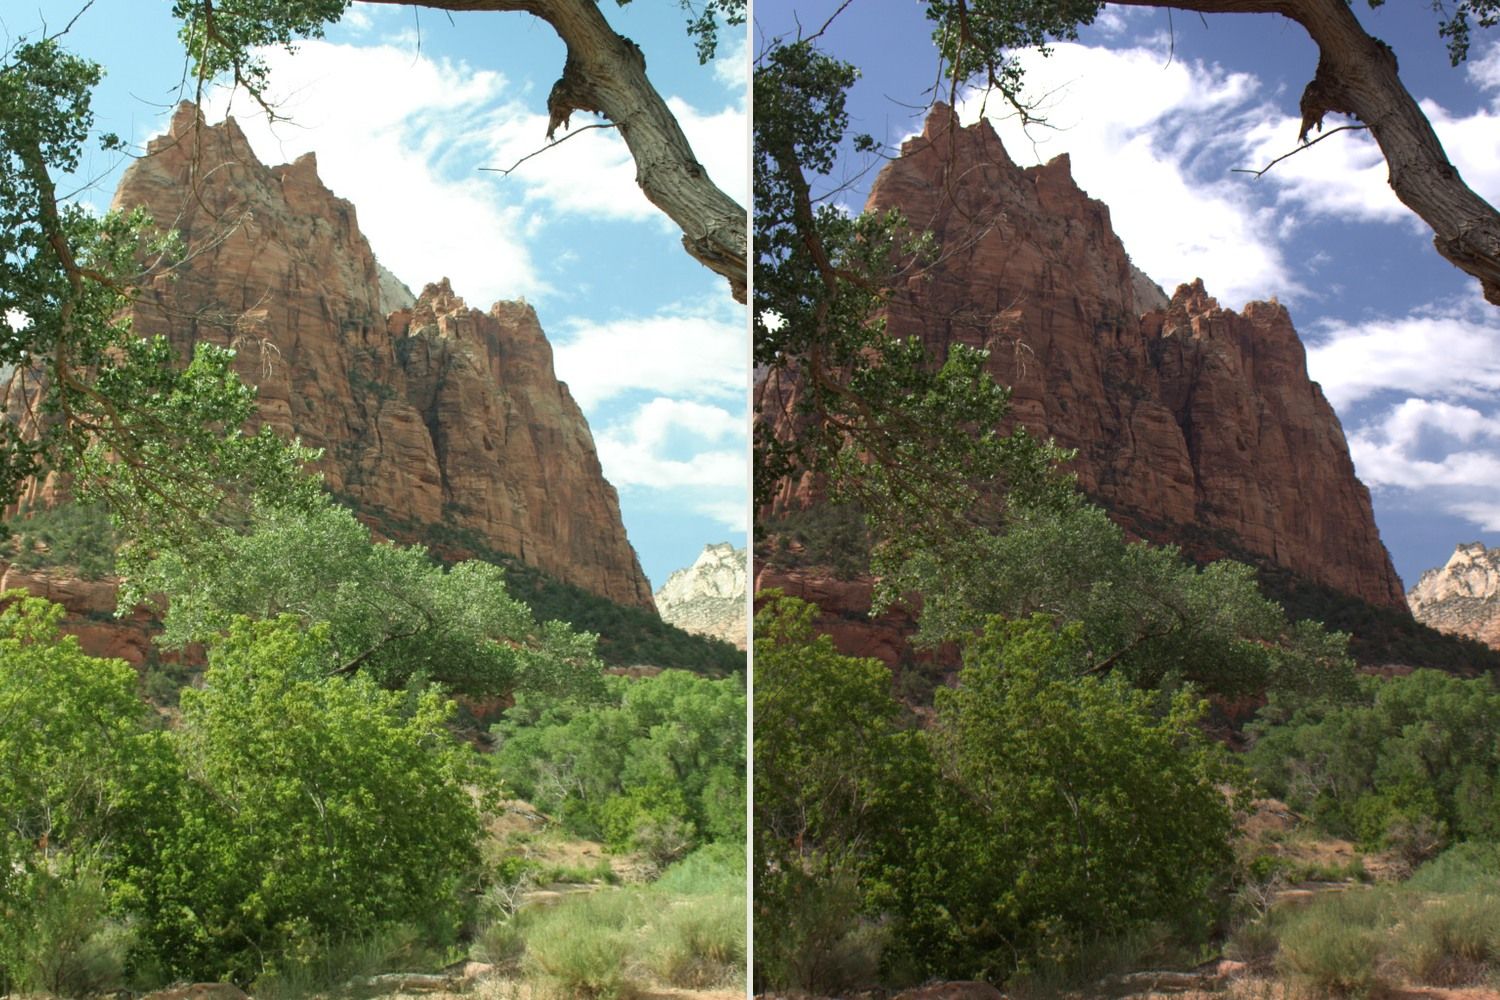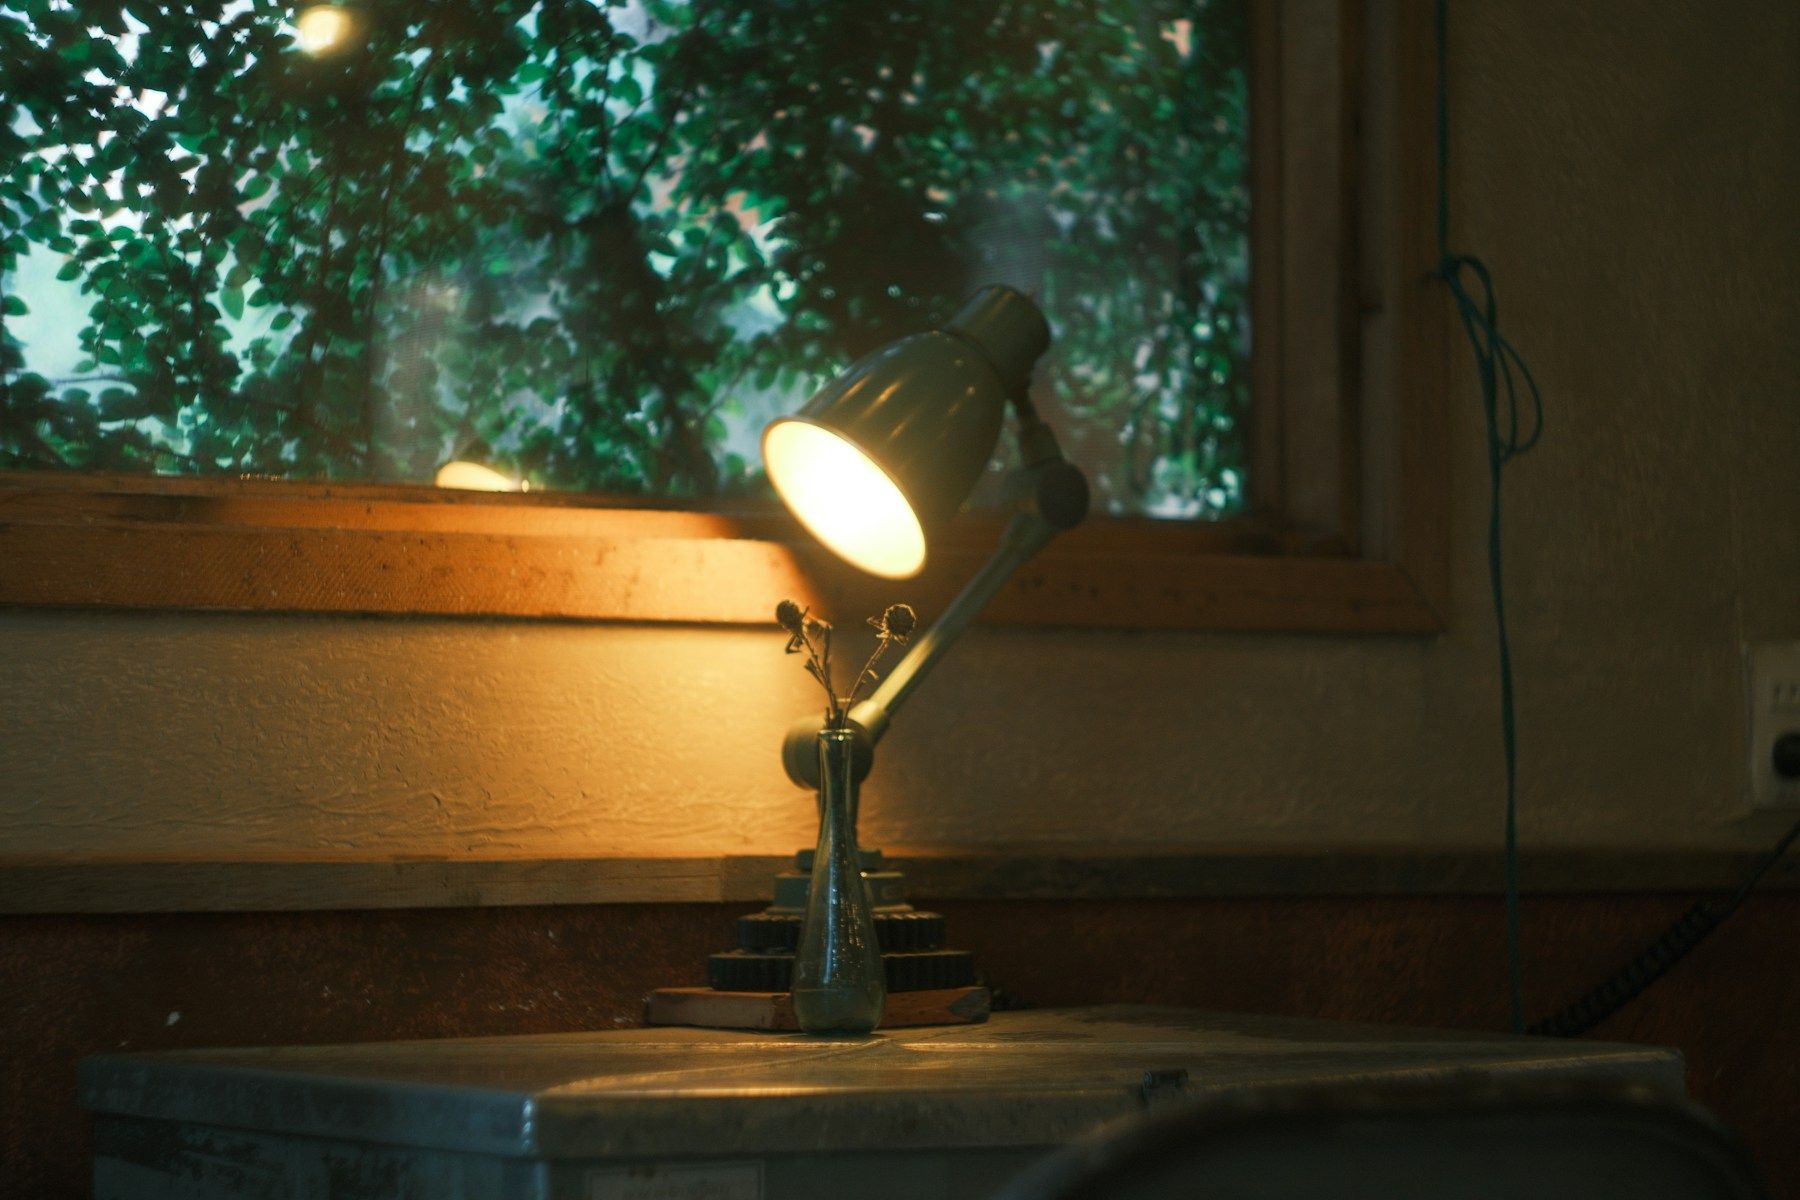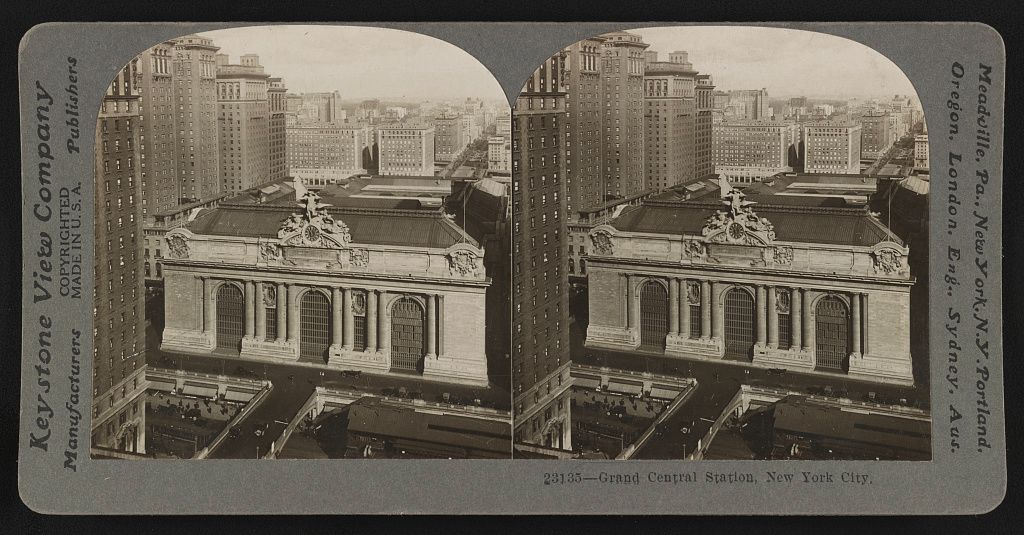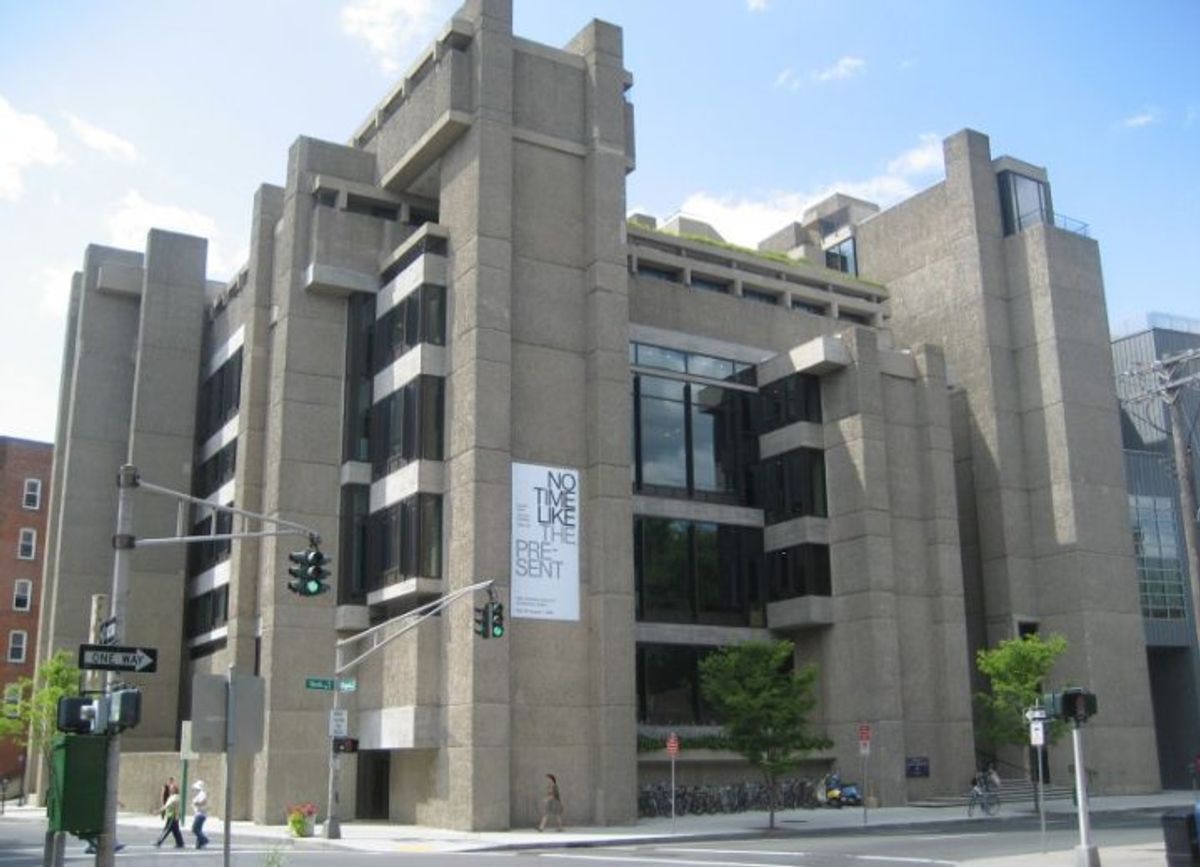
Before trying to fit the whole building into the frame, decide what you want the photograph to show. It might be a tower’s silhouette, a deep entrance or the way daylight reaches an interior. That decision gives you a reason to choose your position. The reference photographs here show Rudolph Hall’s layered exterior and the Kimbell’s vaulted interior; they illustrate form and light, rather than current visitor conditions.
Choose your position before your lens
Walk a short distance in each direction where access permits. Watch how an entrance separates from the wall behind it and how one corner hides another. A wider lens includes more, but it cannot recover a viewpoint you never reached. Try one frame that locates the building in its surroundings, another that explains the main shape, and a detail that shows a material or joint. Each should add information.
Decide what the vertical lines should do
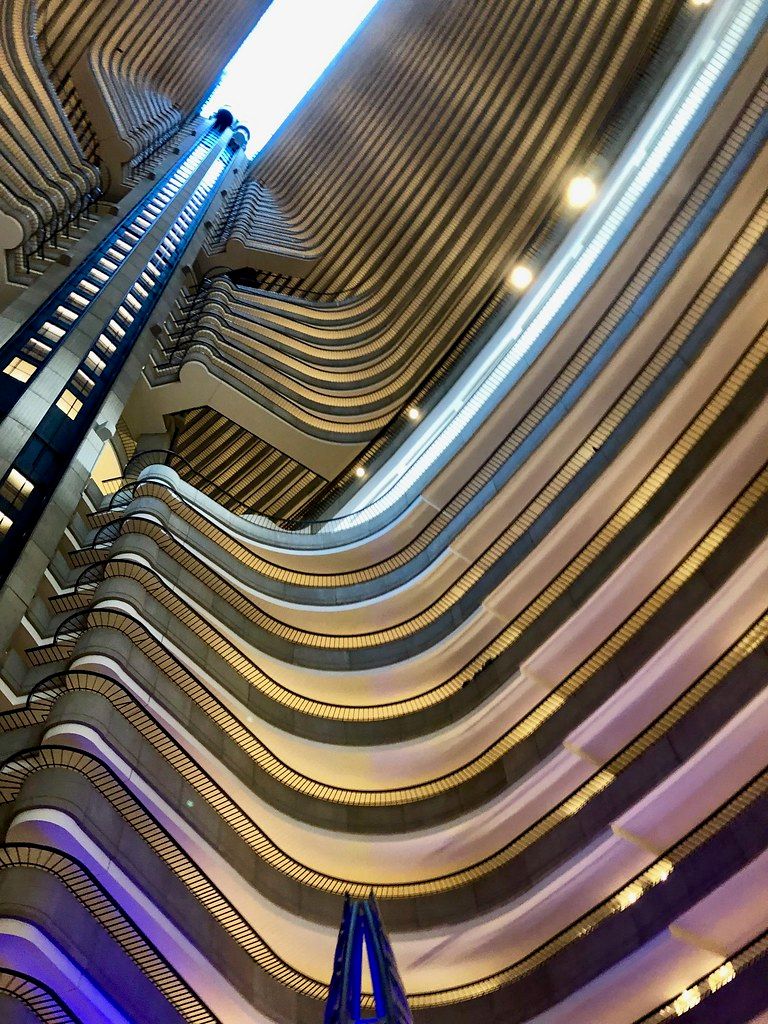
Tilting upward makes verticals converge. That can express height, but it can also obscure the proportions you meant to record. Start with the camera level if parallel verticals matter. Step back or find a permitted higher position if you need a different frame. A shift lens offers another way to reframe while keeping the camera level. Software correction crops and stretches parts of the image, so leave room around the edges and check the result before calling it finished.
Use light to reveal the structure
Look at where the shadows begin, not just at whether the sky looks attractive. Side light can make surface relief readable; diffuse light can keep a complicated facade from breaking into isolated bright and dark patches. In the Kimbell photograph below, skylight follows the vaults and the central stair gives the space a clear axis. For your own sequence, expose deliberately for the parts you need to retain, check bright surfaces, and take another frame when the light changes. A useful set explains how the building holds together.