A saved photograph gives you a place to start. It rarely tells you where to stand, whether the gate opens before sunrise, or how long the walk takes from the nearest legal parking spot. Those details decide whether a location works for the picture you want.
Scouting means turning an interesting place into a workable visit. Before leaving, aim to answer four questions: where can you shoot, when will the light suit it, how will you get in and out, and what will you do if the plan falls through?
Find the viewpoint, not just the landmark
Start with a map and look beyond the destination pin. A pin on a lake may land in the water. One on a building may point to an entrance when the view you want is across the street. Save the likely camera position separately from the subject.
Compare satellite imagery, street-level views and several recent photographs. Look for clues at the edges: a path, a bridge, a railing or a curve in the shoreline. Check when the reference images were made. A winter view through bare trees may disappear behind leaves in summer.
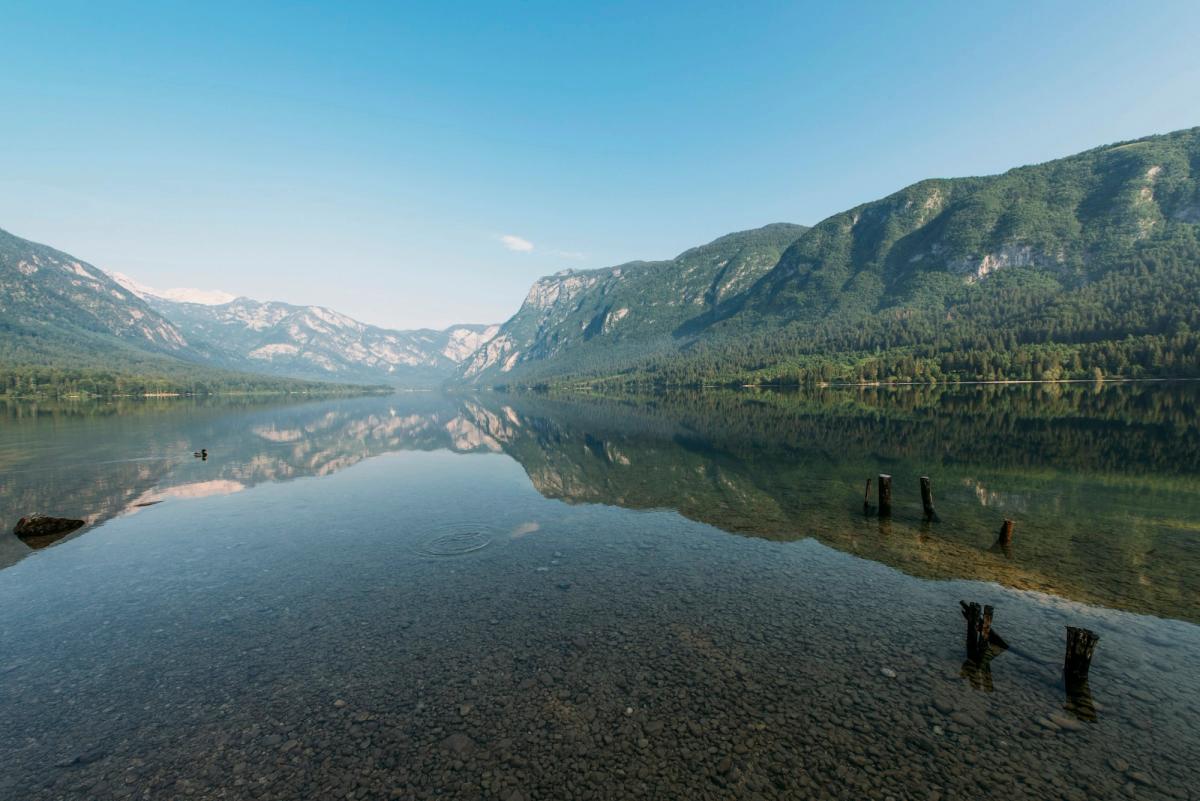
In Ales Krivec’s lake photograph above, the shallow water, stones and broken wooden posts give the distant mountains a foreground. If you were scouting a similar picture, locating the lake would only be half the job. You would also need a reachable section of shoreline and a position where those near details fit the frame. The photograph was published in 2015; it is a composition reference, not evidence of present-day access.
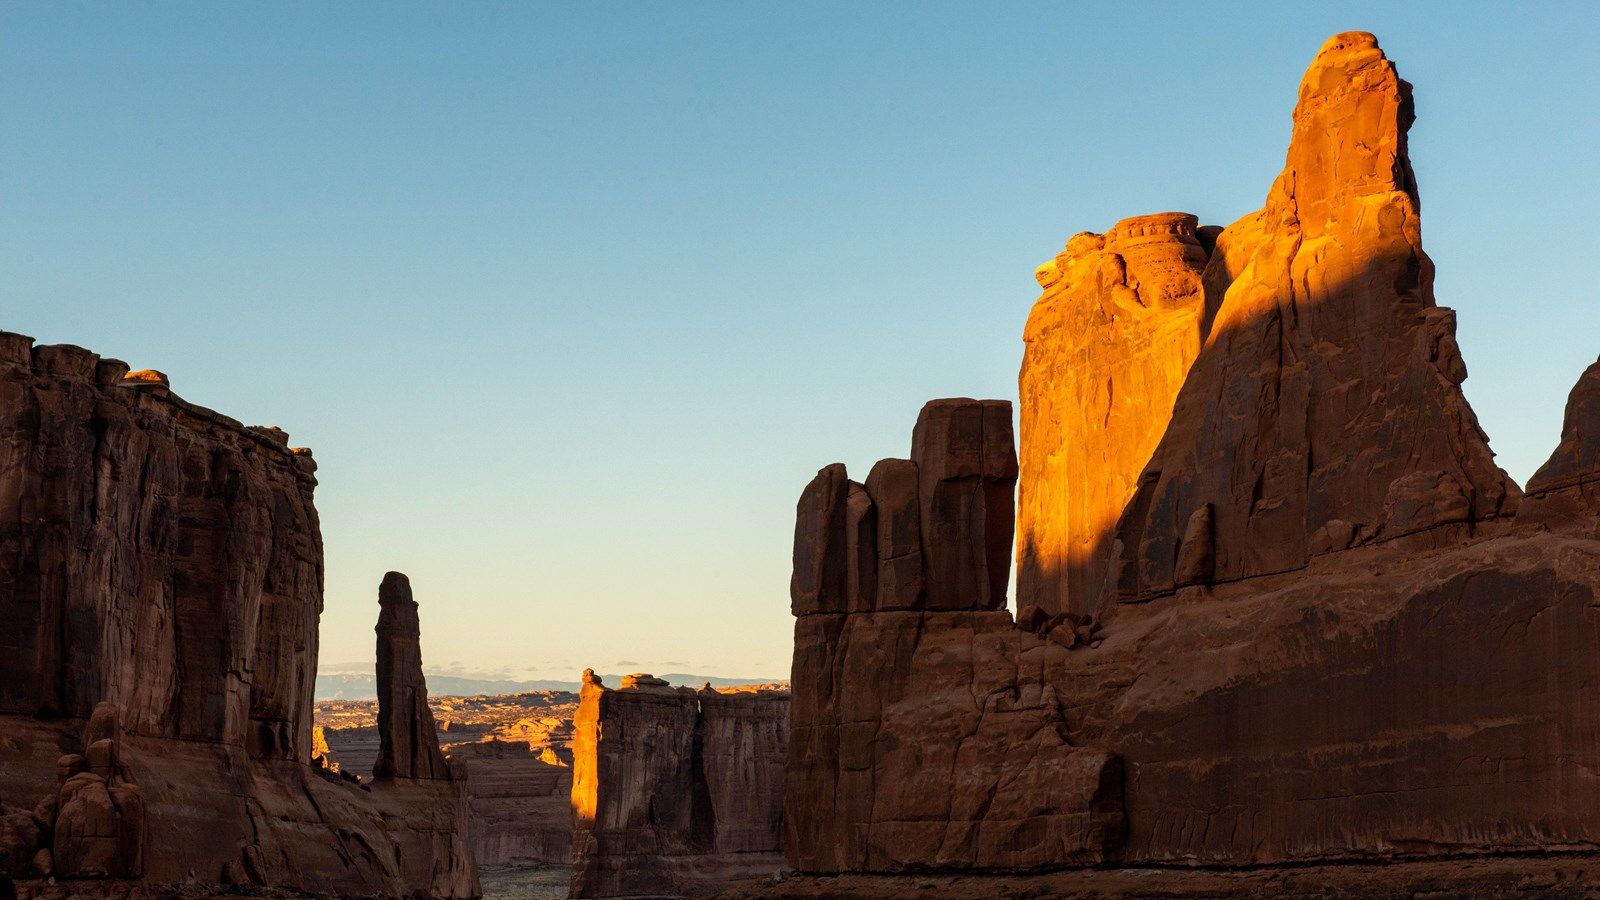
At Arches National Park, the Park Avenue viewpoint and trail show why the exact position matters. The park describes a paved approach to the viewpoint, then stairs and uneven ground beyond it. Looking into a canyon from the overlook and walking down into it are different plans, even when both visits start at the same pin.
Check where the light comes from
Choose the light you need before choosing an arrival time. Side light can reveal the texture of a wall. Backlight can separate leaves from a dark background. Open shade may be more useful for a portrait than a dramatic sunset.
Check the sun’s direction for your intended date, then compare it with the view on the map. A street facing west and one facing north will not behave the same way. A ridge or a tall neighboring building can put your subject in shadow before the published sunset time.
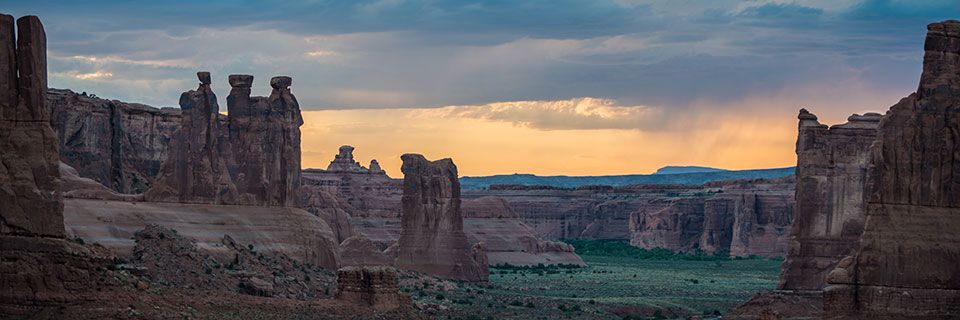
Chris Wonderly’s photograph on the park’s photography page shows another variable: cloud cover. The bright horizon does not mean the rock formations in front of it are receiving direct light. When checking a location, consider both the direction of the sun and what may block it.
The NOAA Solar Calculator provides solar-position and sunrise/sunset estimates, but NOAA now states that it is no longer actively maintained and does not guarantee its accuracy. Treat its results as a reference, check the date and time zone, and allow time on location to see what the light is actually doing.
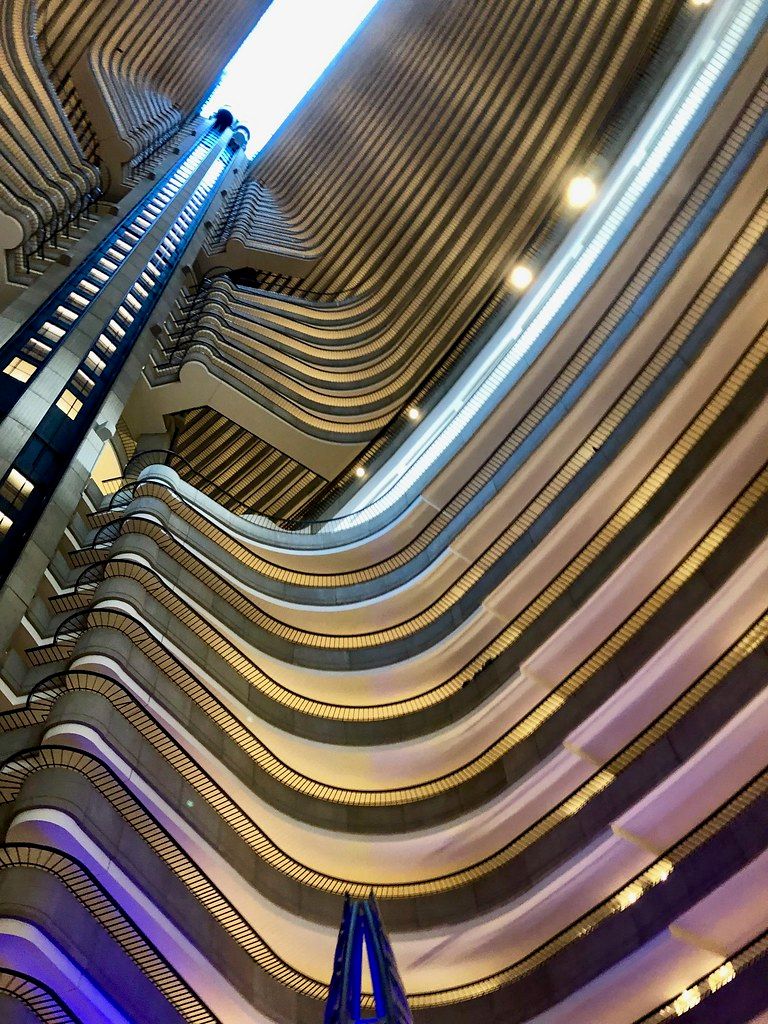
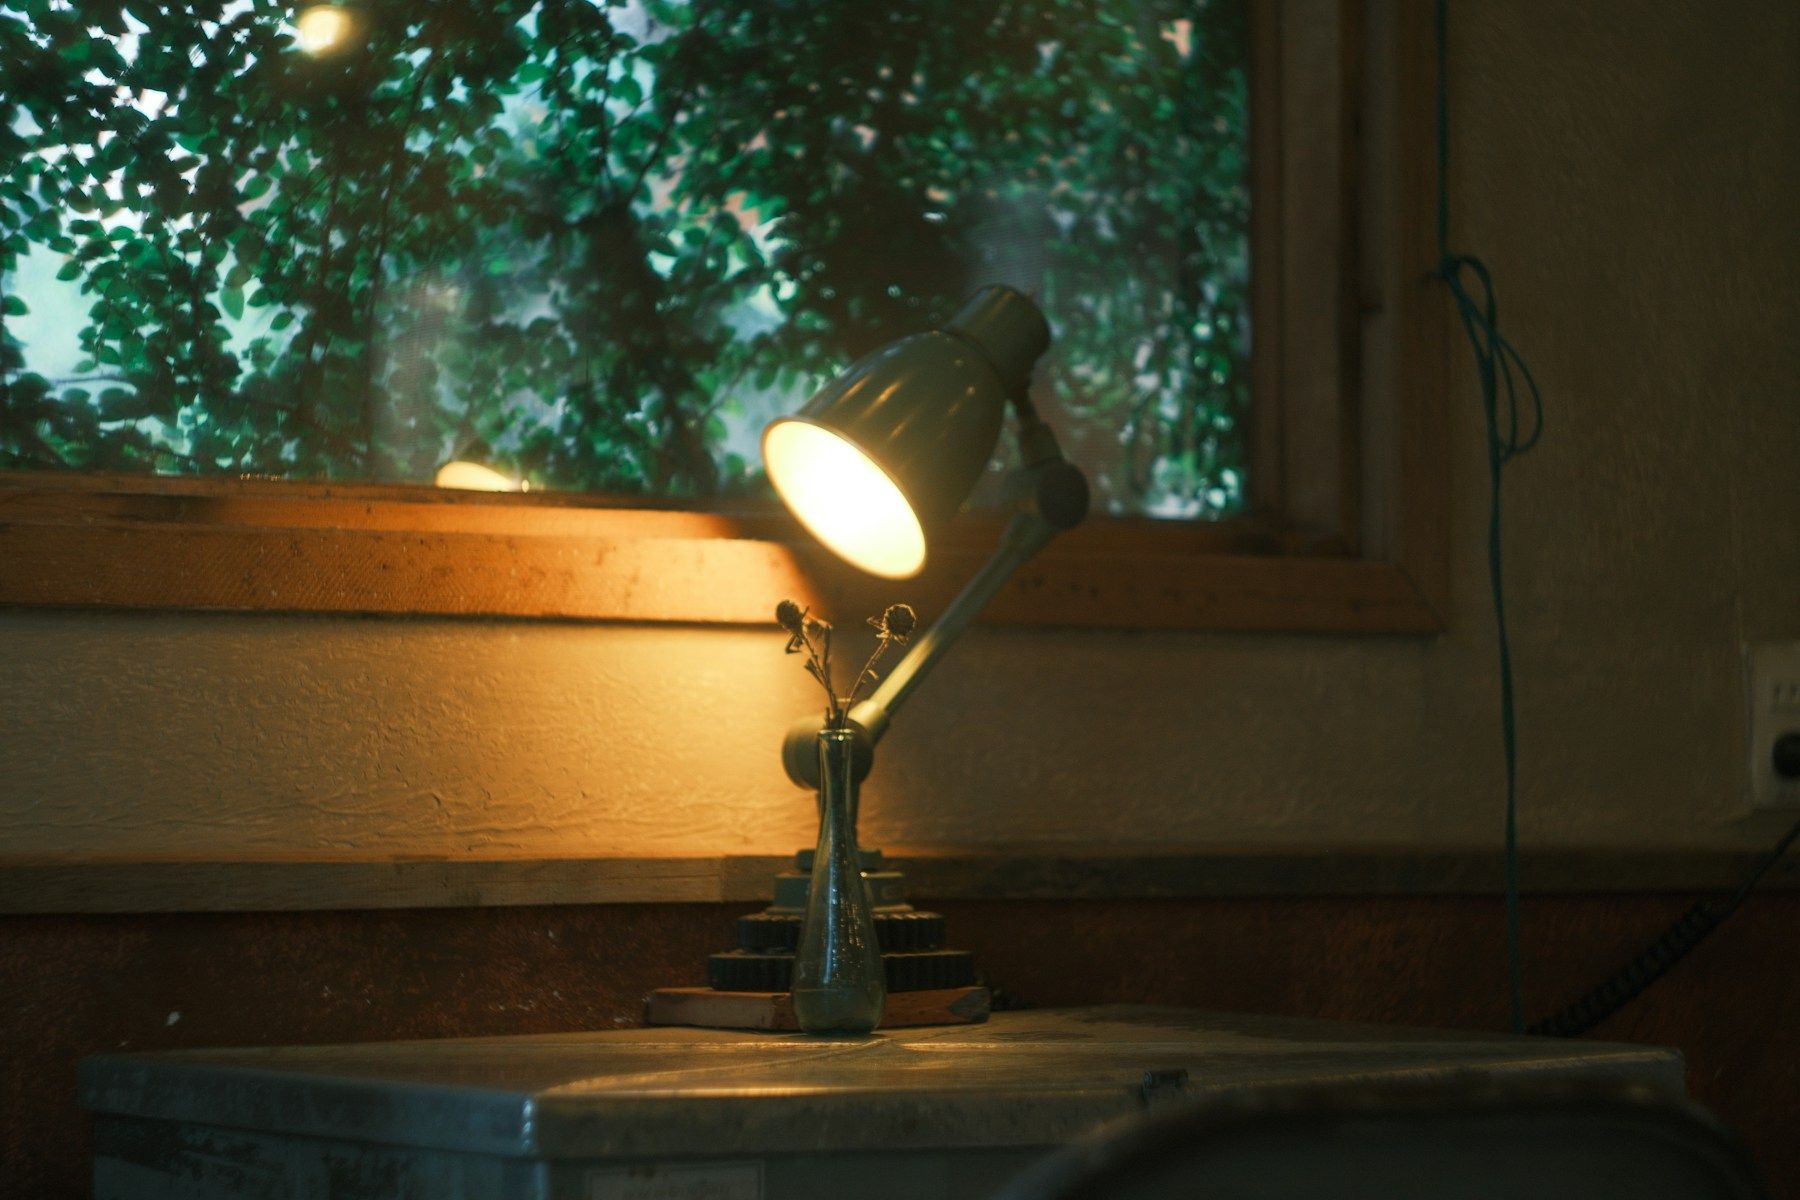
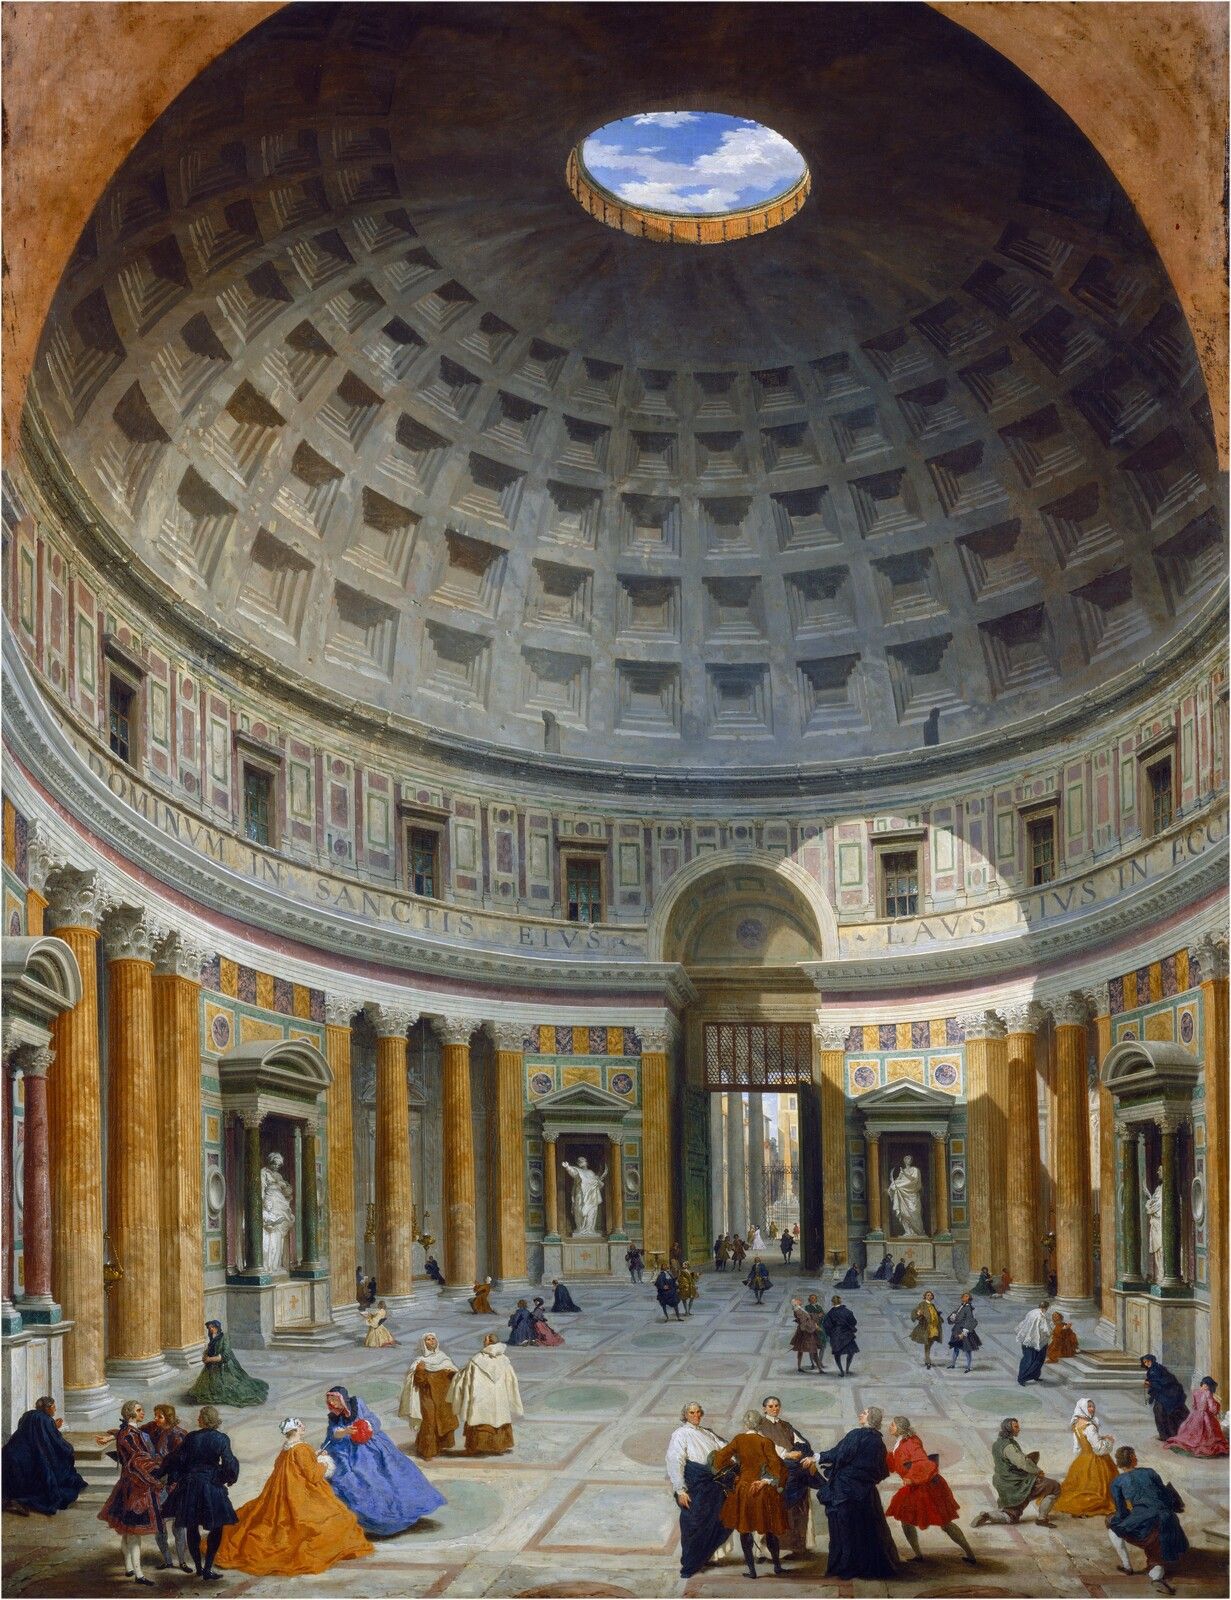
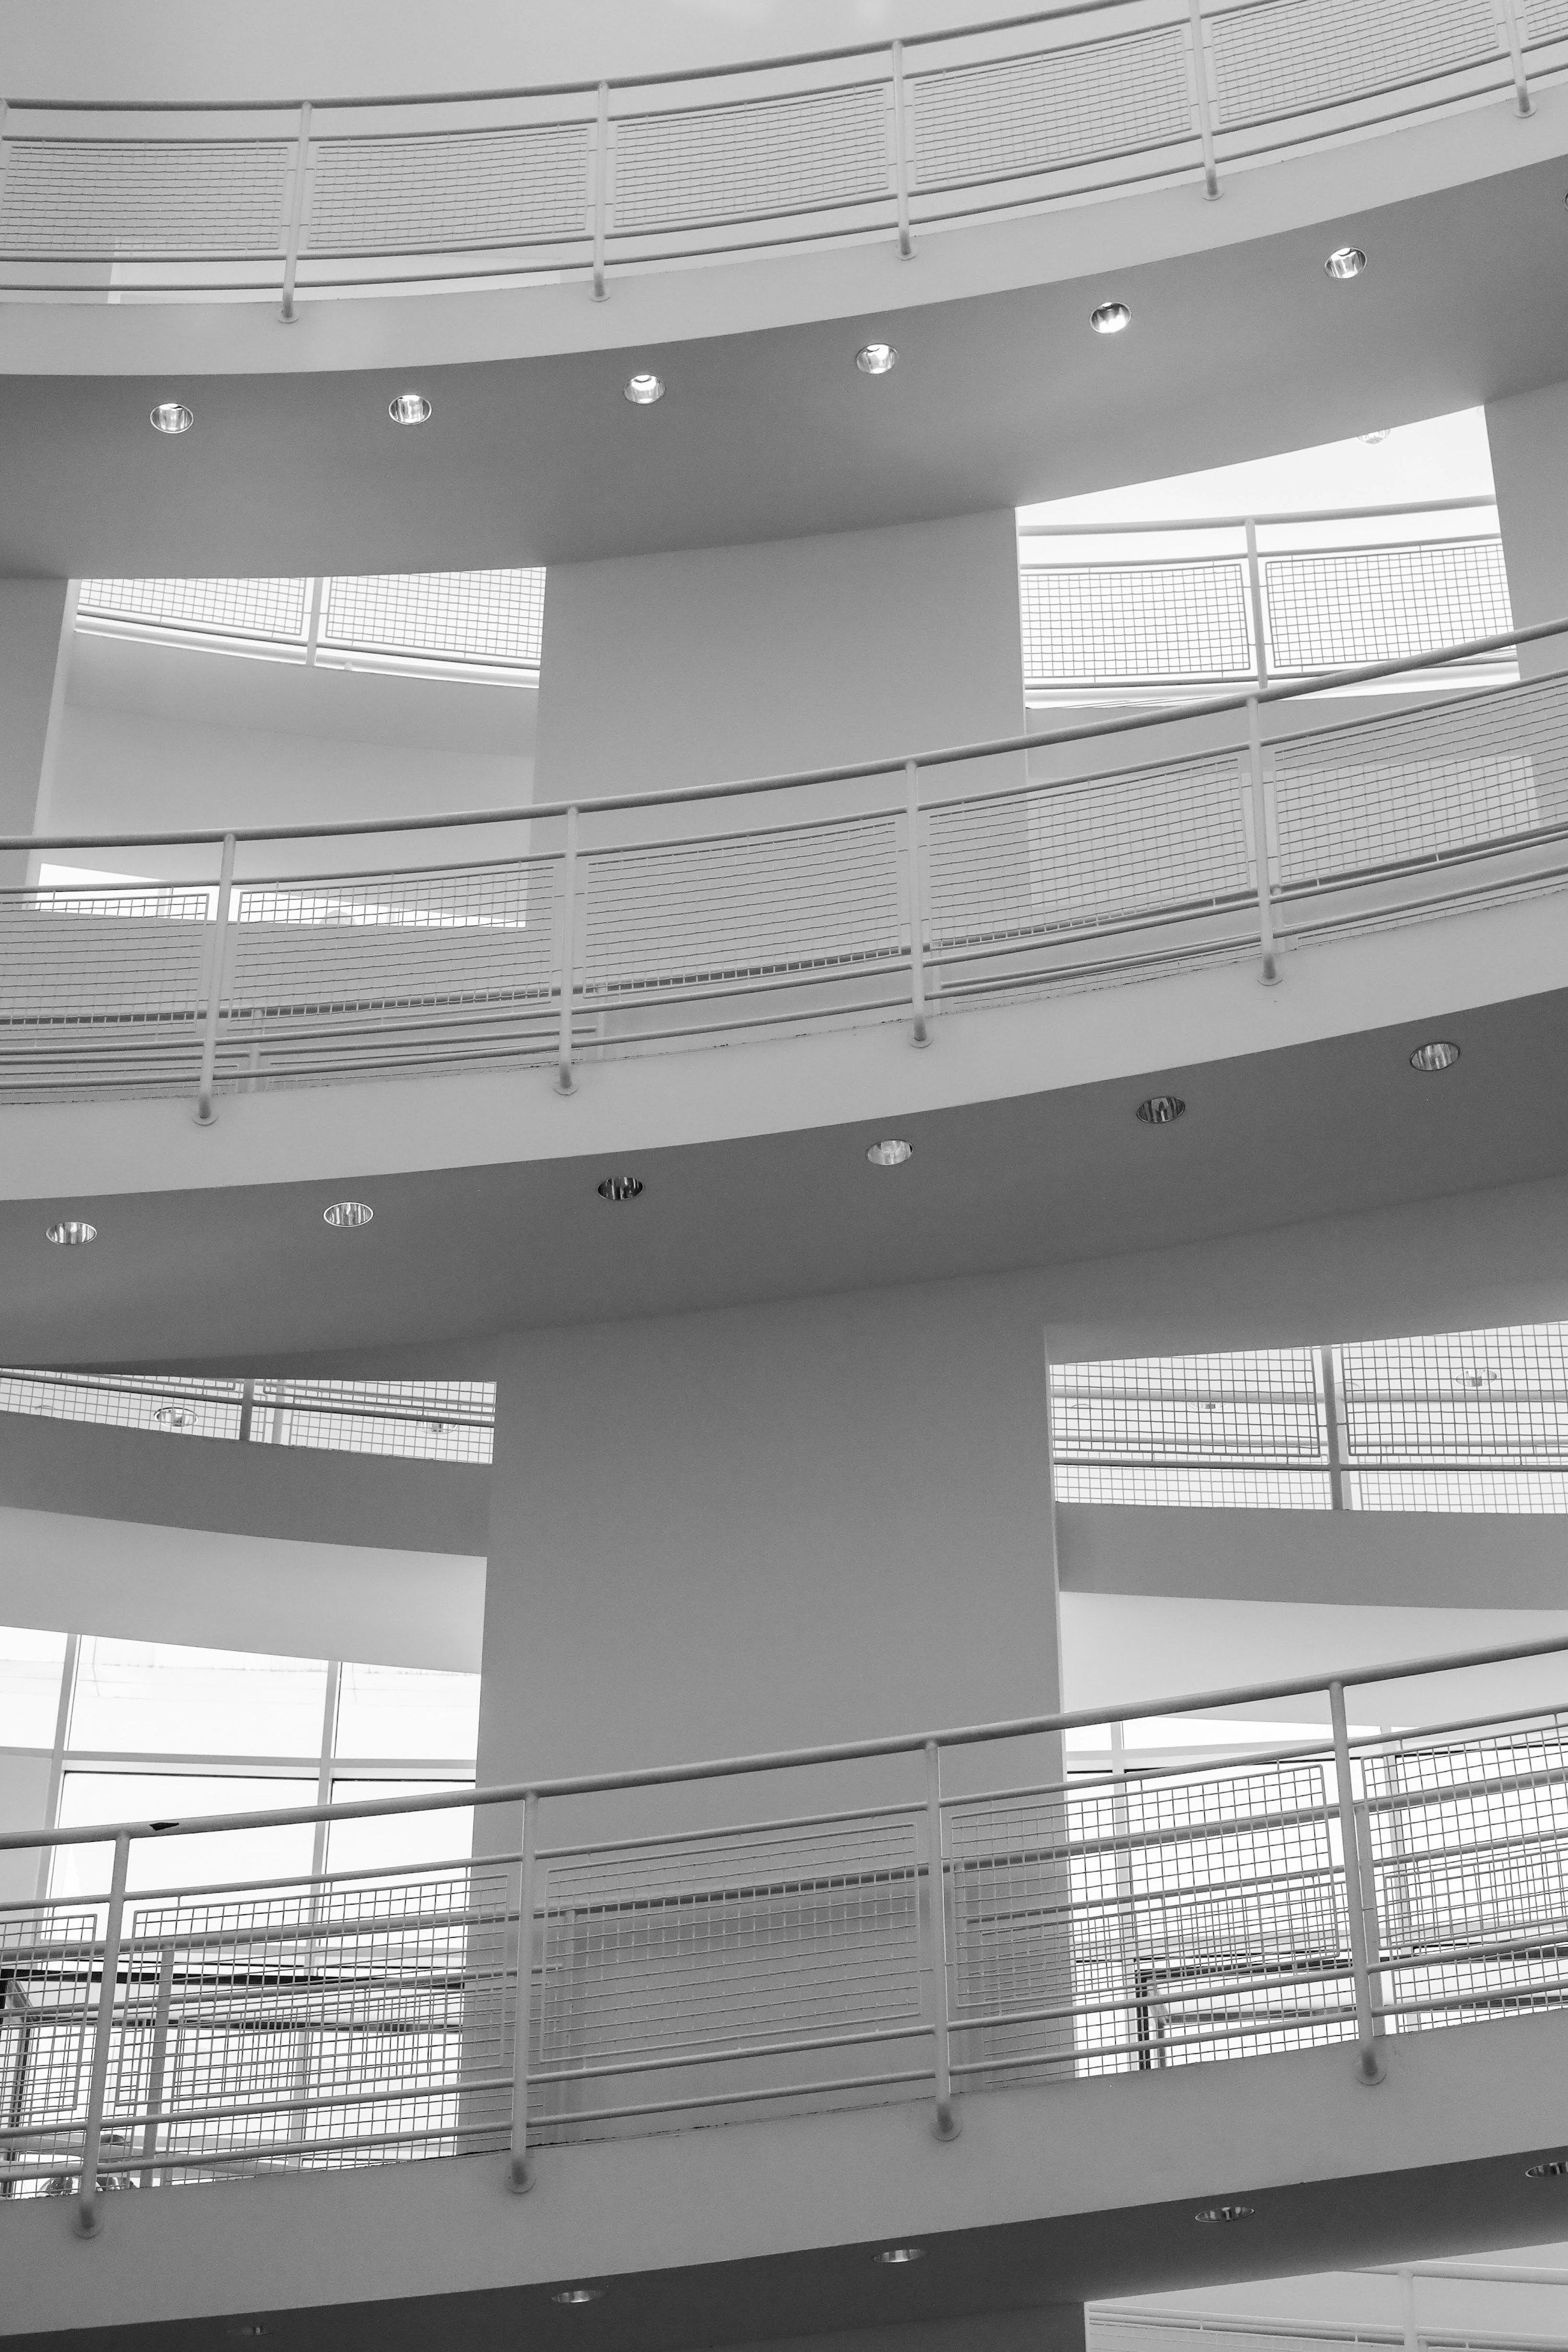
For an indoor example, our look at the High Museum’s architecture follows the difference between light arriving through windows and daylight coming from the roof. The useful scouting question is the same: what is lighting the part of the space you want to photograph?
Verify access with whoever manages the place
Use the venue, park or land manager’s own website for opening hours, closures, reservations and photography rules. A map listing or somebody else’s successful visit is not permission. Check the access route as well as the destination: a viewpoint may be open while its parking area or approach trail is closed.
Rules also depend on the activity. The National Park Service’s current filming and photography guidance says many groups of eight or fewer do not need a photography permit when they stay in public areas, carry their equipment, require no exclusive space, avoid impacts on resources and other visitors, and create no additional administrative costs. Other visitor rules and entrance fees still apply. Ask the particular park if your plans do not clearly fit those conditions; a commercial workshop can involve separate authorization.
Museums, private properties and other land managers have their own policies. Check restrictions on tripods, flash, lighting equipment and intended use instead of assuming that a rule from one venue applies elsewhere.
Leave room for the walk and the weather
Work backward from the time you want to be ready to shoot. Include parking or transit, the walk, finding your position and setting up. For an unfamiliar trail, scout in daylight before relying on it for a trip in the dark. Download the route and keep an offline copy of essential access information.
Check the forecast for the location, not just the nearest city. Rain, wind and visibility affect both the photograph and the journey. For a water reflection, the wind forecast may matter more than the cloud icon. Choose a safe alternative if conditions make the original route unsuitable.
Keep a backup that changes one part of the plan. If an open viewpoint is too windy, a nearby sheltered street may still work. If the light goes flat, try details, color or a tighter composition. Avoid making the backup so far away that reaching it consumes the rest of the day.
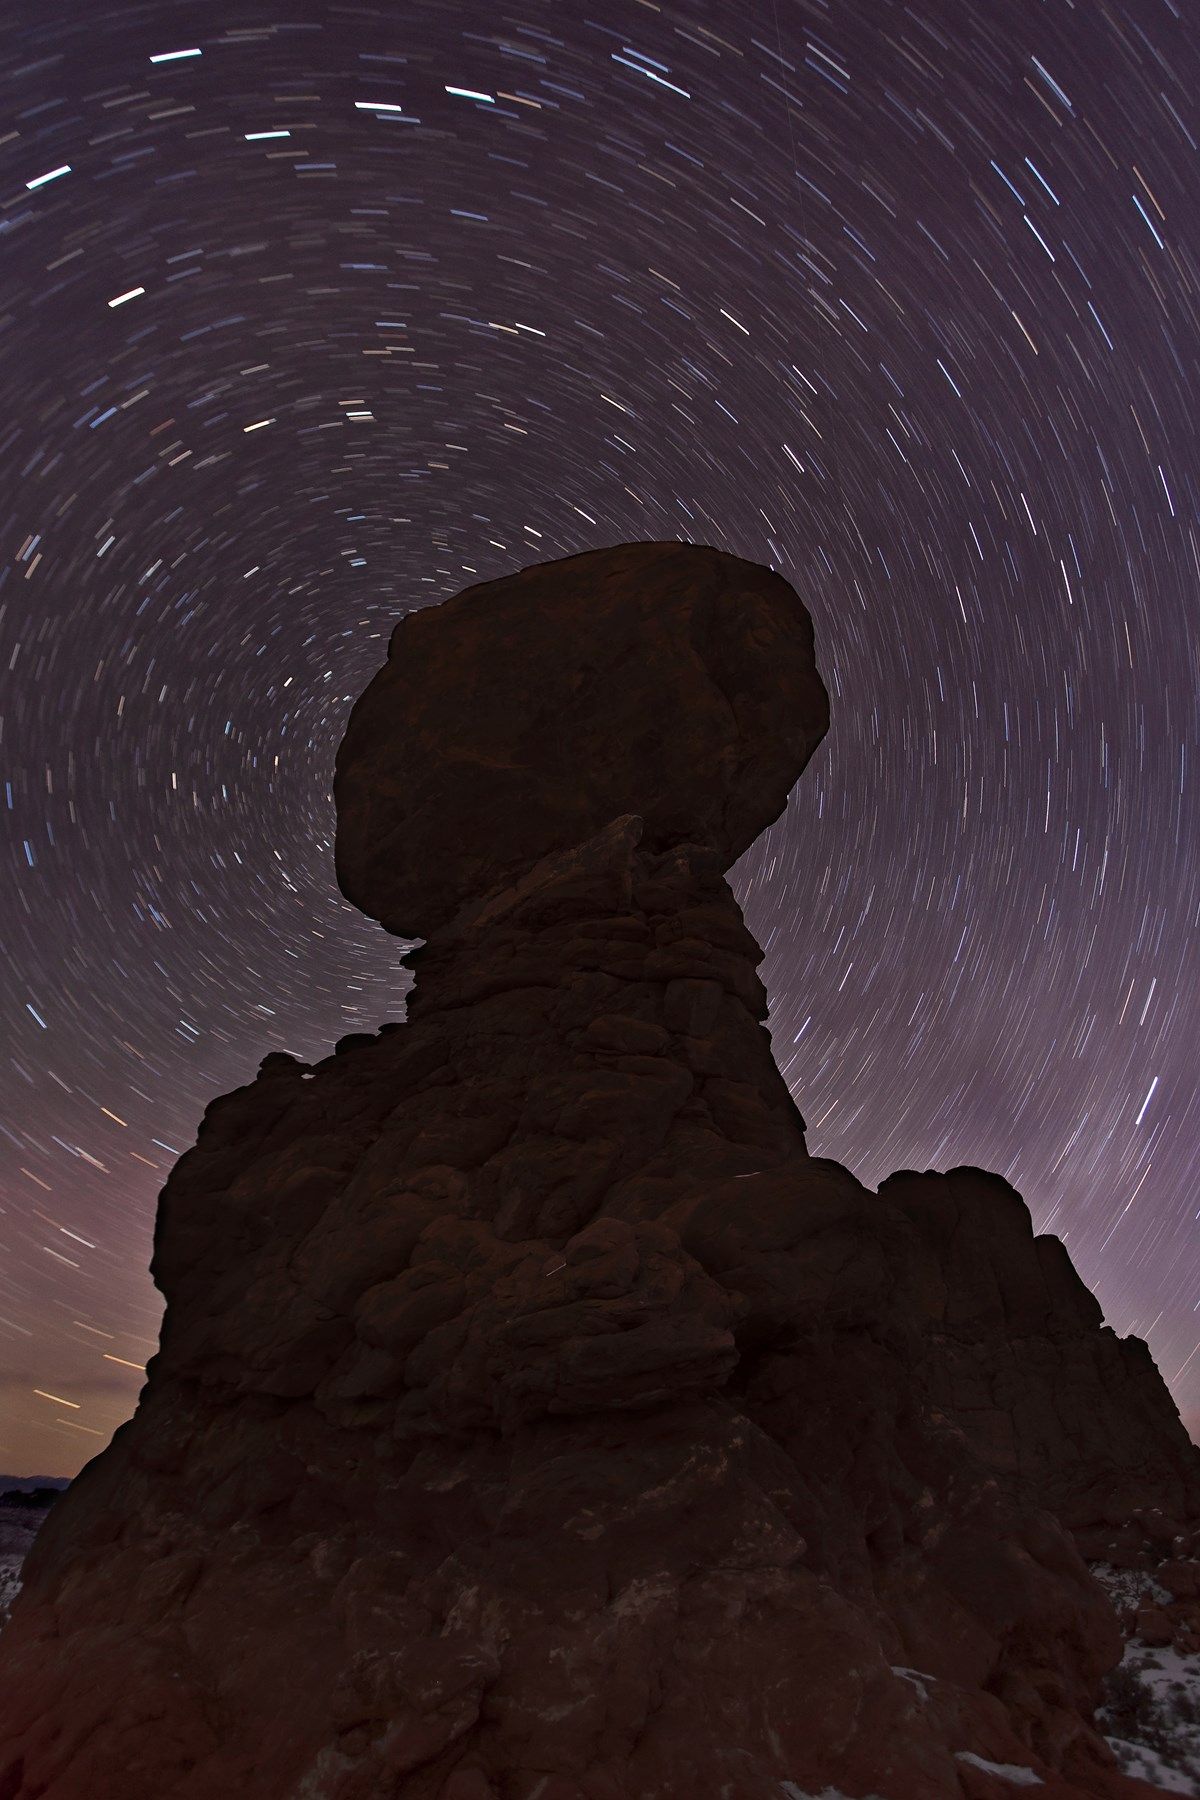
The same NPS photography guidance includes Jacob W. Frank’s star-trail photograph below. A plan for this kind of picture needs to cover the time outside after dark and a familiar route back, rather than ending at the predicted sunset time.
Bring home notes you can use
A scouting note can be short: exact standing position, useful light direction, access hours, travel time and one alternative. Add a reference photo showing the approach or the view from the path. Label what you have checked yourself and what still comes from somebody else’s information.
Once you have chosen a standing position, our focal-length guide helps you decide how much of the view belongs in the frame. Moving the camera and changing the lens setting make different changes to the picture.
If you visit ahead of the shoot, take a wide phone photograph in each direction as well as the attractive view. A nearby lamp, a busy road or a fence behind you may explain a problem that a carefully cropped reference image hides.
When the plan involves staying after sunset, continue with our guide to taking better photos at night for the shooting decisions. Scouting should leave you with enough time and attention to make those decisions once you arrive.