Shoot Log when you know you’ll grade the footage and can test the path from capture to export. Use standard video when you need a clip that looks finished straight from the phone. The choice matters on a long interview or a shoot with several cameras. It matters much less on a quick clip you plan to send as soon as you stop recording.
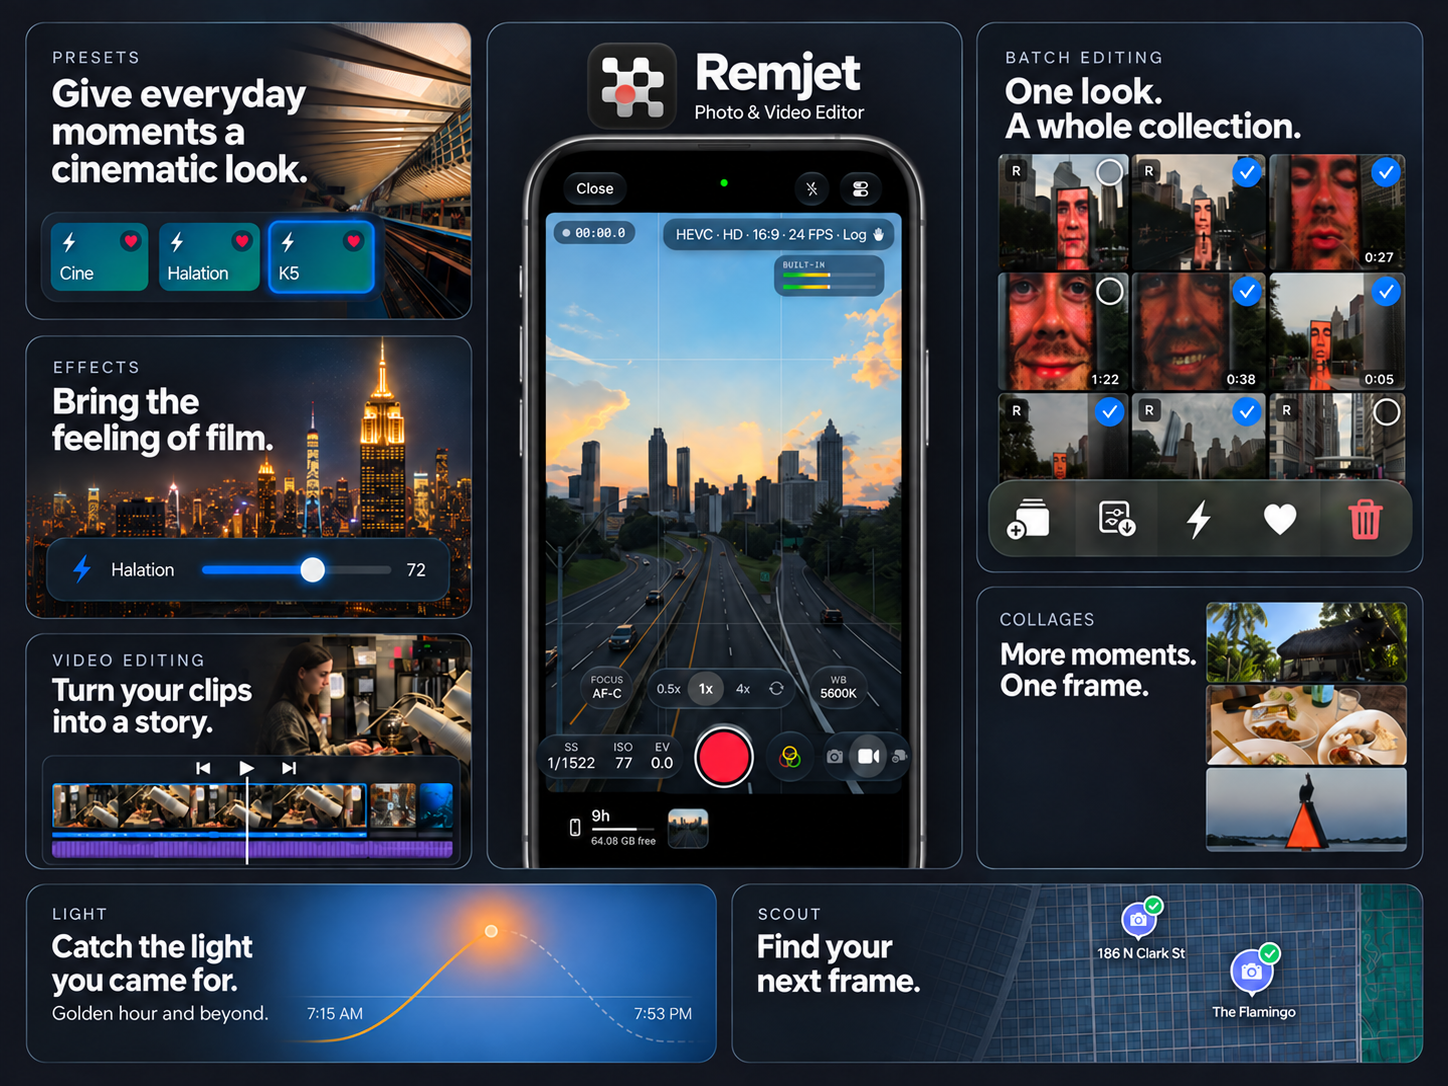
If you’re finishing the clip on your iPhone, Remjet can convert supported Apple Log footage to Rec.709. You can then grade and export the clip in the same app.
What does Log change in the file?
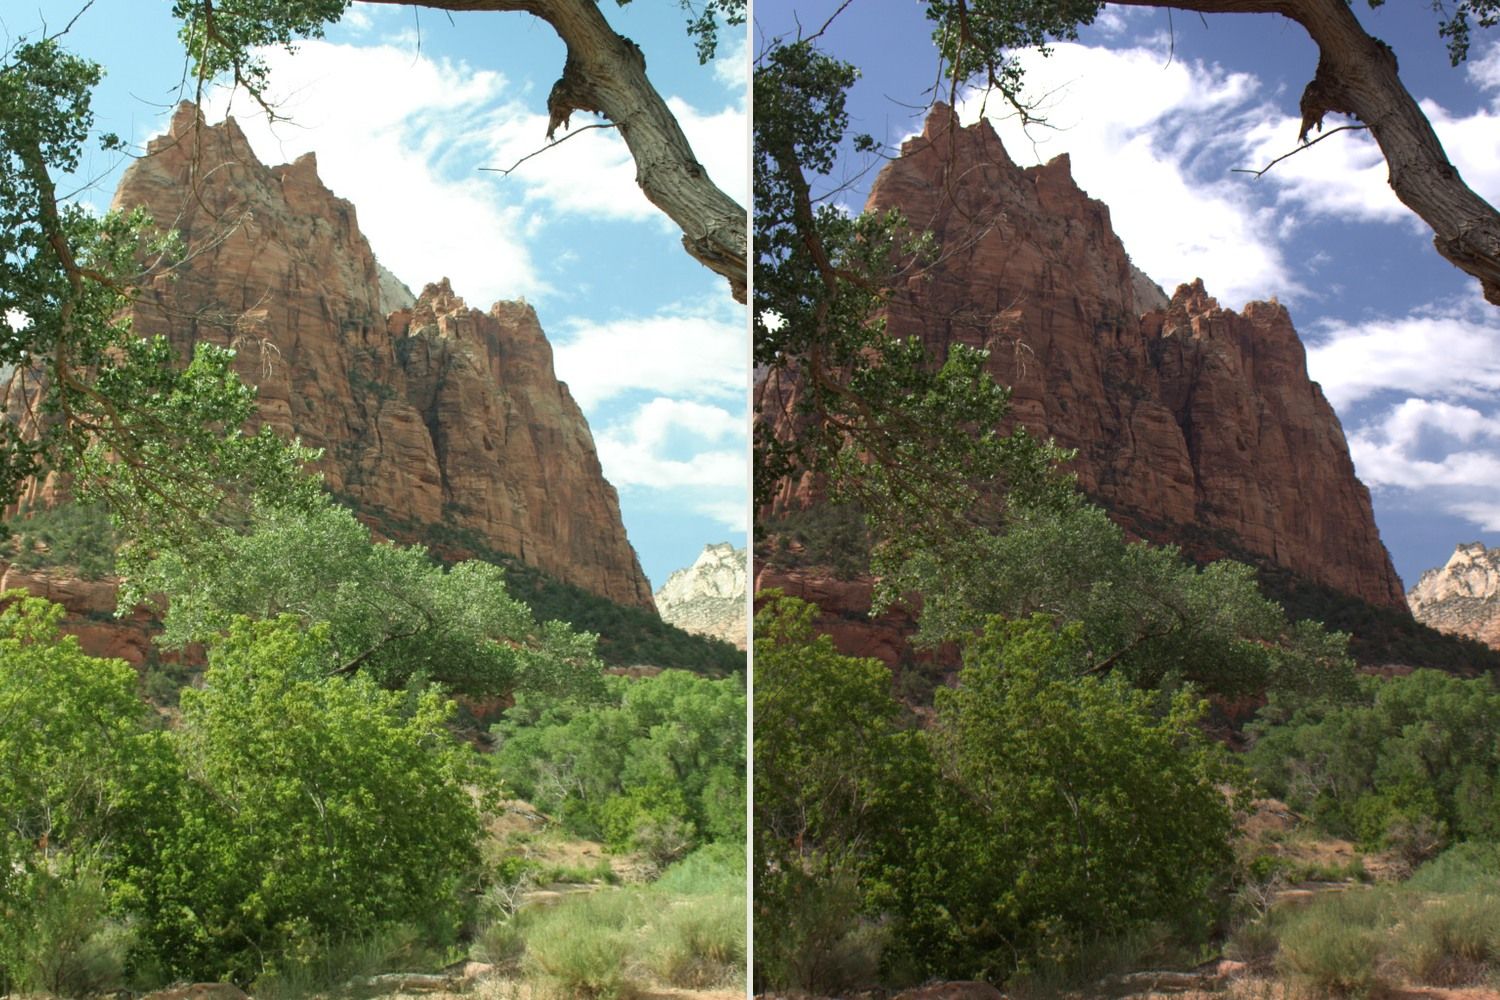
Log describes how the camera encodes brightness. A Log clip can carry tonal information in a way that gives the editor more room to shape the picture. Look at the unconverted clip on an ordinary display and it usually appears flat. That flat preview is a clue about the encoding, not a guide to how the finished picture should look. A window that clipped at capture will still be clipped after you grade it.
The recording profile and the codec are separate choices. The profile tells your editor how the camera encoded the image. The codec, such as HEVC or ProRes, affects how the clip is stored and handled. Check your recording app for the profile and codec available on your iPhone, and write down the exact profile you chose. Your editor needs it for the input conversion.
When is Log worth the extra step?
Imagine a short profile of a ceramicist. You shoot the interview on one camera and use your iPhone for hands, tools and window-lit details. With a planned grade, you can bring both sources into the same output color space and work on how the shots cut together. A clip of the same workshop that needs to go straight to a client on the way home has a different job. A standard profile saves the conversion step and gives you a usable preview immediately.
How do you grade Log video in Remjet?
Record a short clip with skin, a bright area and a shadow in the same frame. Open it from your camera roll in Remjet and apply the Log-to-Rec.709 conversion for the profile it was shot in. For a clip recorded in Apple Log, choose Apple Log. If a preview LUT was visible while shooting, check whether it was used only for monitoring or baked into the file. Apply the input conversion once.
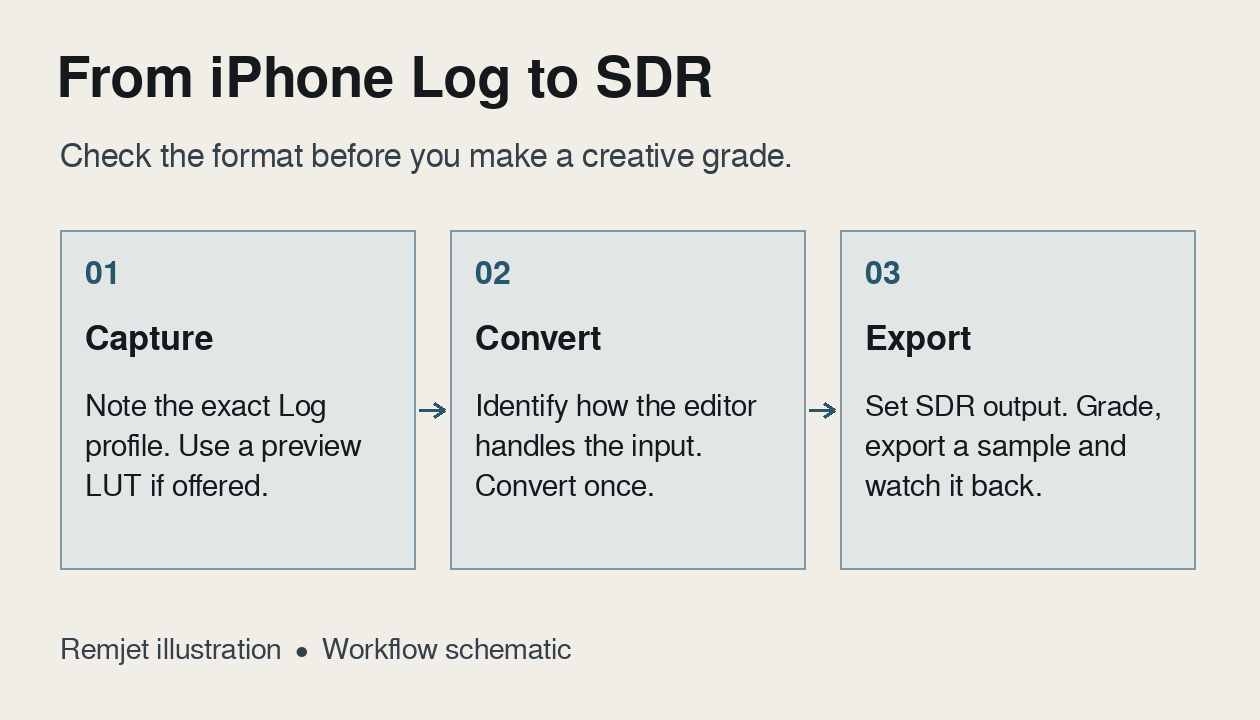
After the conversion, use the color wheels to shape shadows, midtones and highlights. Use curves for contrast or HSL to adjust a specific color, like a distracting green in the background. If you want a creative look, try a film LUT or import a .cube LUT designed for Rec.709 footage. Save the look as a preset if you’re working through several clips from the same setup.
If your iPhone is the second camera on a shoot, use each camera’s own conversion first. For example, convert an Apple Log clip with the Apple Log profile and a Sony S-Log3 clip with the S-Log3 profile. Then compare the shots side by side and adjust them to match. Remjet’s supported profiles and export options also cover other cameras and formats, including ProRes export.
What should you test before a real shoot?
Record a minute using the same lens, resolution, frame rate, codec, profile and storage destination you plan to use. Check how much space that file takes, then estimate how many minutes you’ll actually roll. Include retakes and room for a backup. Open the file in the editor you’ll use and watch the exported sample on the intended viewing device. A setting that appears in a menu only answers the first part of that test.
Choose motion settings separately using our guide to frame rate and shutter speed before you commit to a format and storage plan.