Panasonic’s Lumix SHX1 Gives Blackmagic RAW and ProRes RAW Different Homes
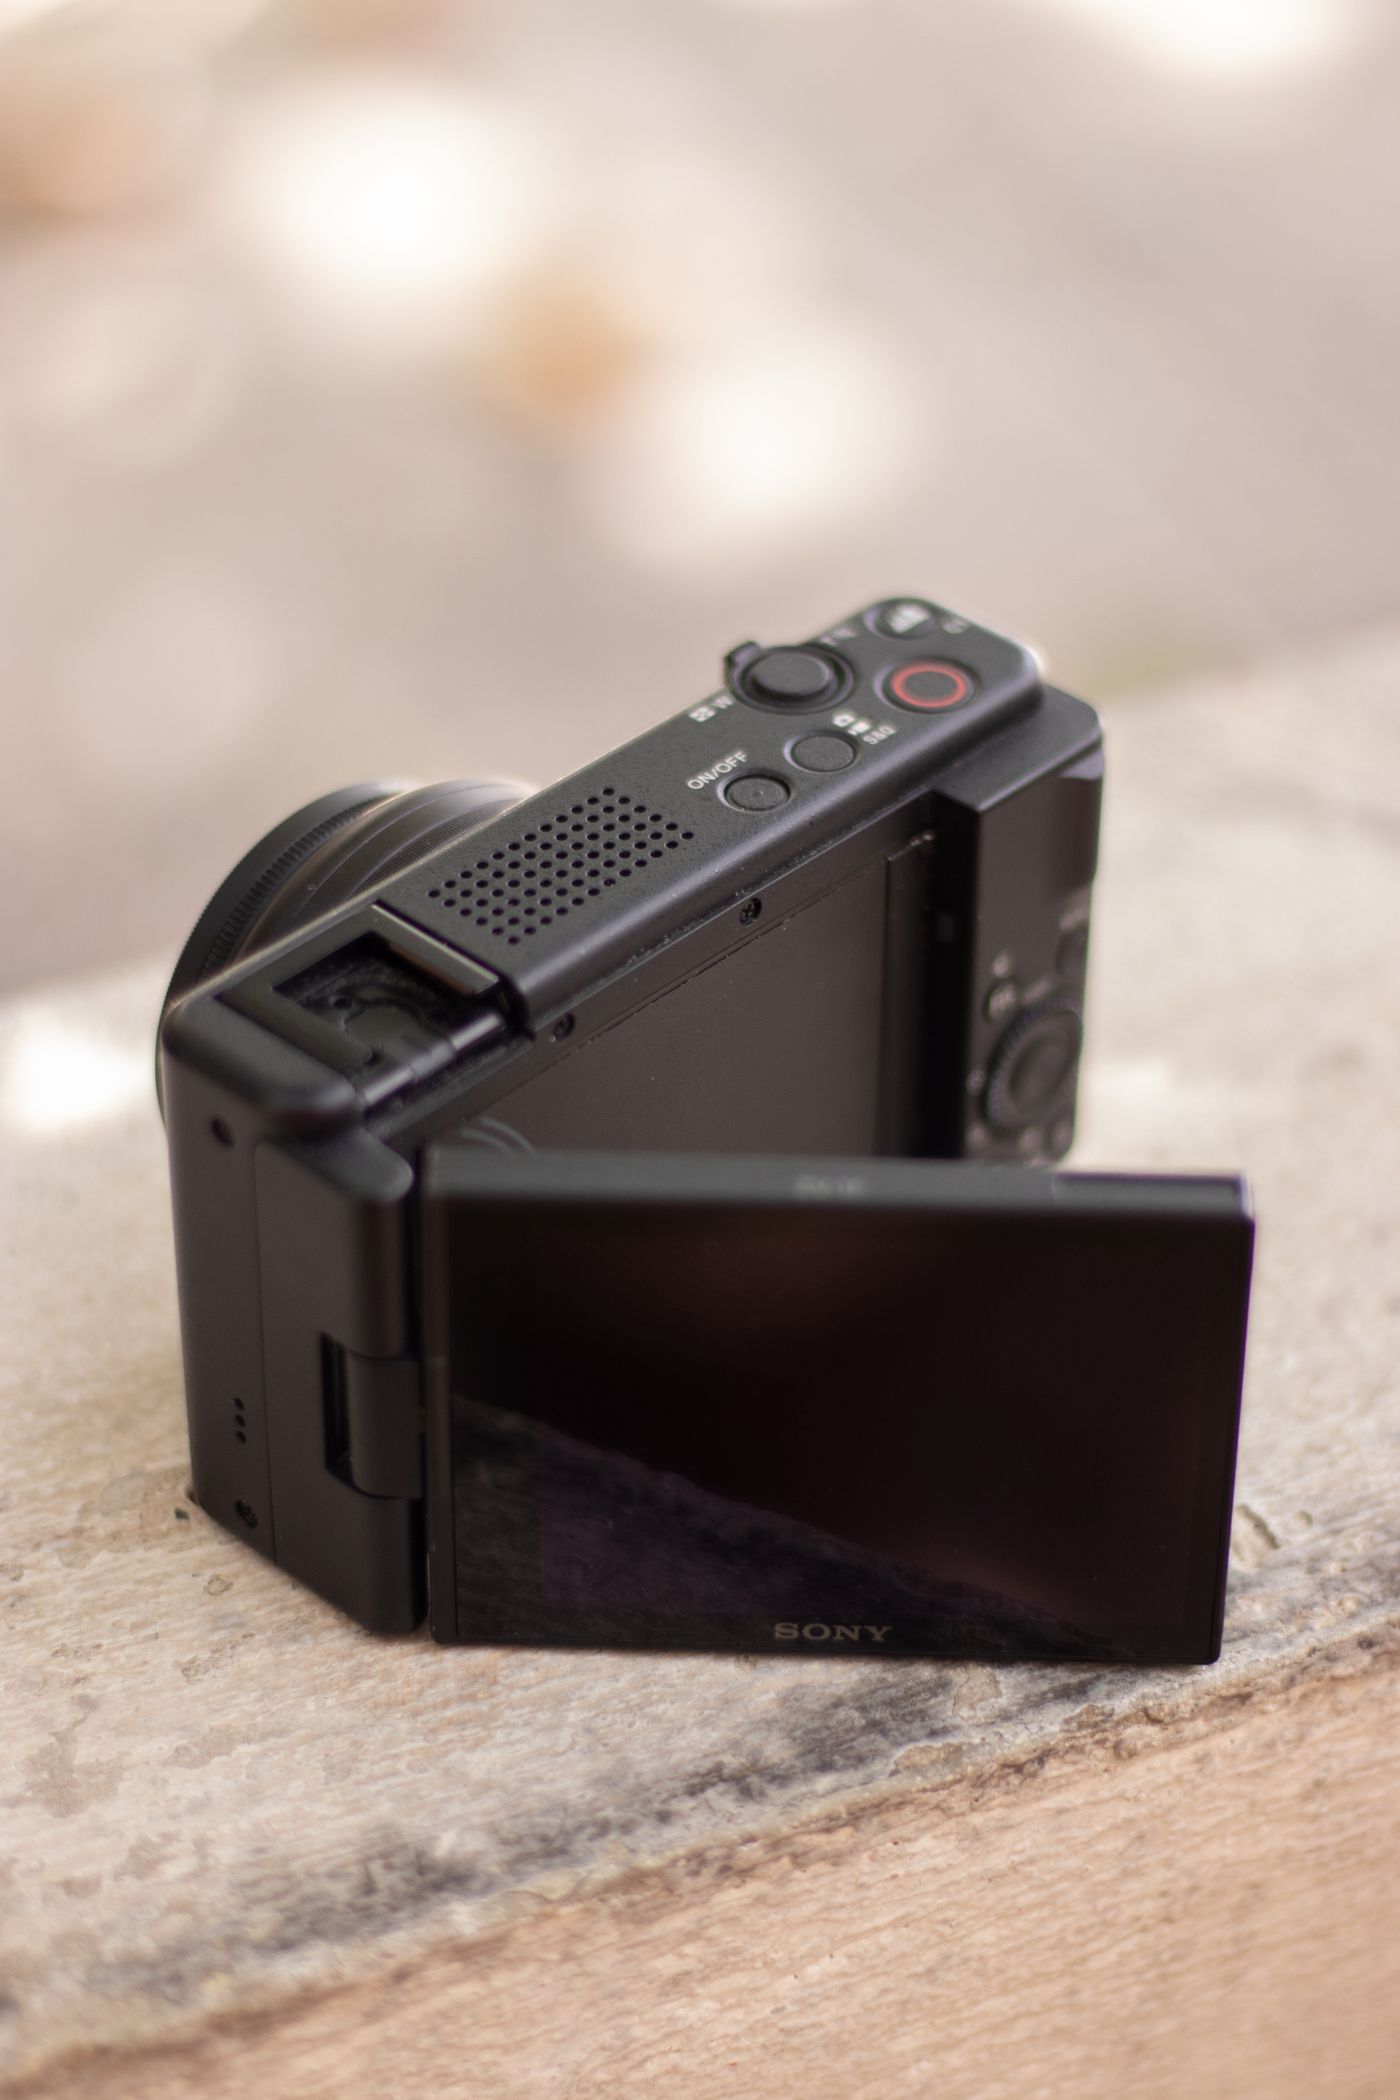
Panasonic’s 6K box camera records Blackmagic RAW to an external SSD and Apple ProRes RAW to an internal CFexpress Type B card.
Source: Panasonic
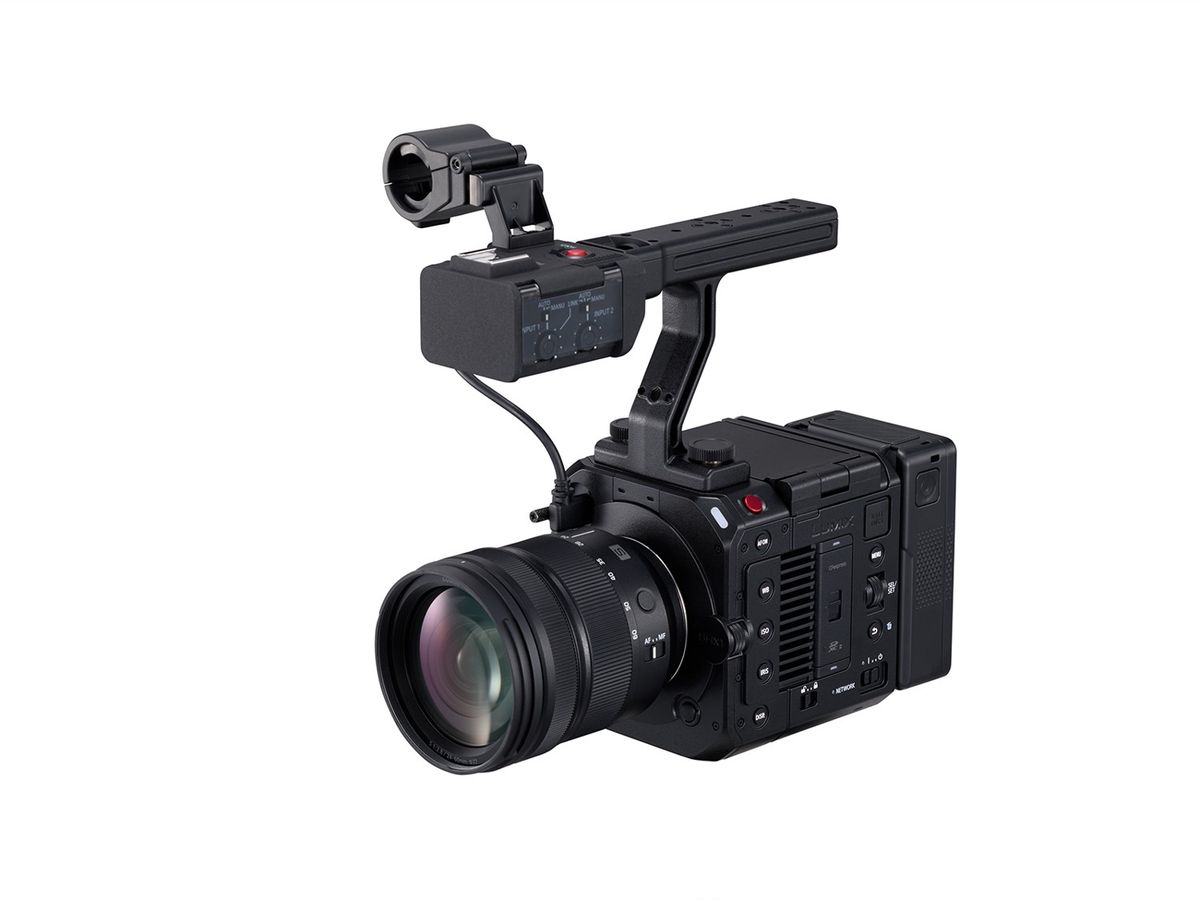
Panasonic announced the Lumix SHX1 on November 17. It puts a 6K full-frame sensor, autofocus and in-body stabilization in a box-style body with a tilting monitor on top. The choice that most affects a small rig is where it records RAW. Blackmagic RAW goes to a compatible external SSD. Apple ProRes RAW goes to a CFexpress Type B card inside the camera.
Choose the recording format before you build the rig
A Resolve-based workflow can use the camera’s Blackmagic RAW files without conversion. That means making room for an SSD and securing its connection. The internal ProRes RAW path keeps the storage inside the body, which can matter on a gimbal. Panasonic lists Blackmagic RAW open-gate recording at 6K/24p. Its standard 10-bit open-gate options also include 6K/30p and 5.1K/60p. Check the exact format before you plan a vertical crop or an anamorphic shoot. The camera includes both V-Log and ARRI LogC3 for supported workflows. Use a Panasonic-compatible USB-C SSD of 2 TB or less; SSD recording cannot run alongside a full-resolution card recording. Panasonic also notes a slight crop in Blackmagic RAW.
What comes with the body
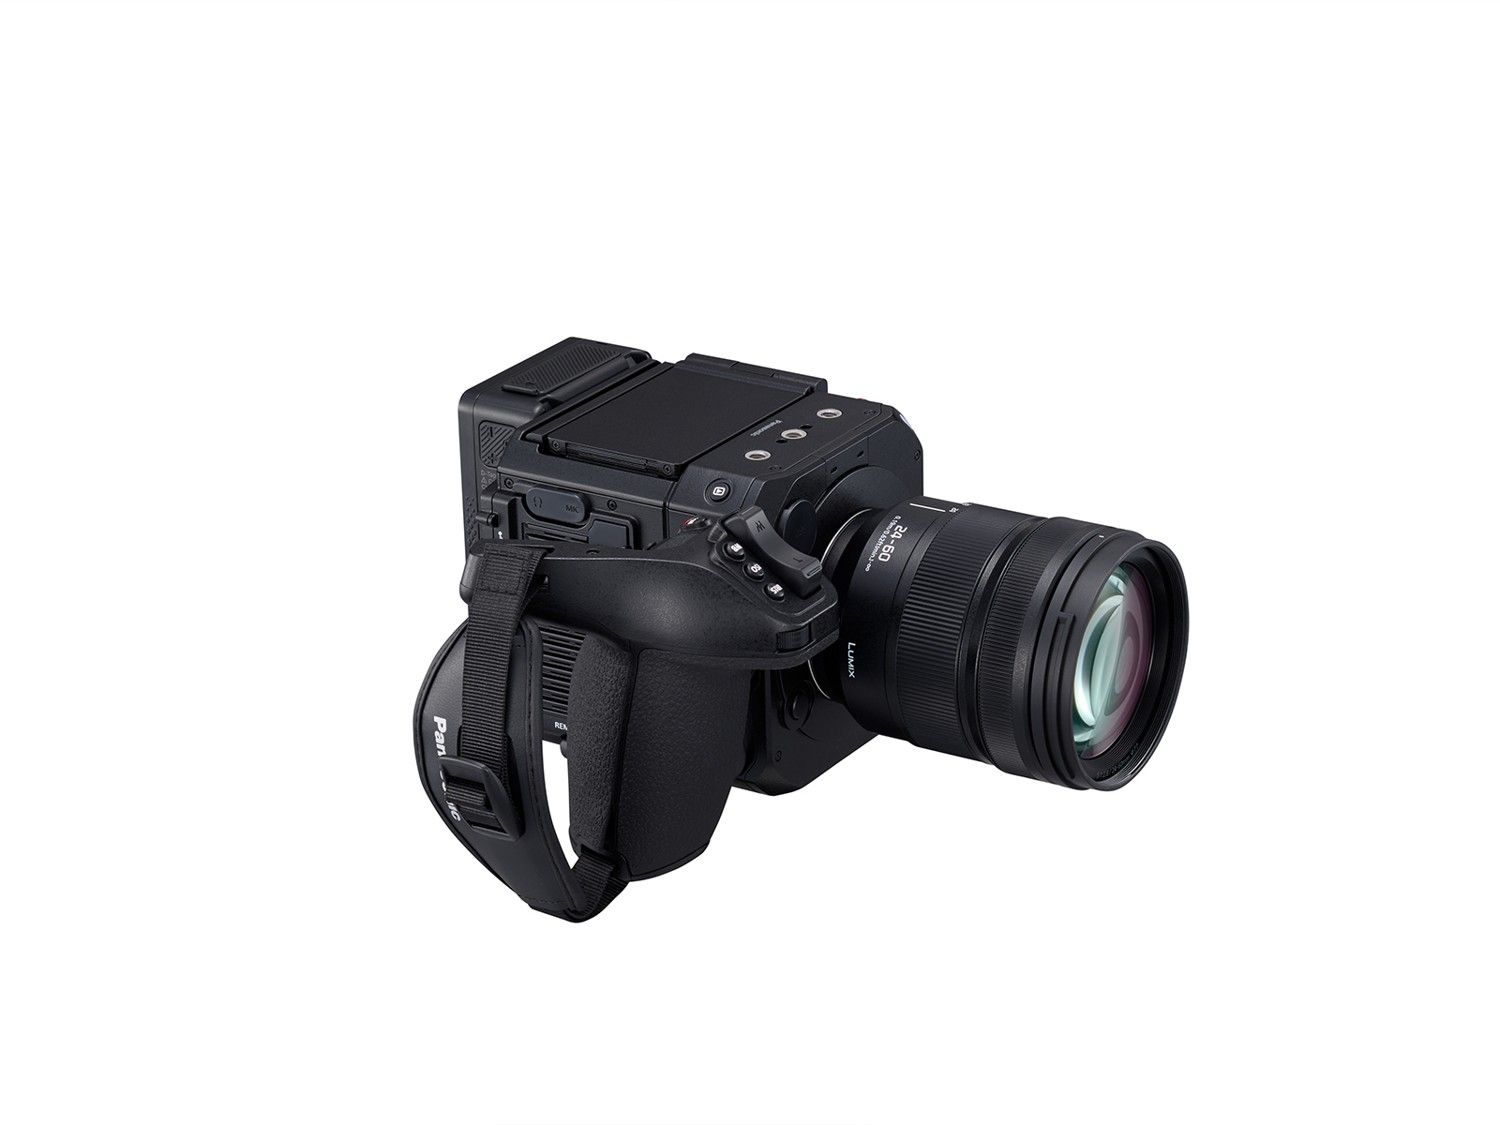
There’s 12G-SDI and HDMI output, timecode in and out, and support for micro V-mount batteries. The pictured XLR top handle and control grip are optional. Panasonic says the global rollout starts in stages in December 2026. Its North American announcement lists January 2027 availability, at US$4,699.99 for the body or US$5,499.99 for the kit with the XLR handle and control grip. Check local listings and the bundle contents before budgeting for a rig.
Source: Panasonic
Something worth opening.
Photography, film, technology, art and culture. Get new stories from Remjet Magazine in your inbox.
Follow the St. Petersburg waterfront from Spa Beach to the First Flight sculpture and the Fishing Deck. Each stop gives you a different way to frame Tampa Bay.
The ridges of Rudolph Hall cast narrow shadows. The Kimbell’s smooth concrete vaults spread daylight. Two buildings give photographers different ways to frame light.
Check the museum’s visitor policy, then look for signs in the exhibition. A handheld photo, a tripod and a planned shoot can each follow different rules.
Walk from Charleston’s Waterfront Park to White Point Garden via Rainbow Row. Look for open harbor light, repeated facades, and the contrast between the oak canopy and the seawall.
Read a photobook through its page turns, captions, scale and sequence. A practical looking exercise, with an 1866 book showing how text and photographs work together.
Depth of field describes the range that looks acceptably sharp. Learn how aperture, focus distance and background separation affect a picture, with a repeatable exercise.
A separate camera needs a reason to leave the house. Compare framing, handling and the file workflow before assuming any compact is an upgrade from your phone.
Street life, railway stations and an imagined New York reveal how postcards could picture a place, sell an idea and change from one printing to the next.
Find the viewpoint, check the light and work out how to get there. A practical scouting plan for a photo walk, a day trip or somewhere you have never visited.
Explore Remjet 1.0 feature by feature: camera controls, RAW photos, video projects, color grading, audio, collages, exports, location scouting, and light planning.