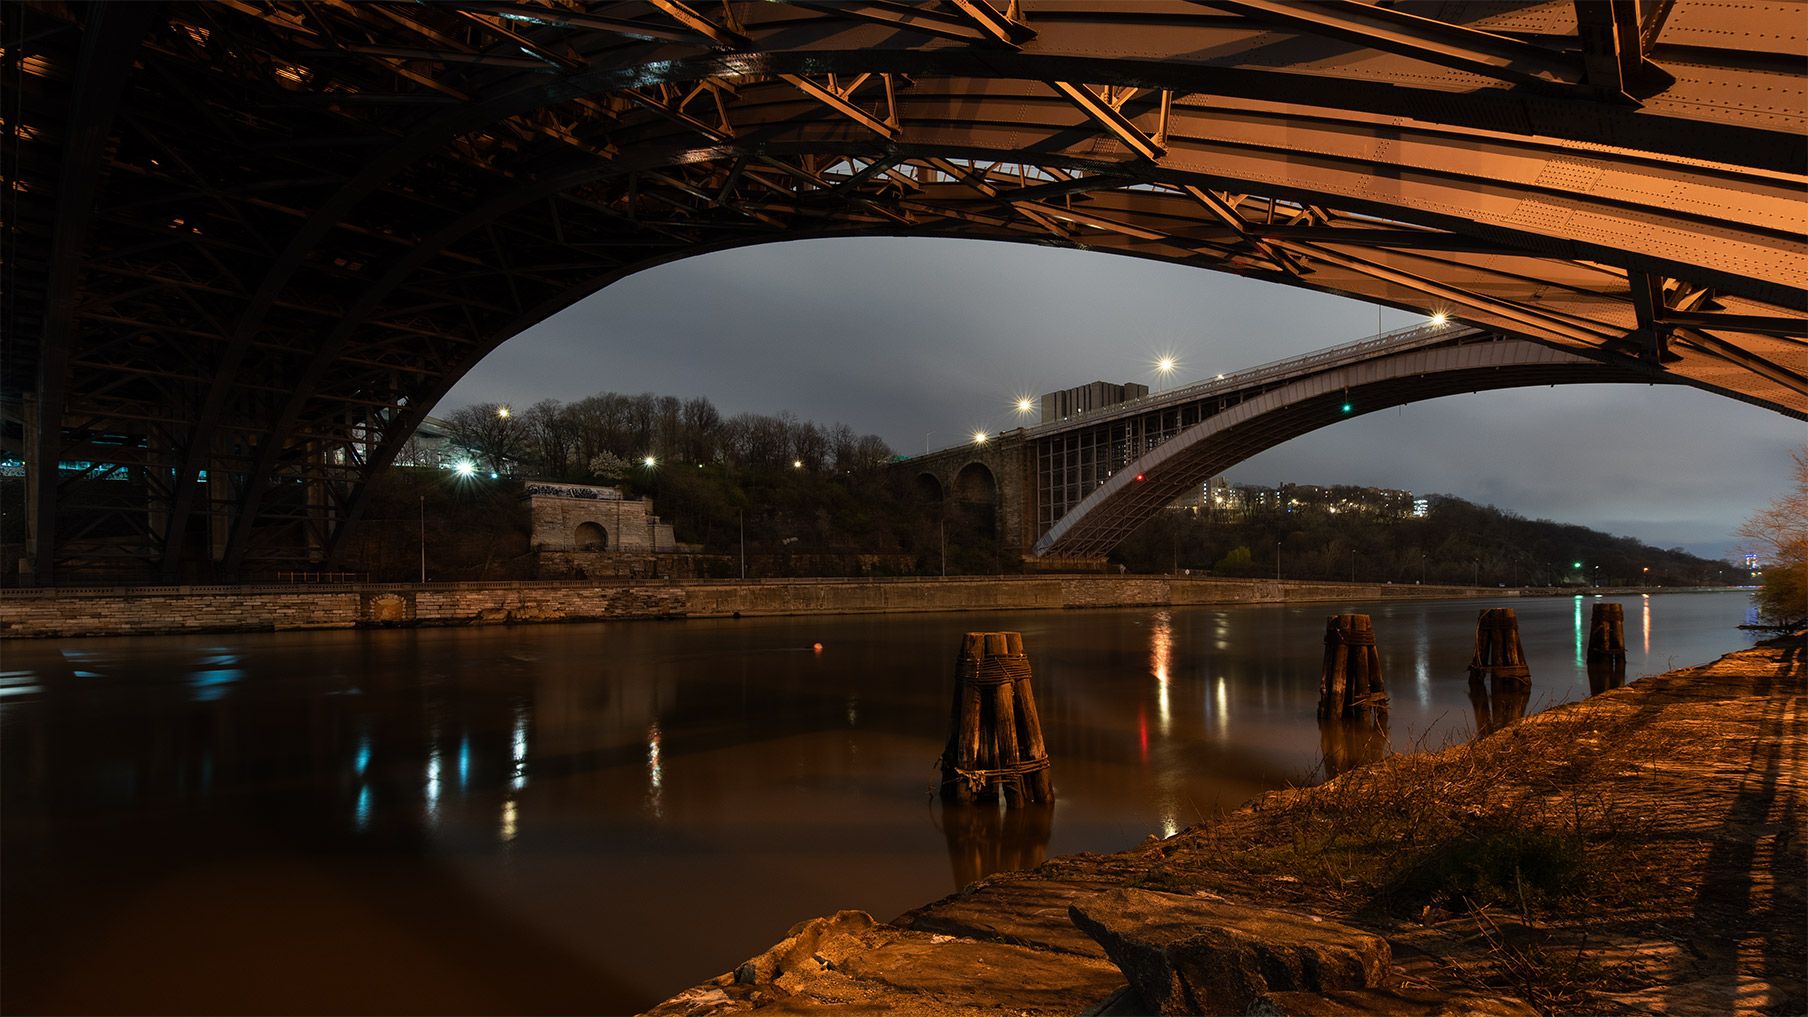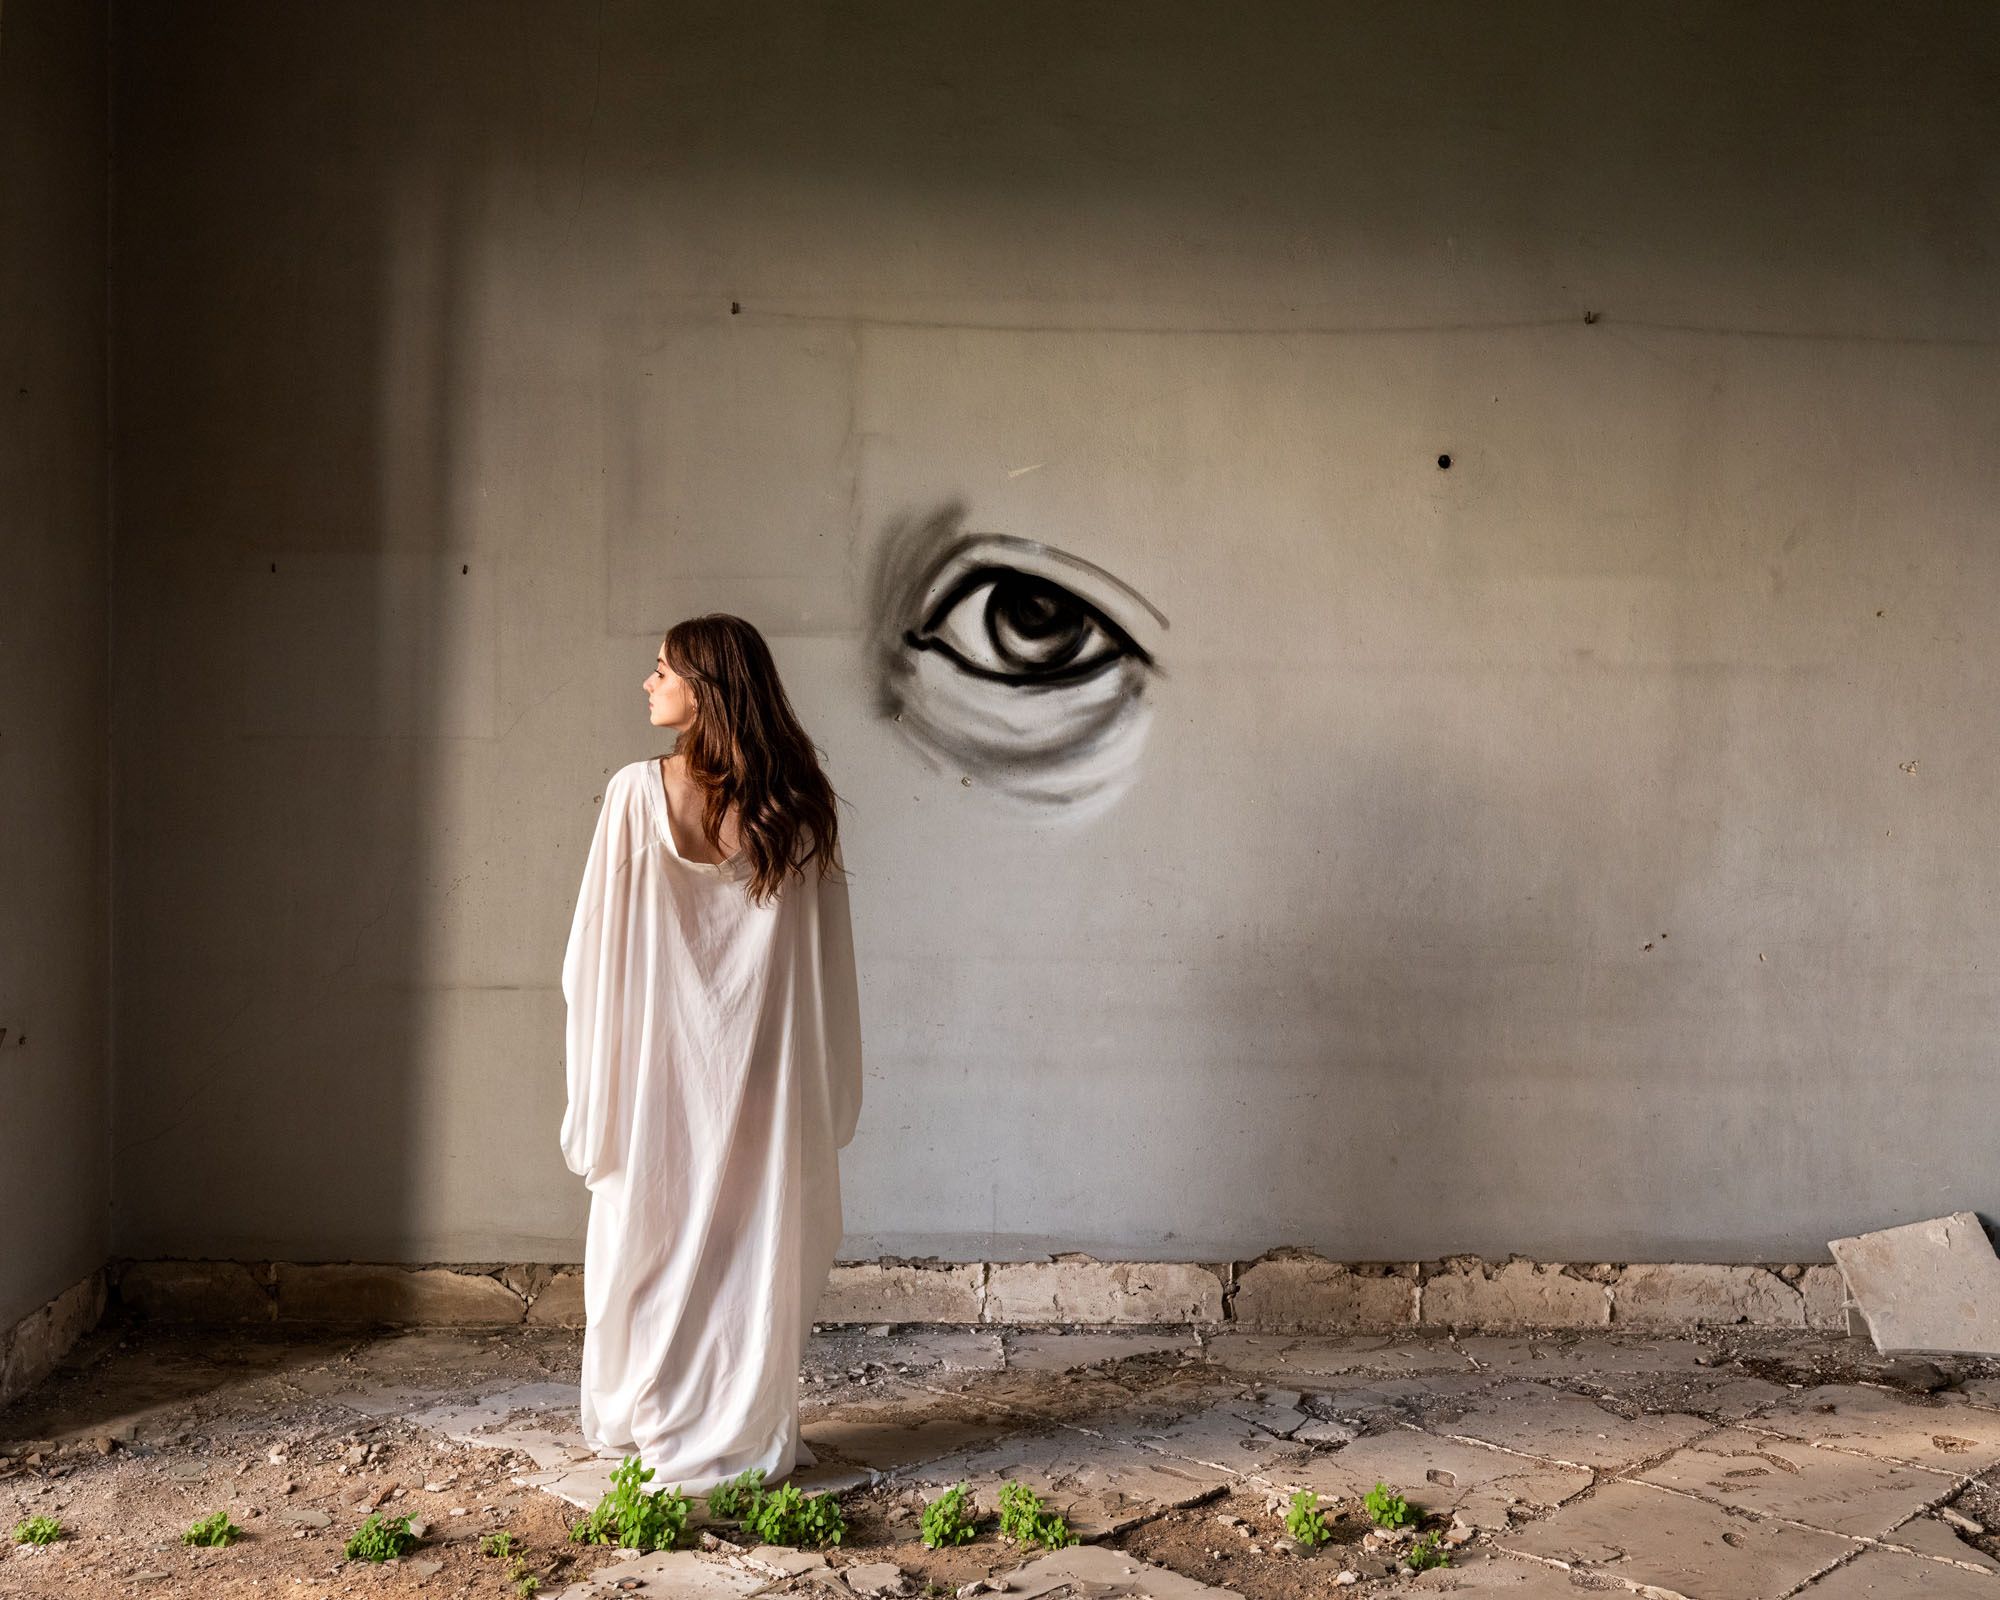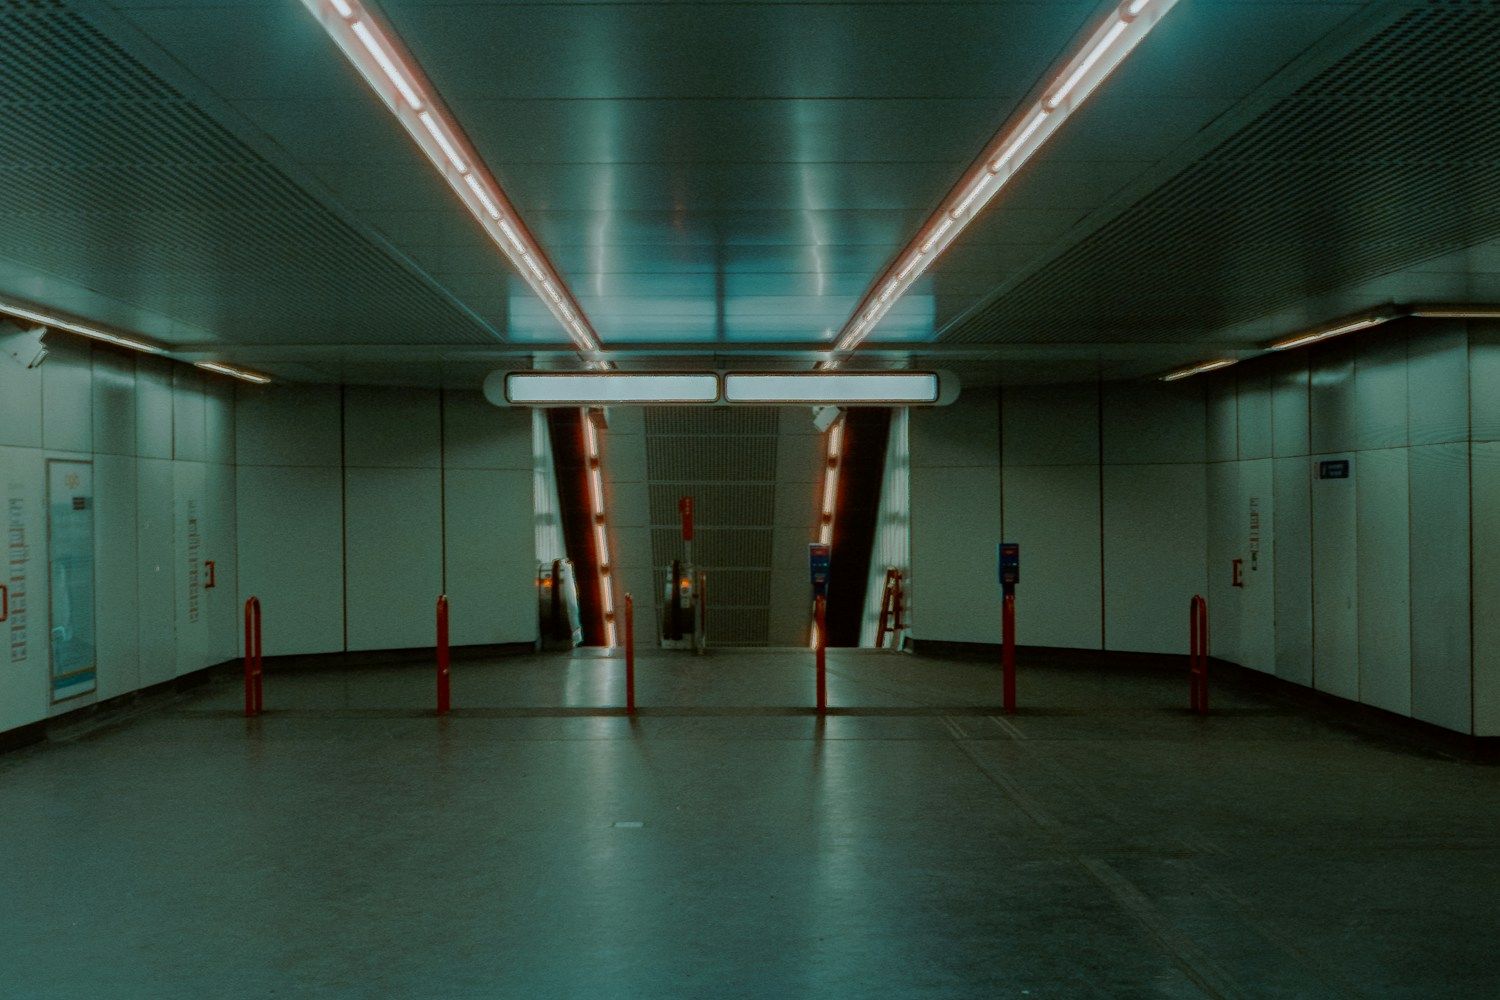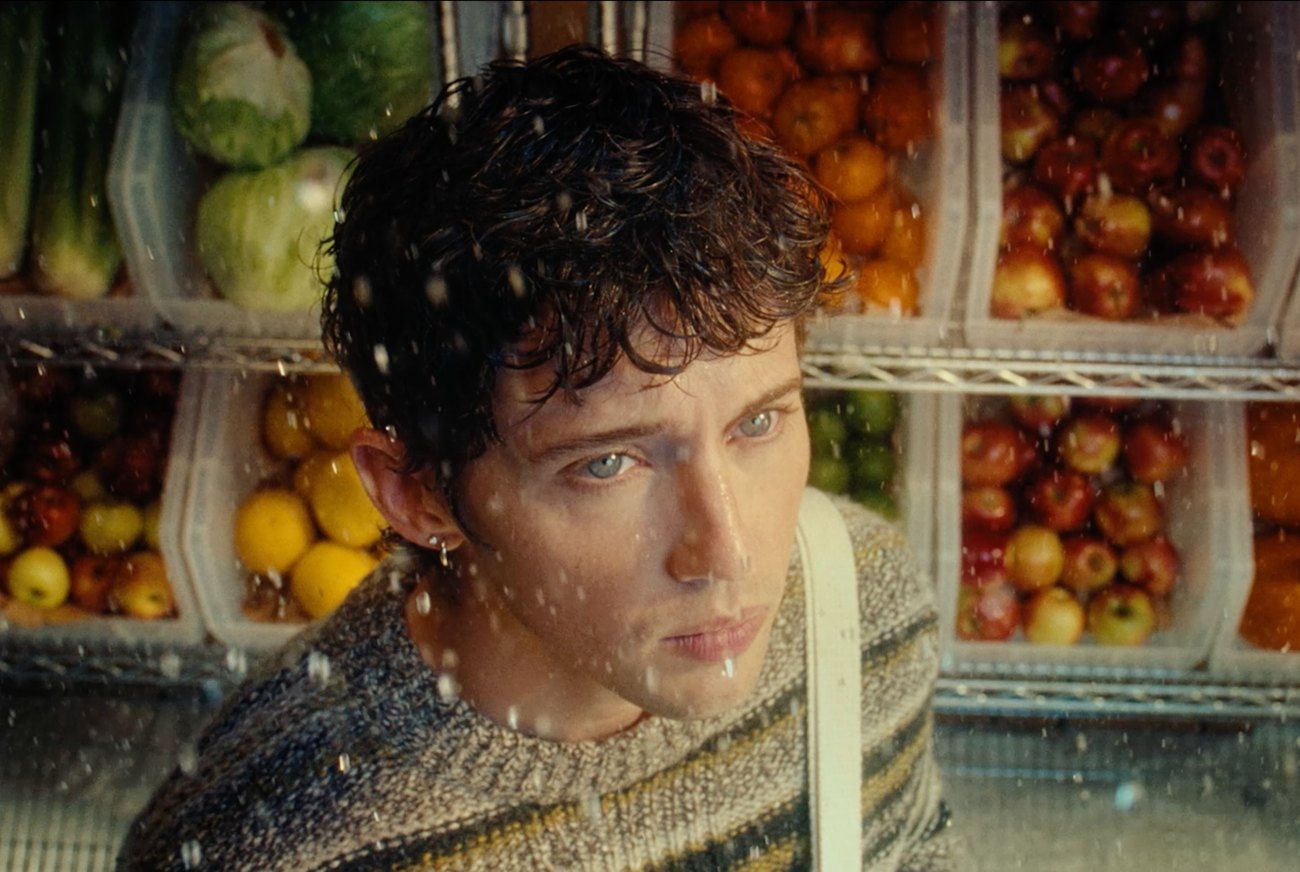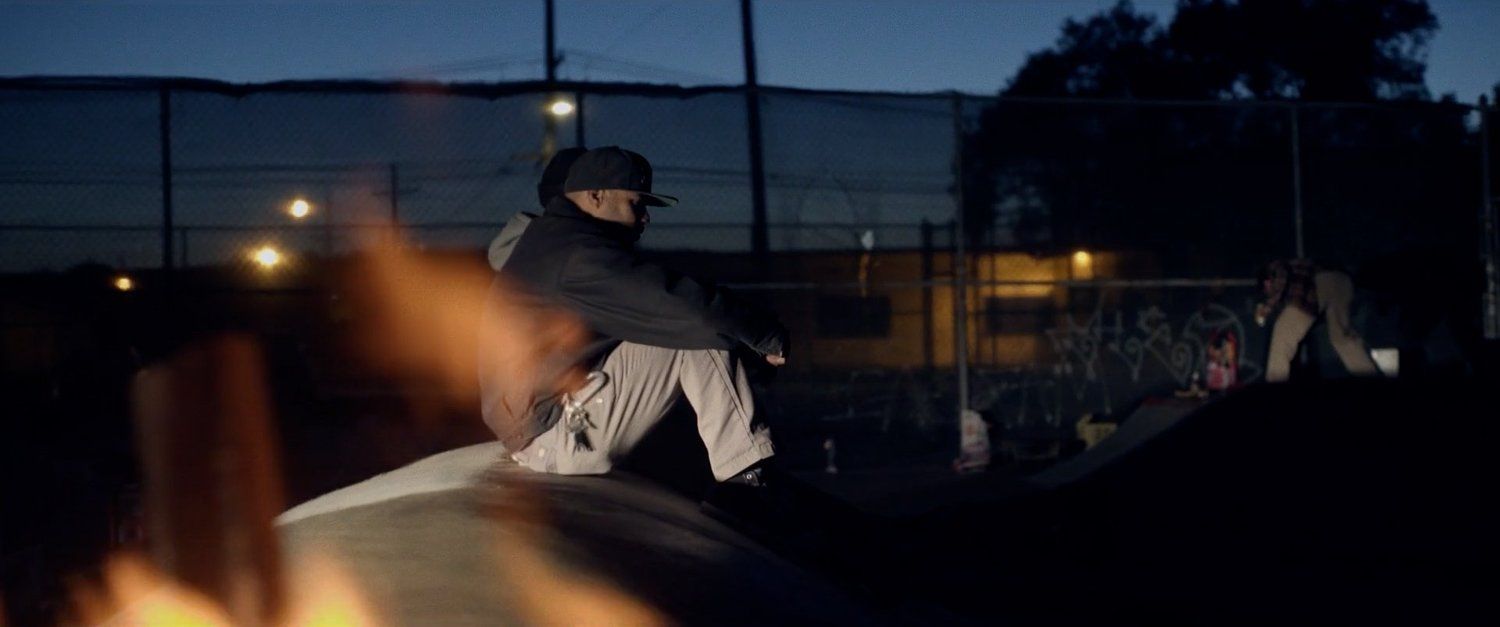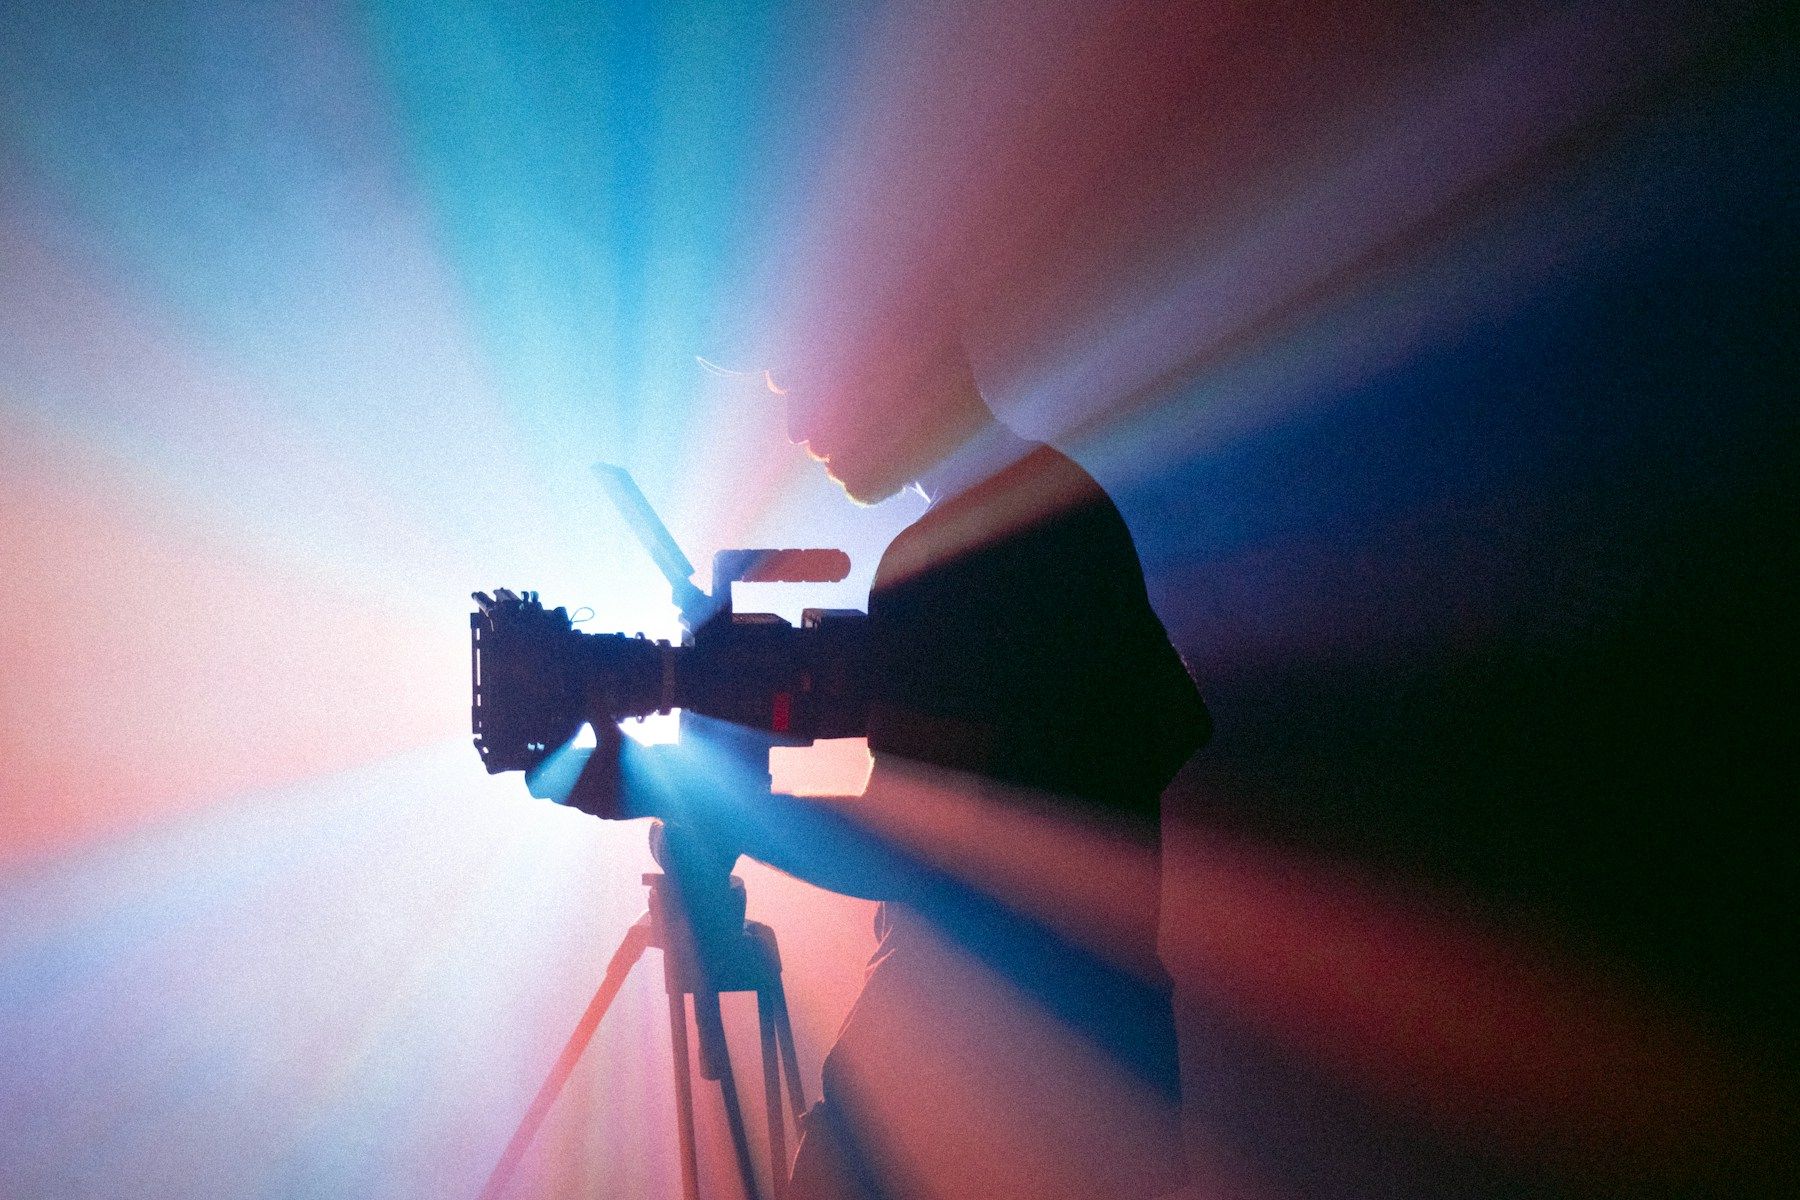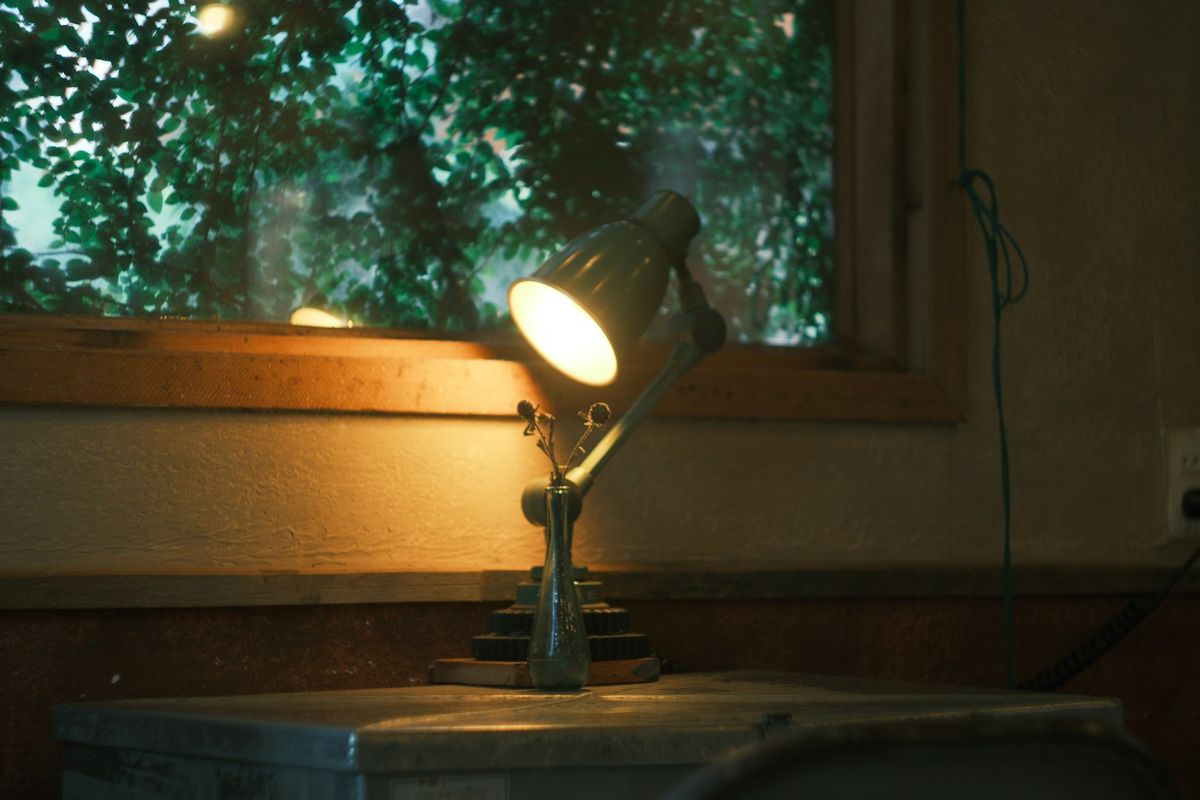
A face can look blue on one side and orange on the other when window light and a warm lamp meet. Moving the white-balance slider may fix one cheek while making the other worse. The quickest useful correction is often a change in where the subject stands.
Find the competing sources
Look at what lights the subject, rather than everything visible in the room. A warm lamp in the background may add atmosphere without touching the face. A ceiling fixture directly above the subject is a different problem.
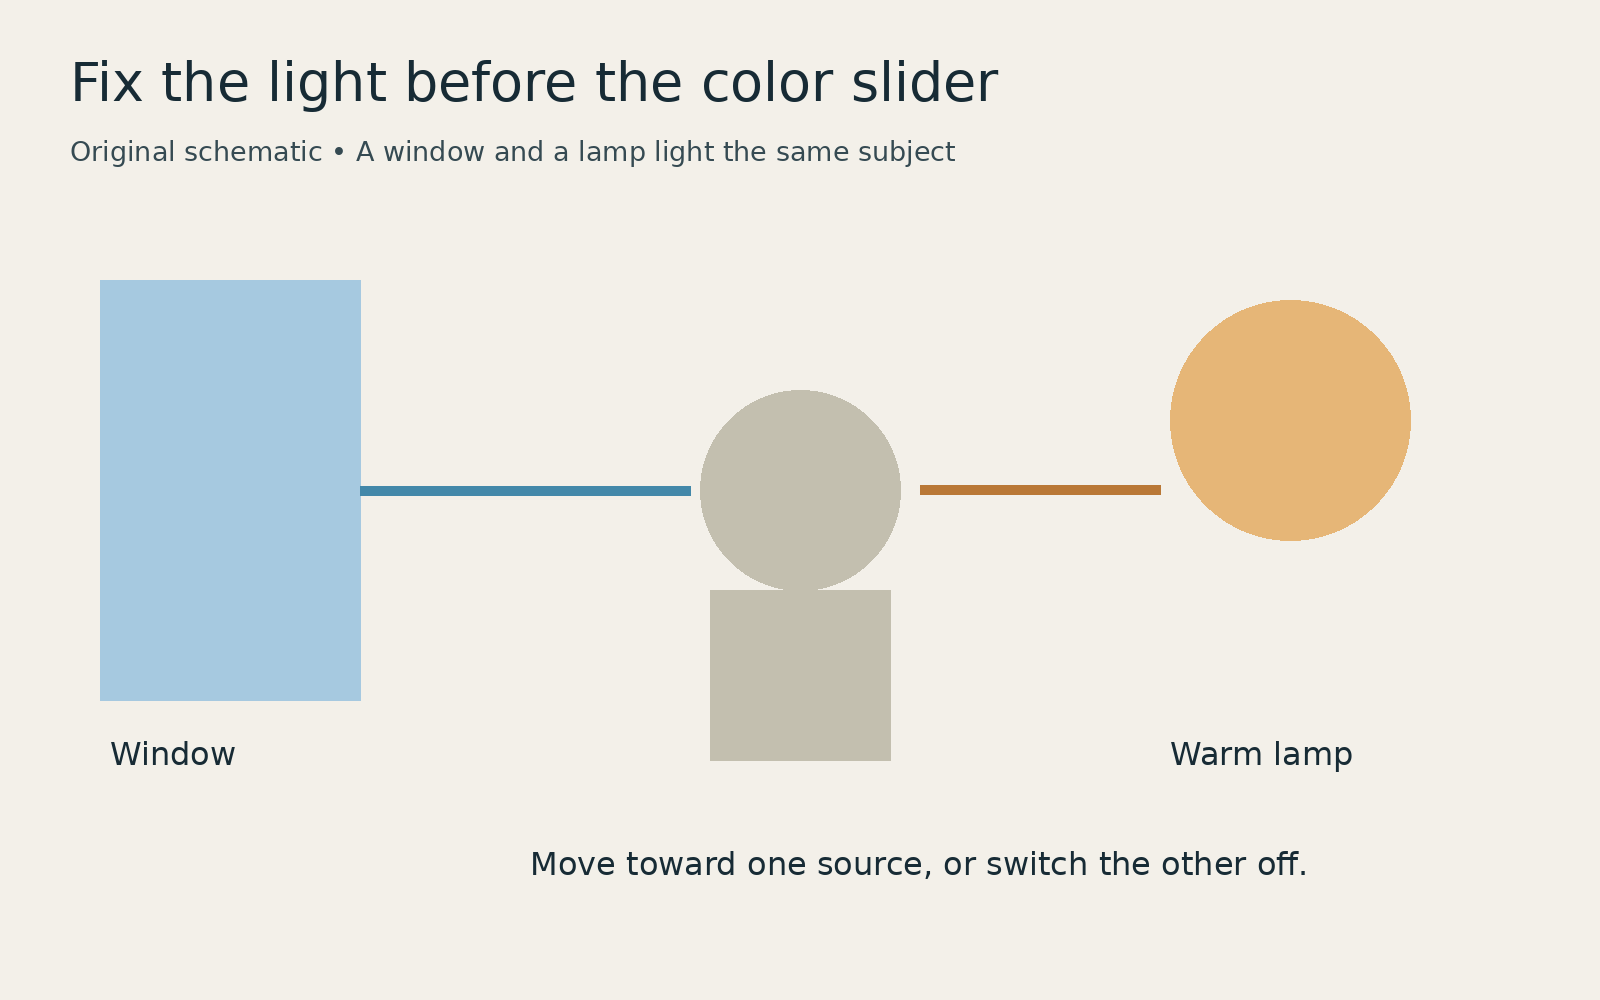
Turn a controllable light off briefly and compare the result. Move nearer the window, away from a colored wall or out of the ceiling light’s strongest patch. You are looking for one source to do most of the work on the important part of the frame. Do not assume a daylight label makes every LED match another light.
Set white balance for the subject
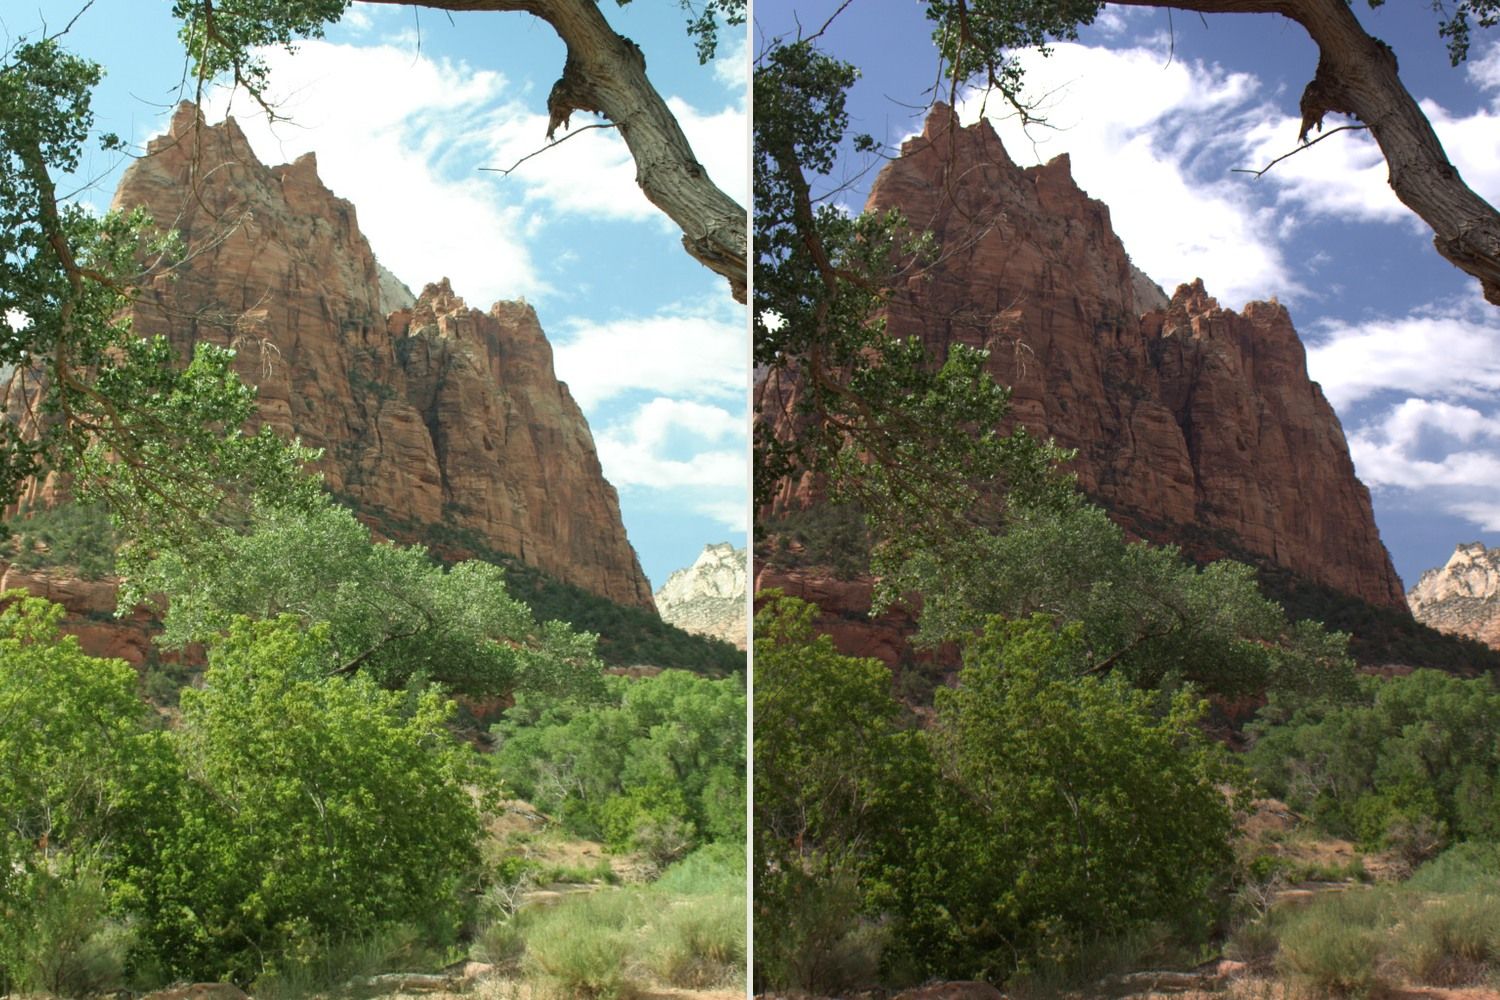
Once the light is simpler, choose a white balance that makes the subject look plausible. Auto white balance is a reasonable starting point for a still photograph. A fixed setting can make a sequence easier to compare when the light stays consistent.
A neutral gray reference helps if it is placed in the same light as the subject. A card near the camera may receive a different mixture of light. Clicking a white wall is also unreliable if the wall is cream-colored, tinted by a reflection or clipped to pure white in the file.
Separate exposure from color
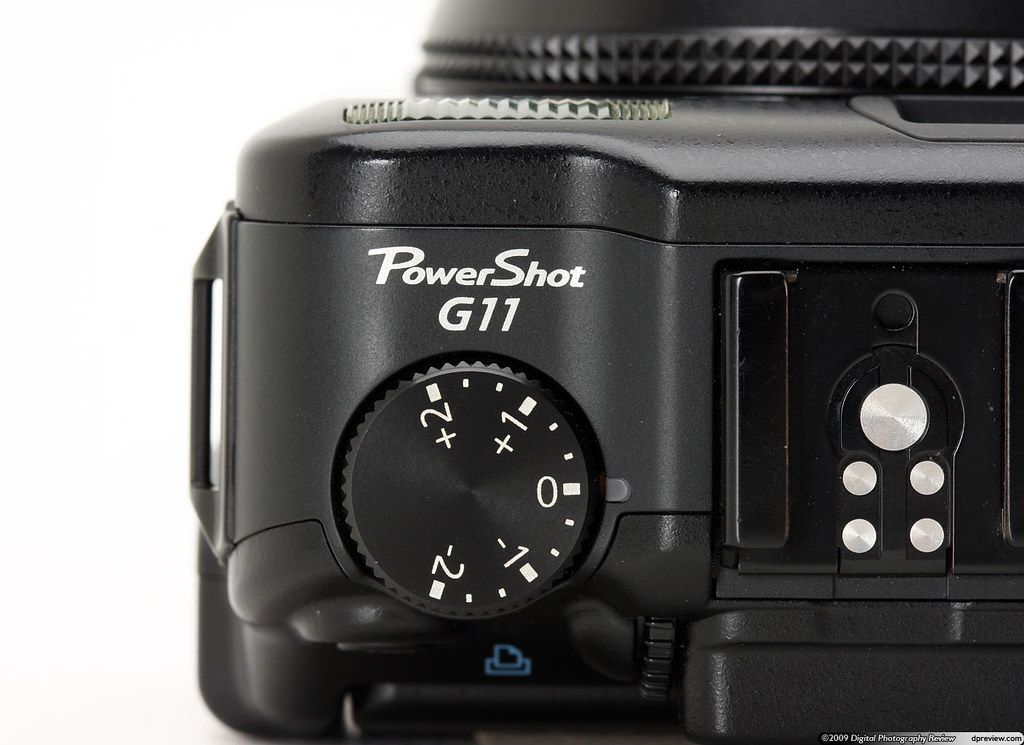
A bright orange patch is not always just a color problem. Check whether a light source or skin highlight has lost detail. Lowering exposure can protect highlights during capture, but white balance cannot reconstruct clipped channels. Our exposure-compensation guide explains how to change the camera’s brightness target; that control serves a different purpose from white balance.
Edit the remaining cast locally
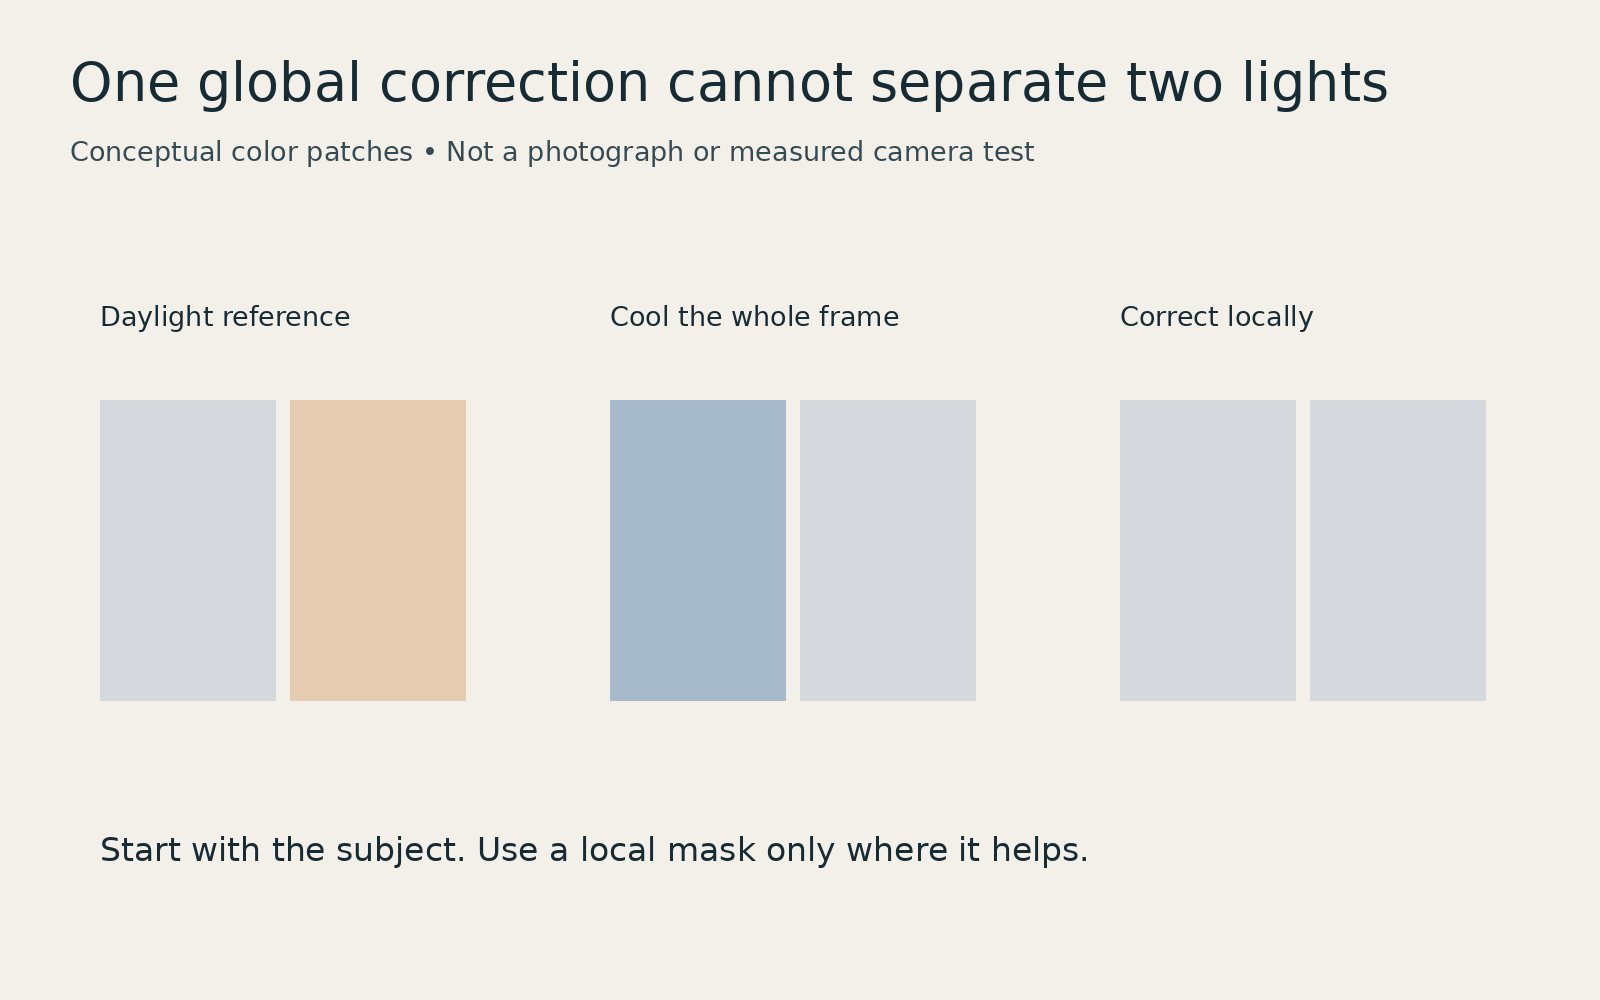
Set the overall temperature and tint for the main subject first. Then use a local mask for the region lit by the other source, adjusting its temperature and tint gently. Feather the boundary and inspect hair, skin and edges where the two lights overlap.
Know when to leave some color
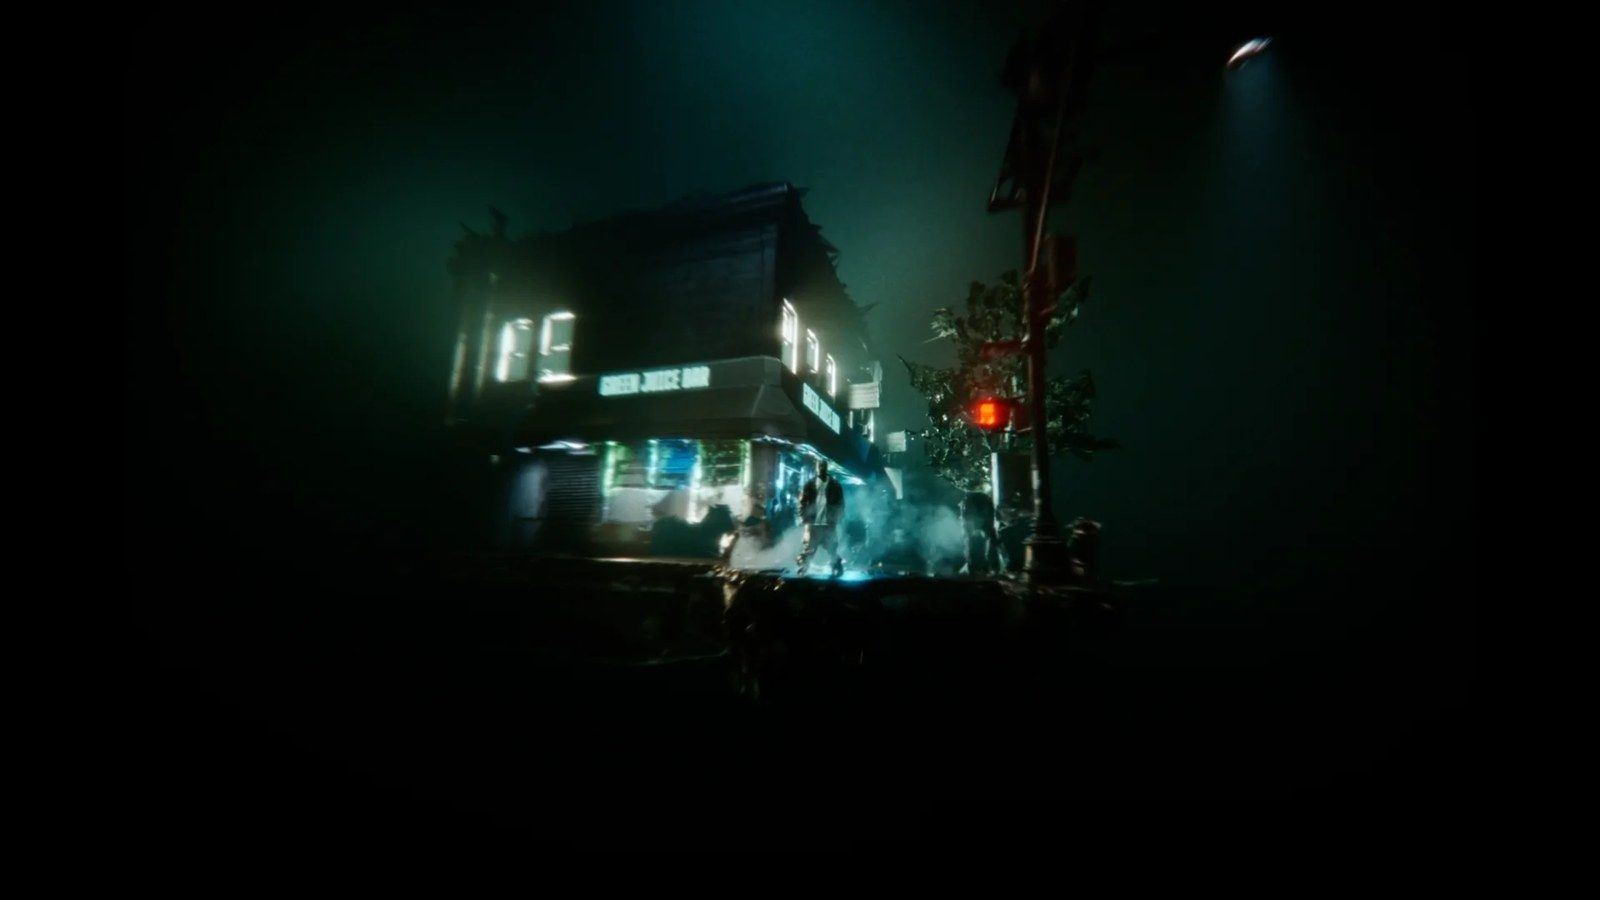
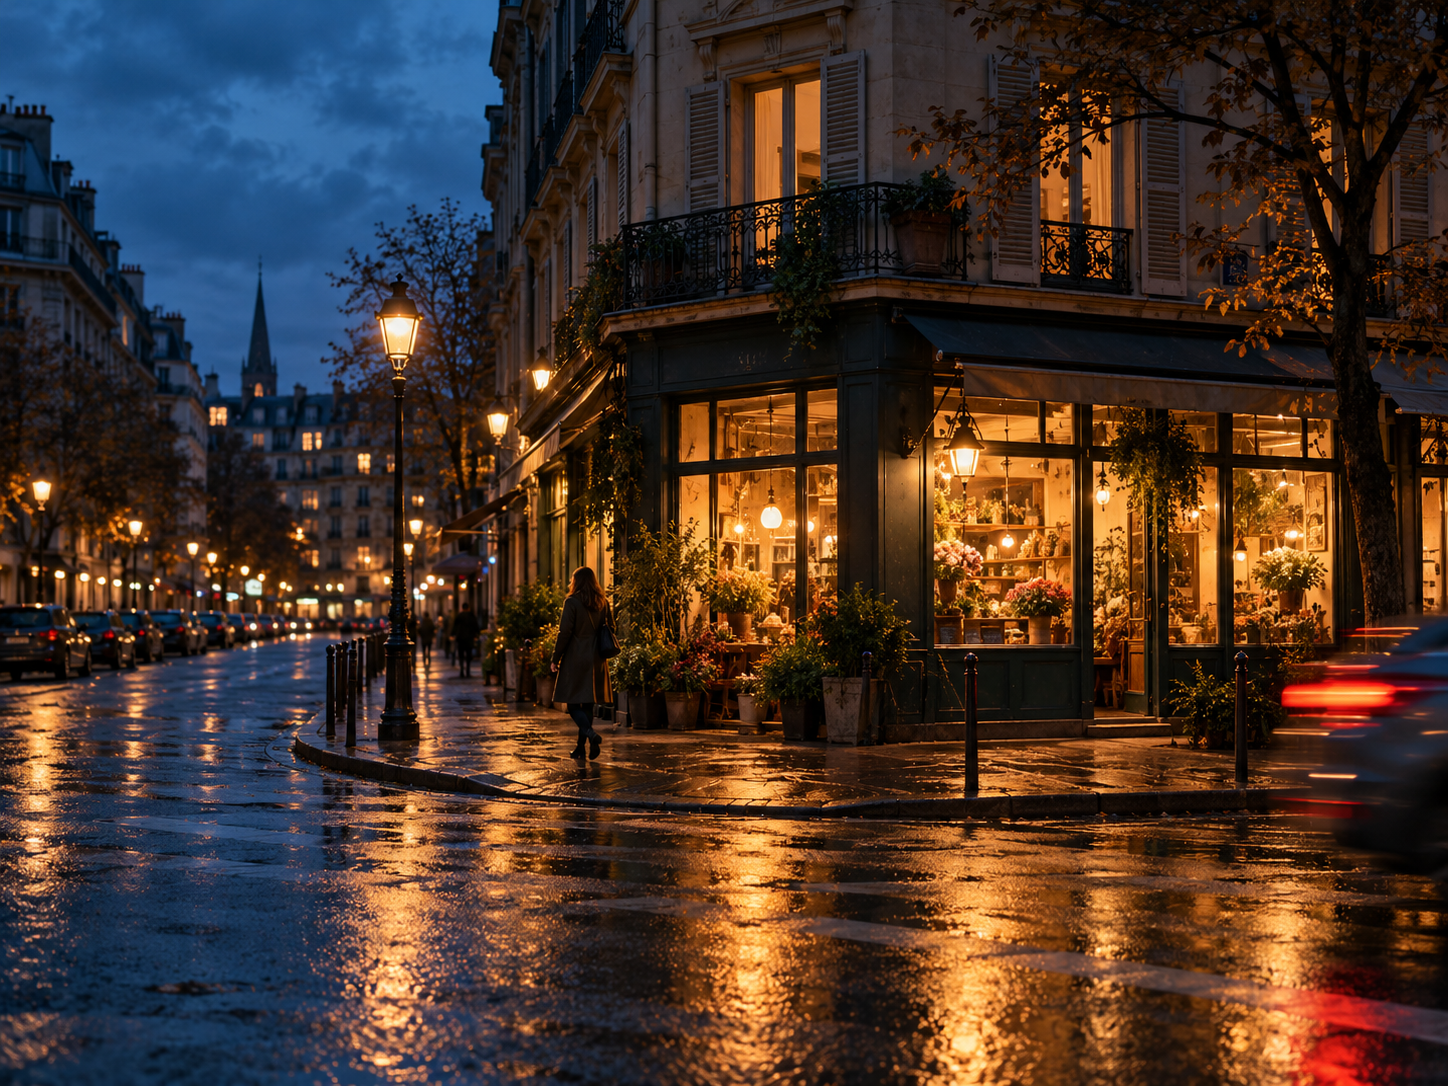
A blue window and an amber lamp can tell the viewer something about the room. The goal need not be identical neutral color everywhere. Keep the subject readable and decide whether the background color helps the photograph.
RAW capture usually offers more flexibility for white-balance changes than a finished JPEG, but it cannot make a poor light spectrum complete or remove every mixed-light boundary. If the correction starts damaging skin, return to a restrained edit. For the next frame, change the light or subject position before trying a stronger preset.
If you want the option to revisit white balance later, see when to keep a RAW original and when a JPEG is enough.
Read Exposure Compensation: When to Use Plus and Minus for the separate brightness control.