Golden Hour or Blue Hour? Plan a Photo Walk With Your Phone
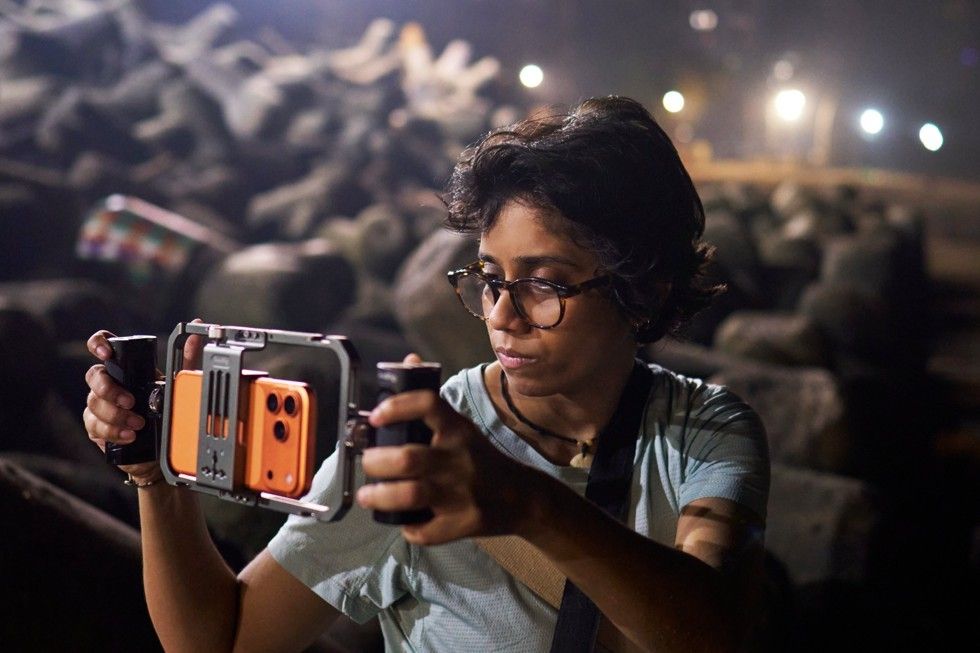
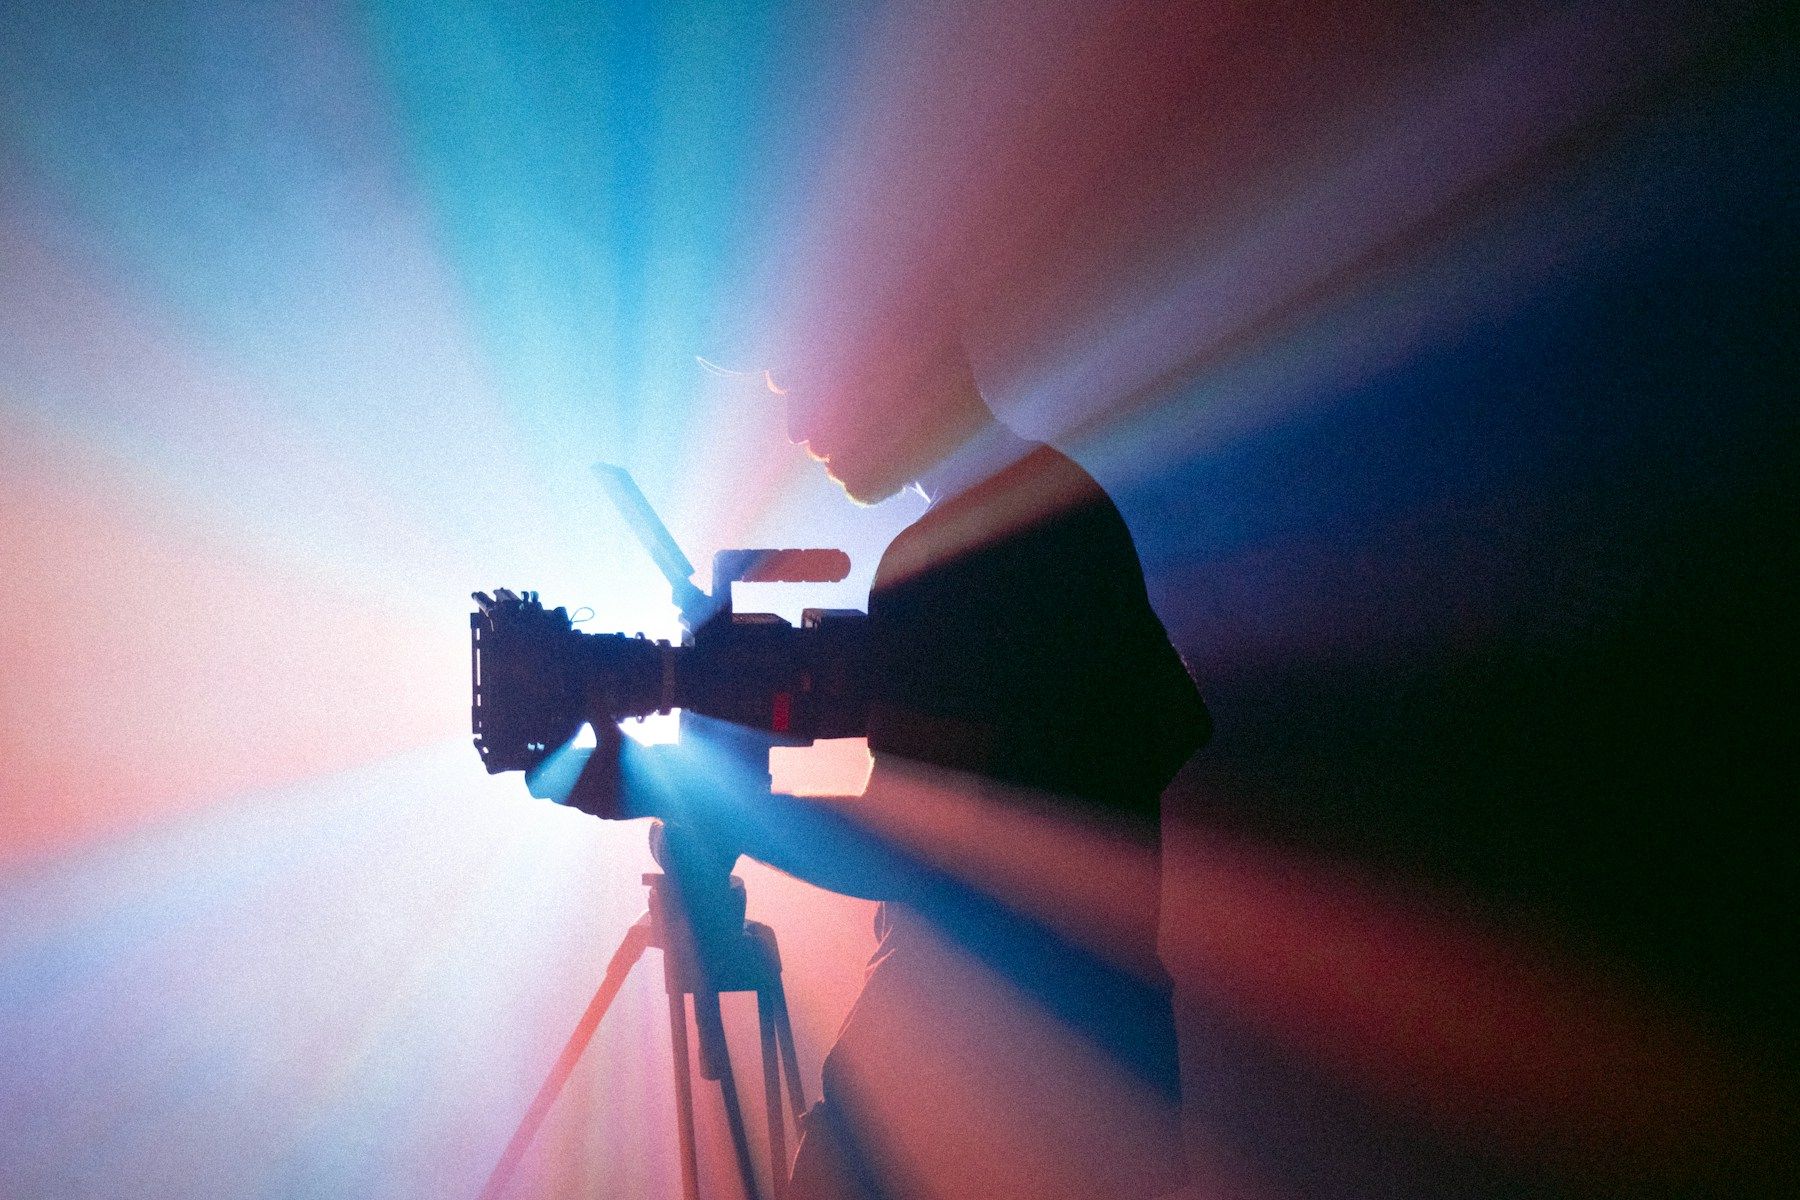
Use low sun for texture and shadows, then stay after sunset for a blue sky behind illuminated buildings. Plan two stops around what you want to see.
Photo: John Cunniff
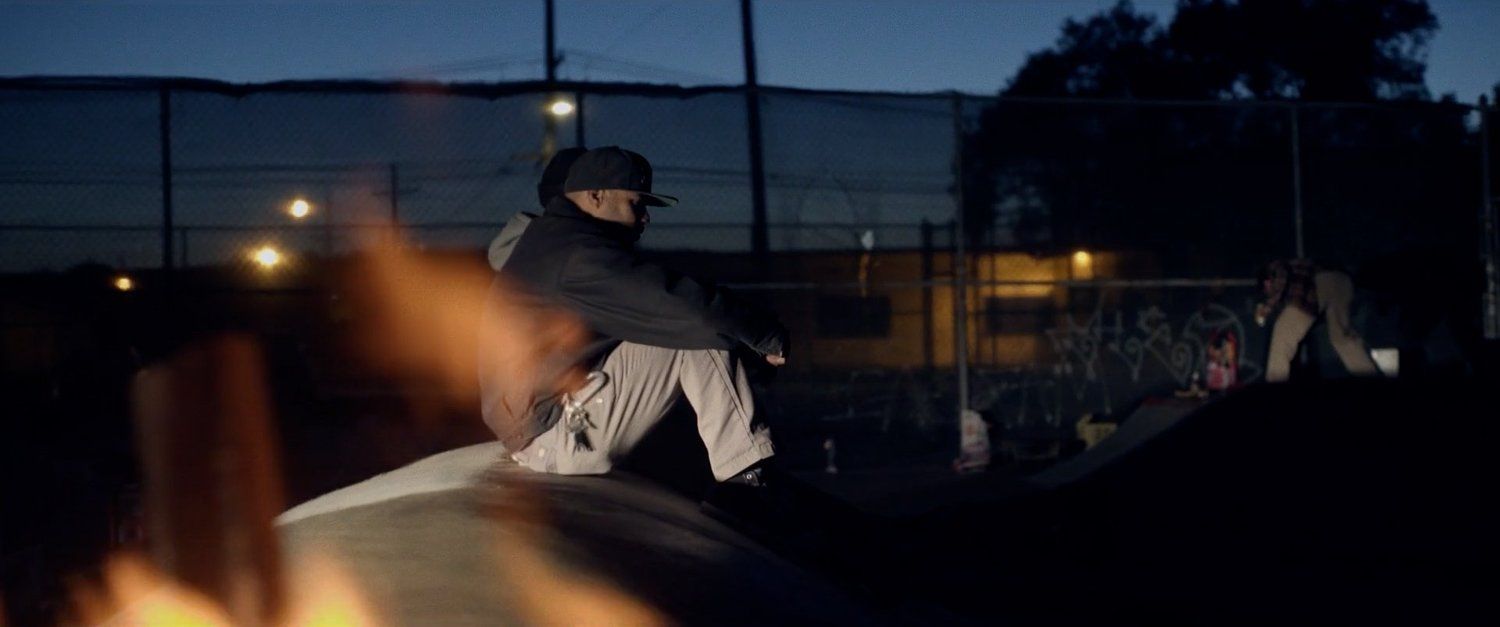
If you want low, warm light and long shadows, arrive before sunset. If you want a blue sky behind lit windows or streetlamps, stay after it. You can get both on one walk if the second spot is close enough that you can get there while the sky still has color.
Choose the first stop for the direction of the light
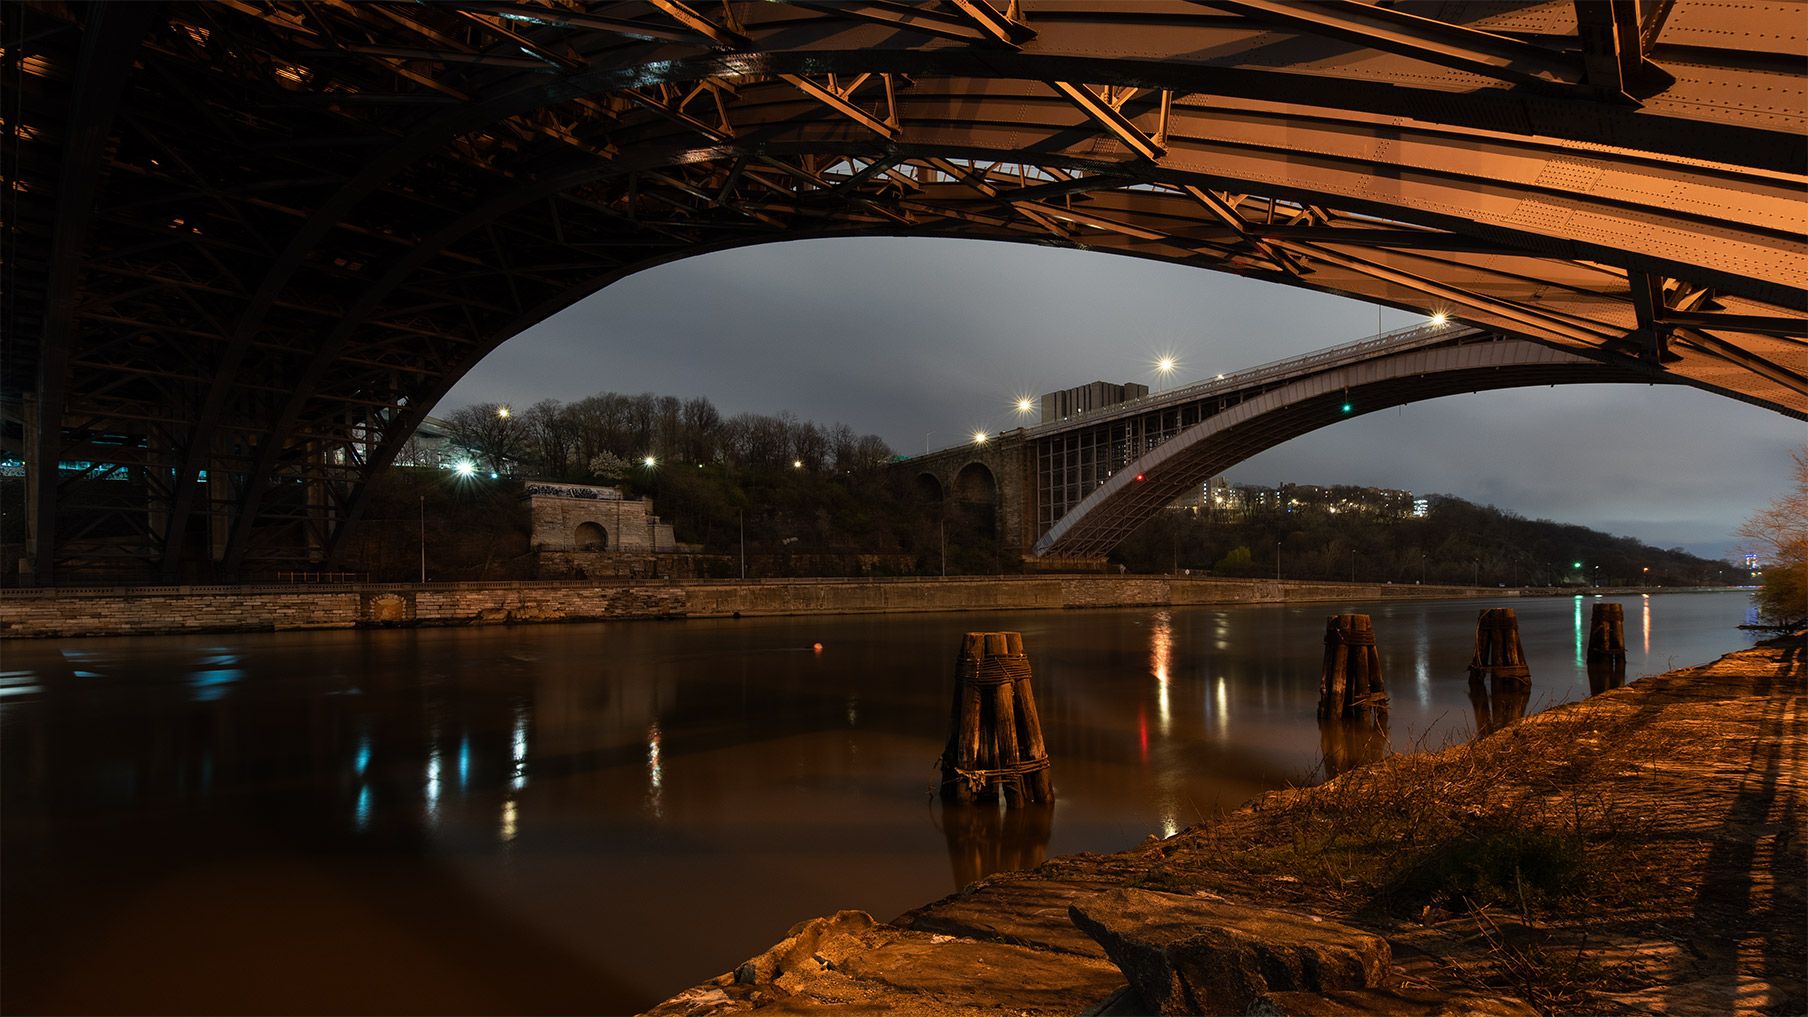
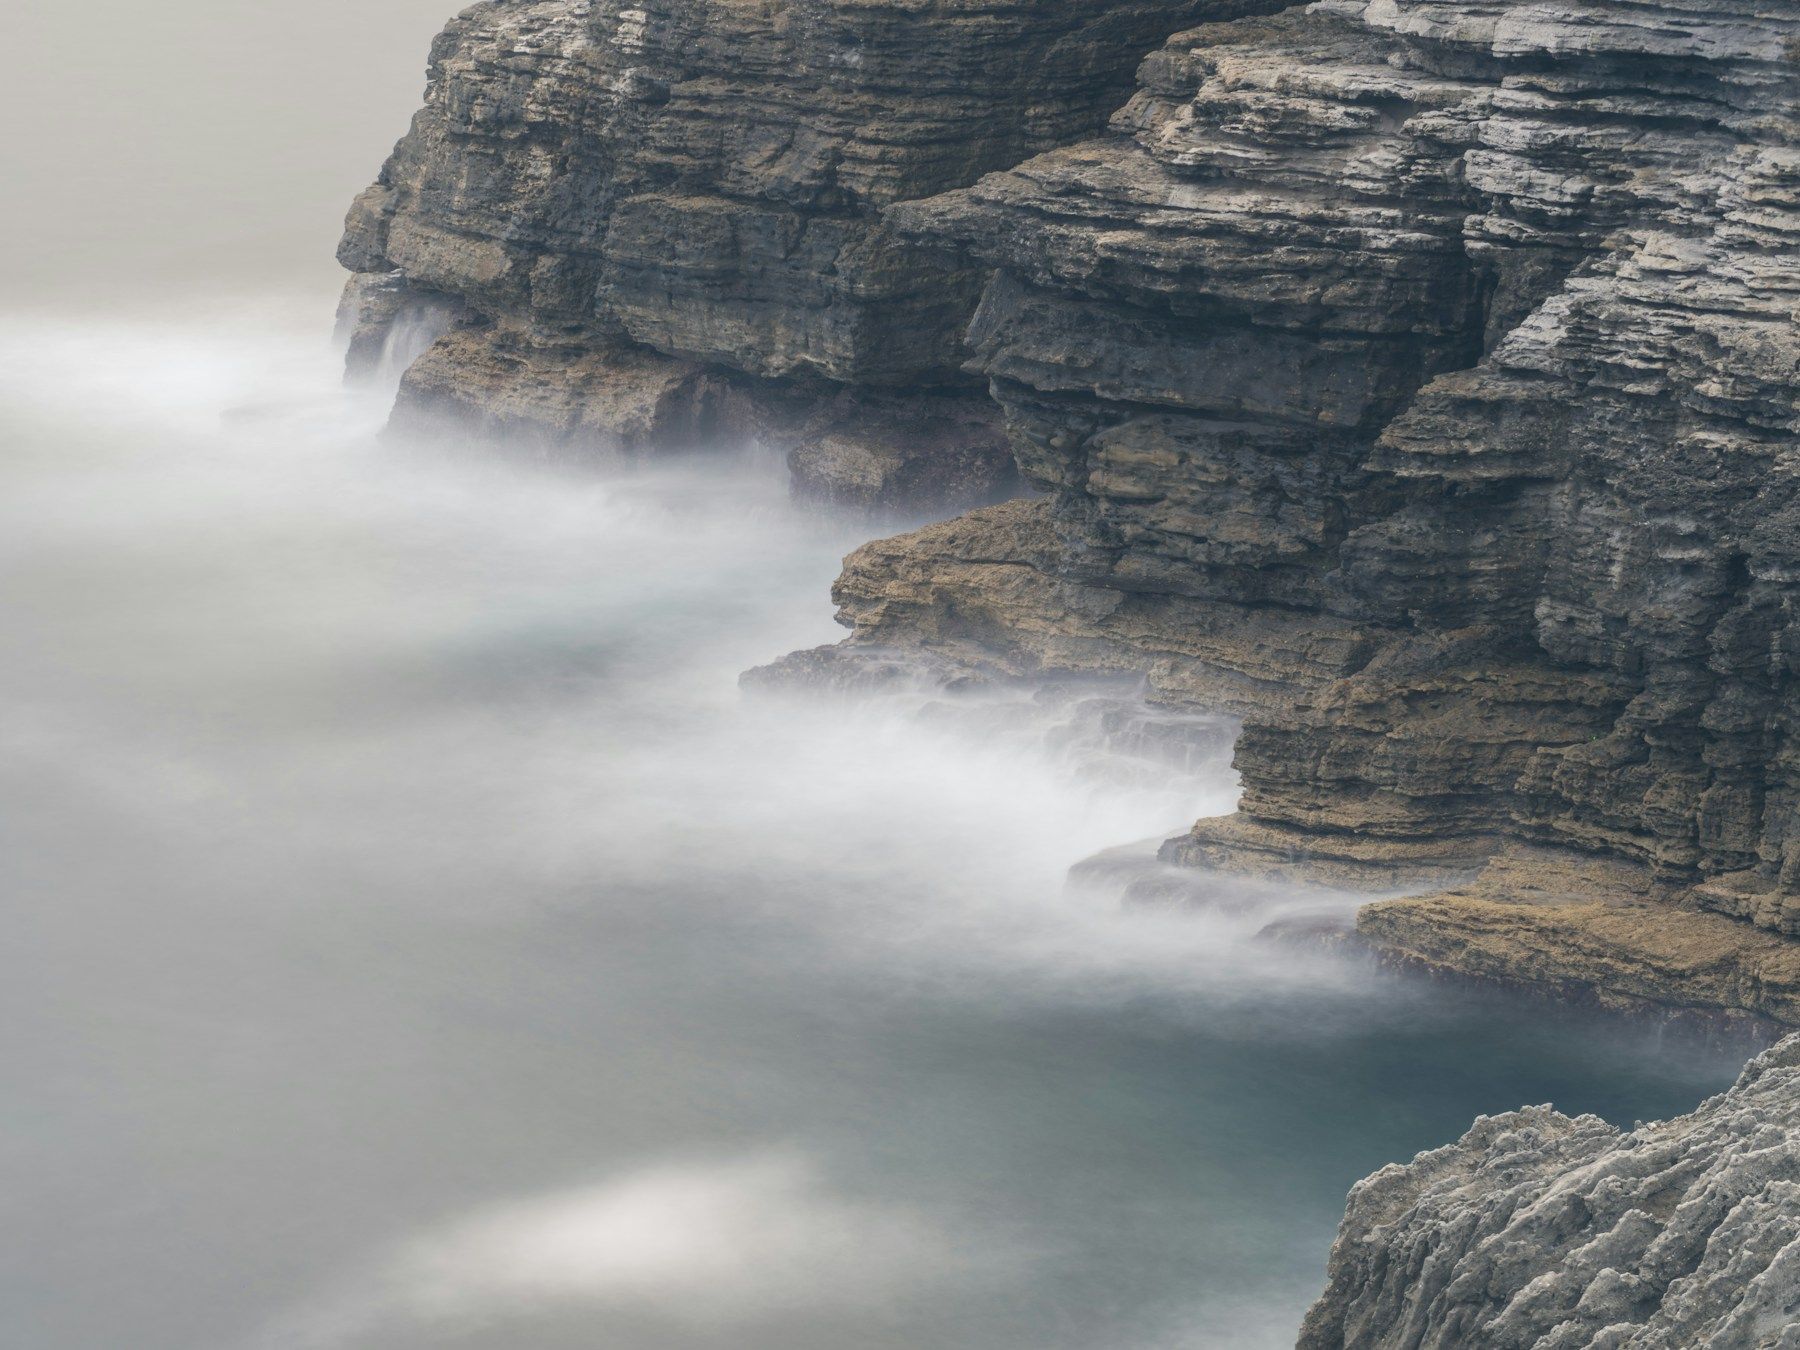
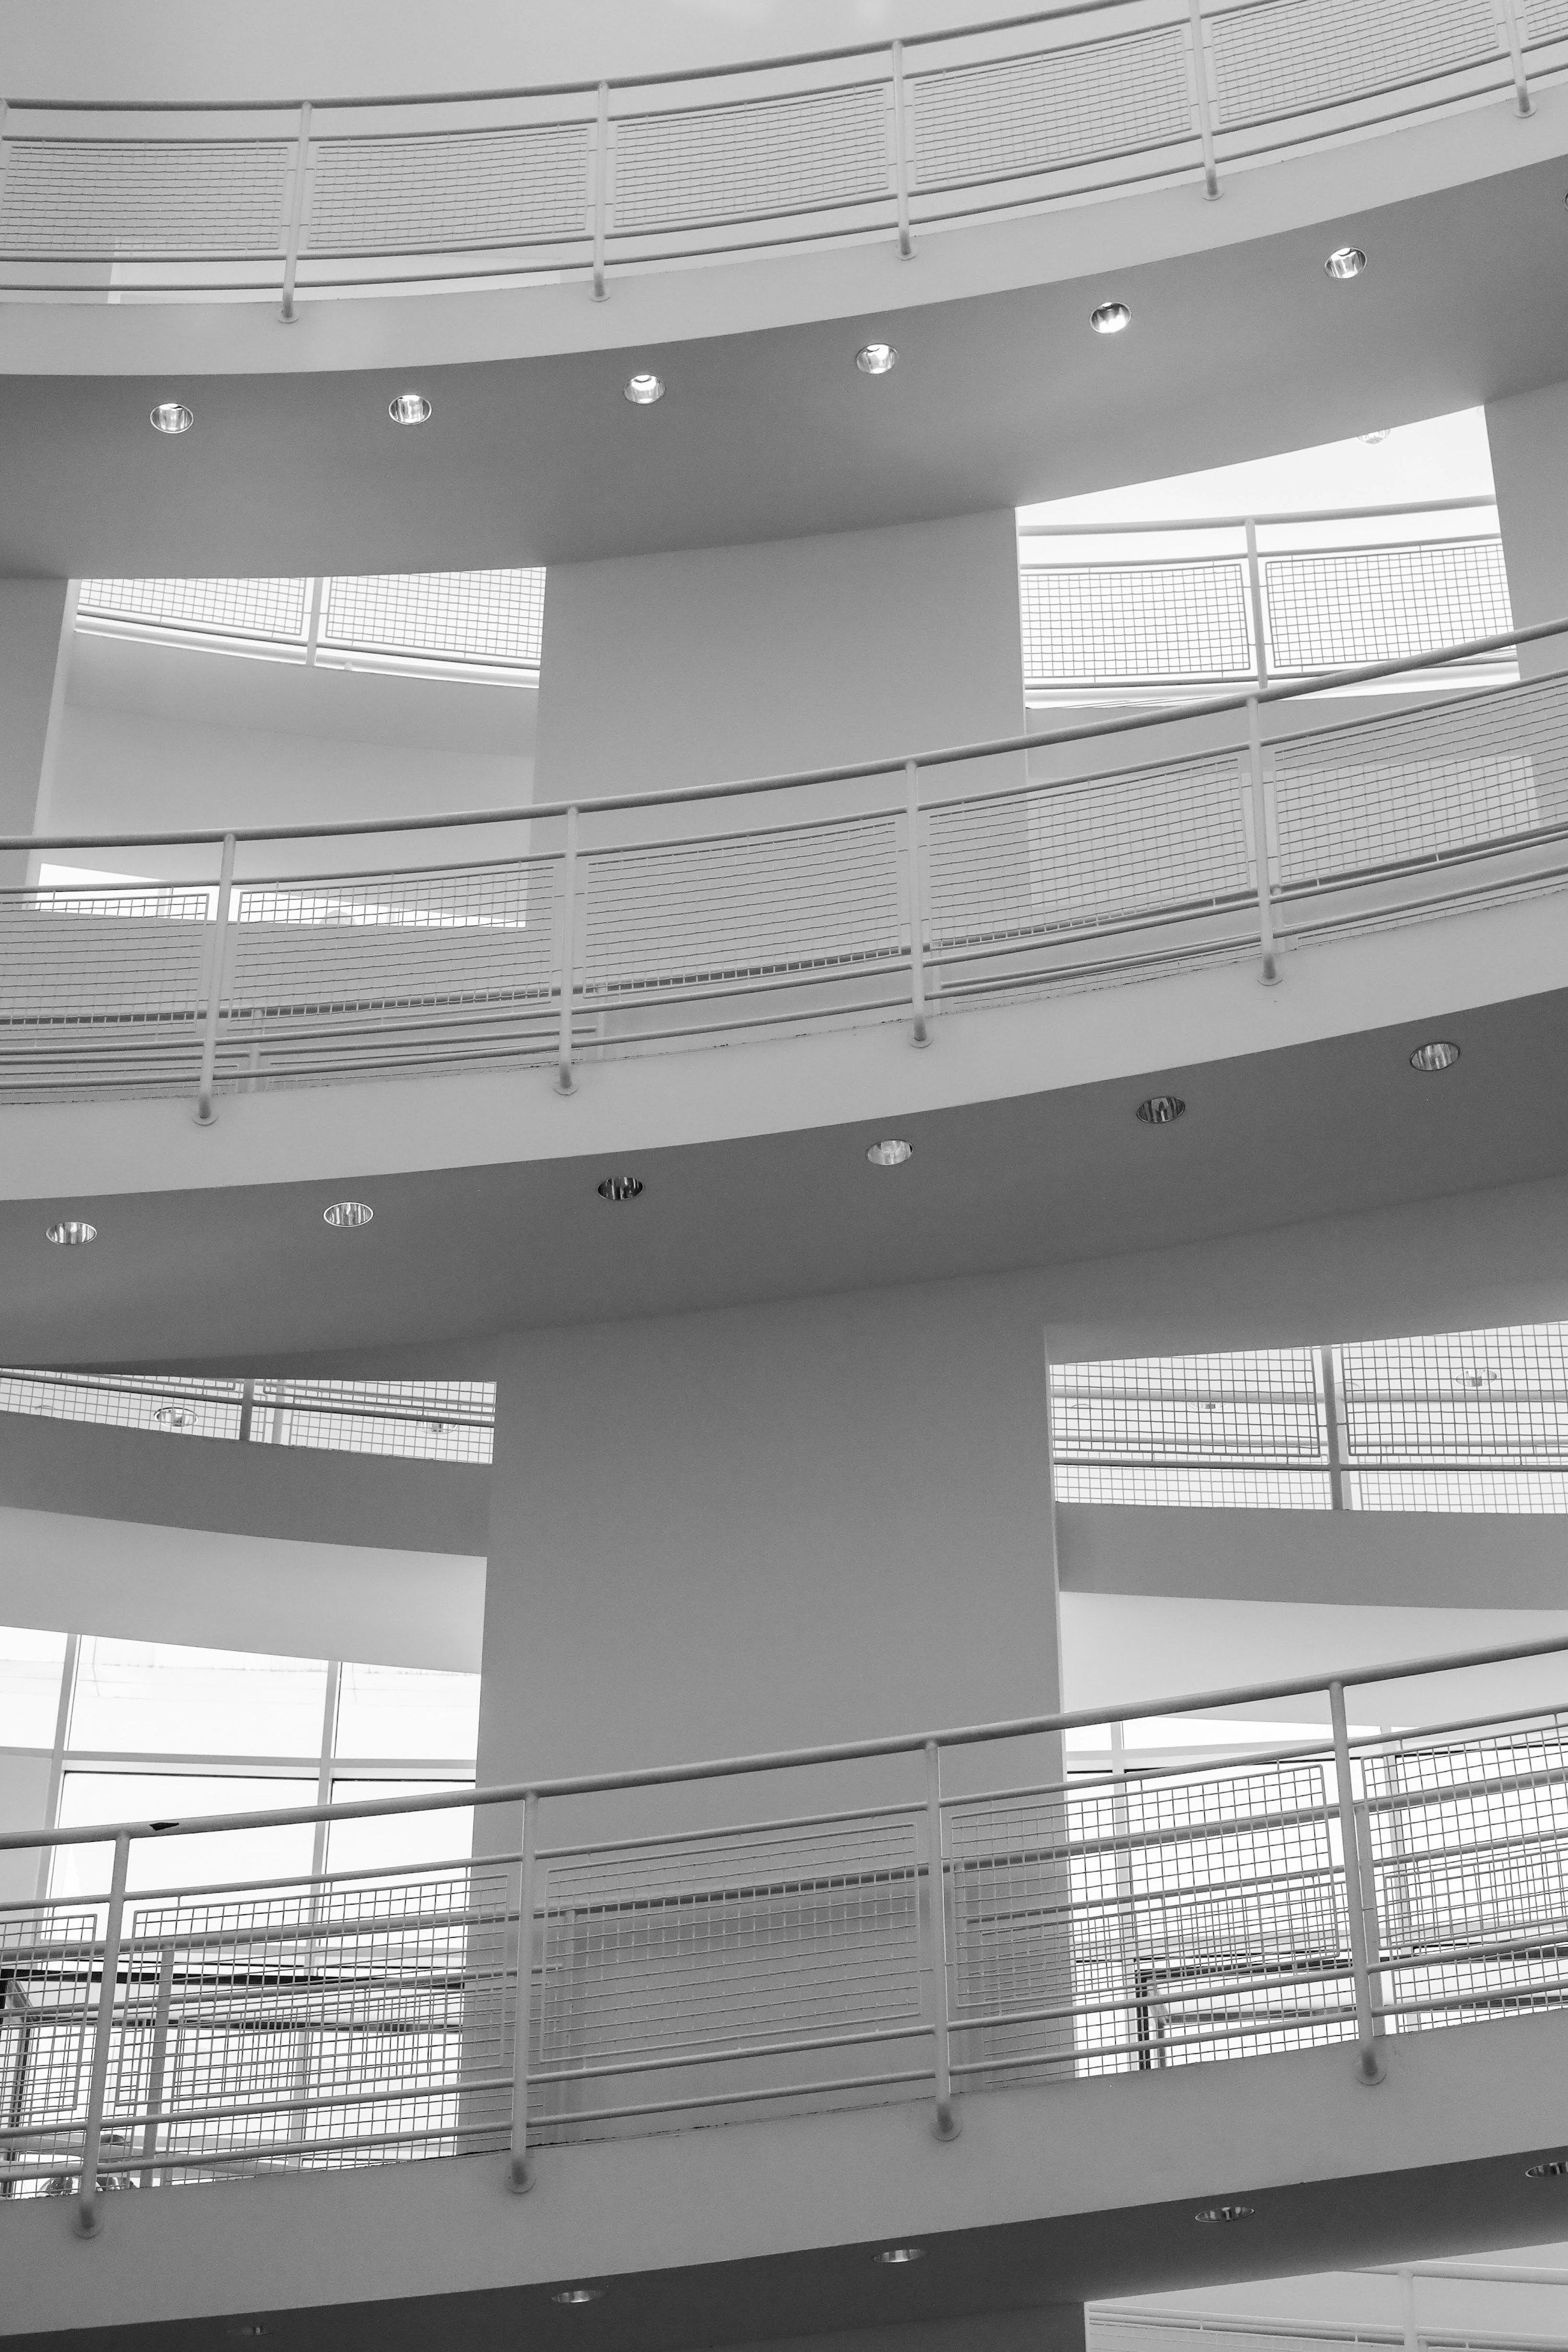
Look up the local sunset time and give yourself time to find a position. Pick a wall or building that gets light across its face. Side light makes surface texture stand out. At a waterfront, you can instead use the bright sky behind a bridge and let the structure become a silhouette. Clouds and nearby buildings can change what you see well before the listed sunset time.
Stay for the second picture
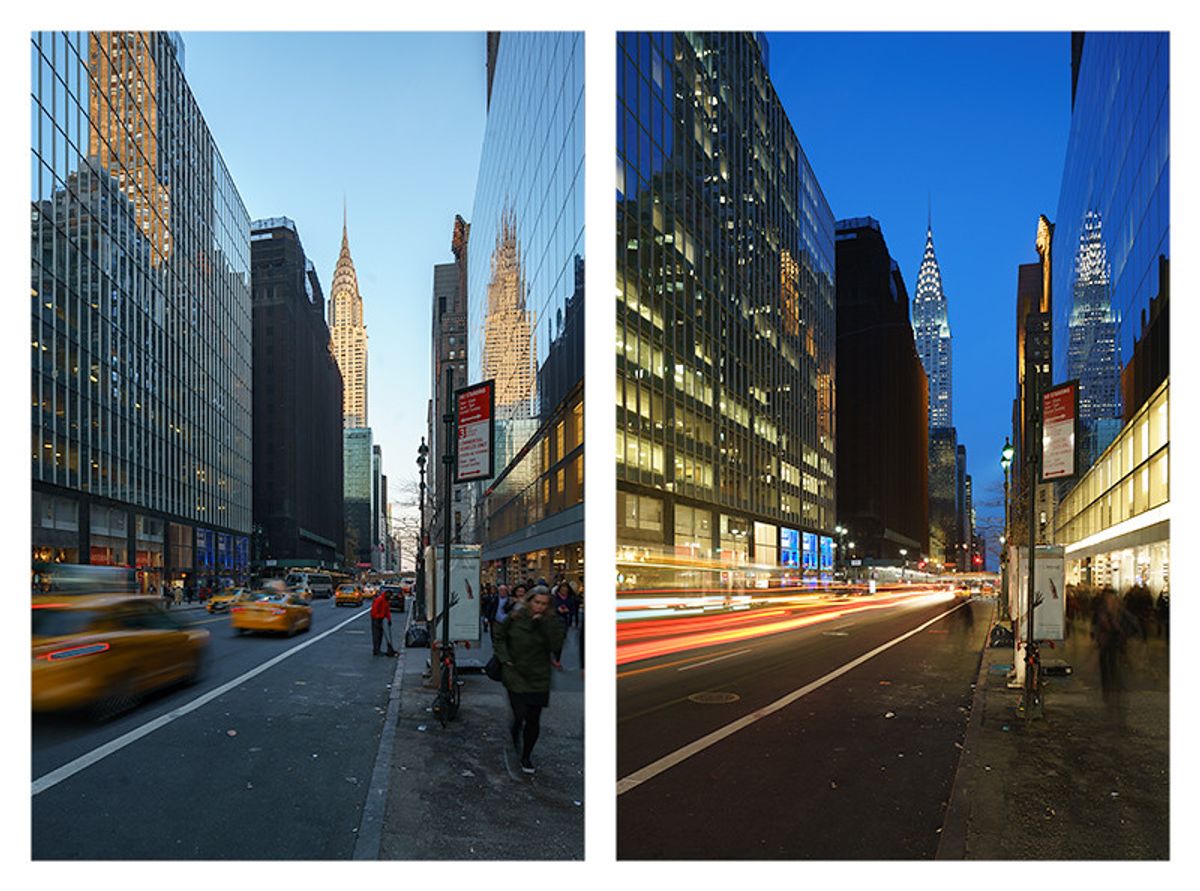
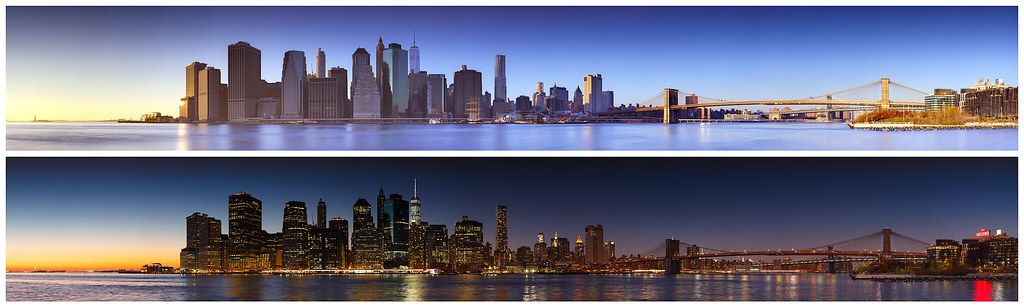
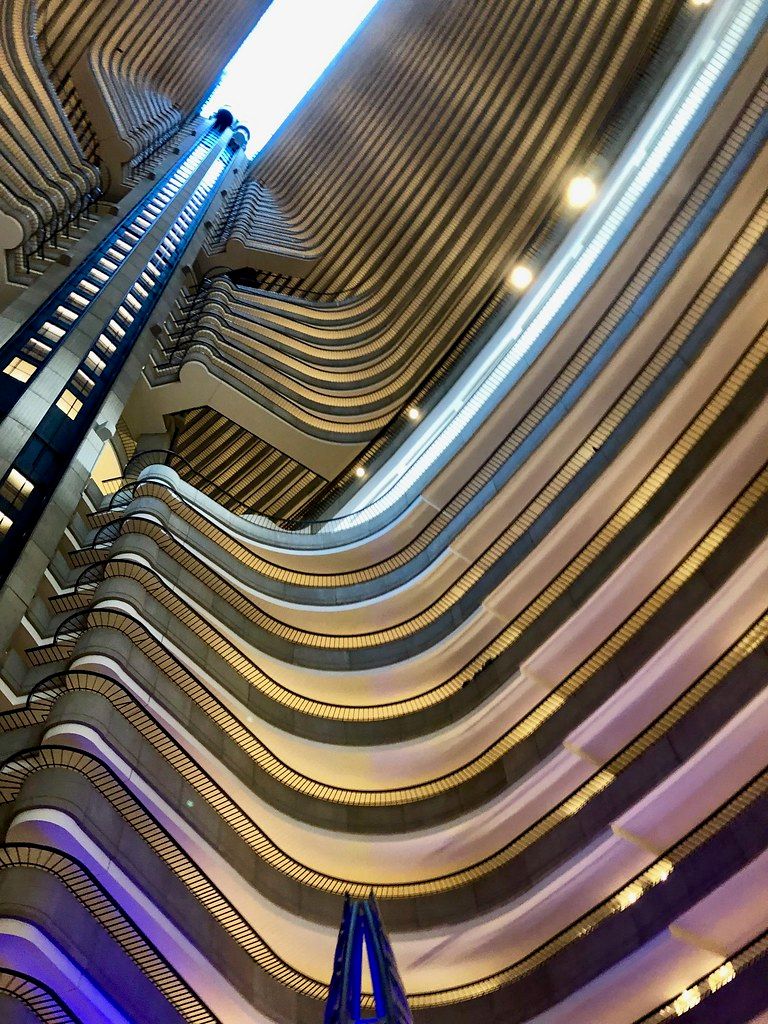
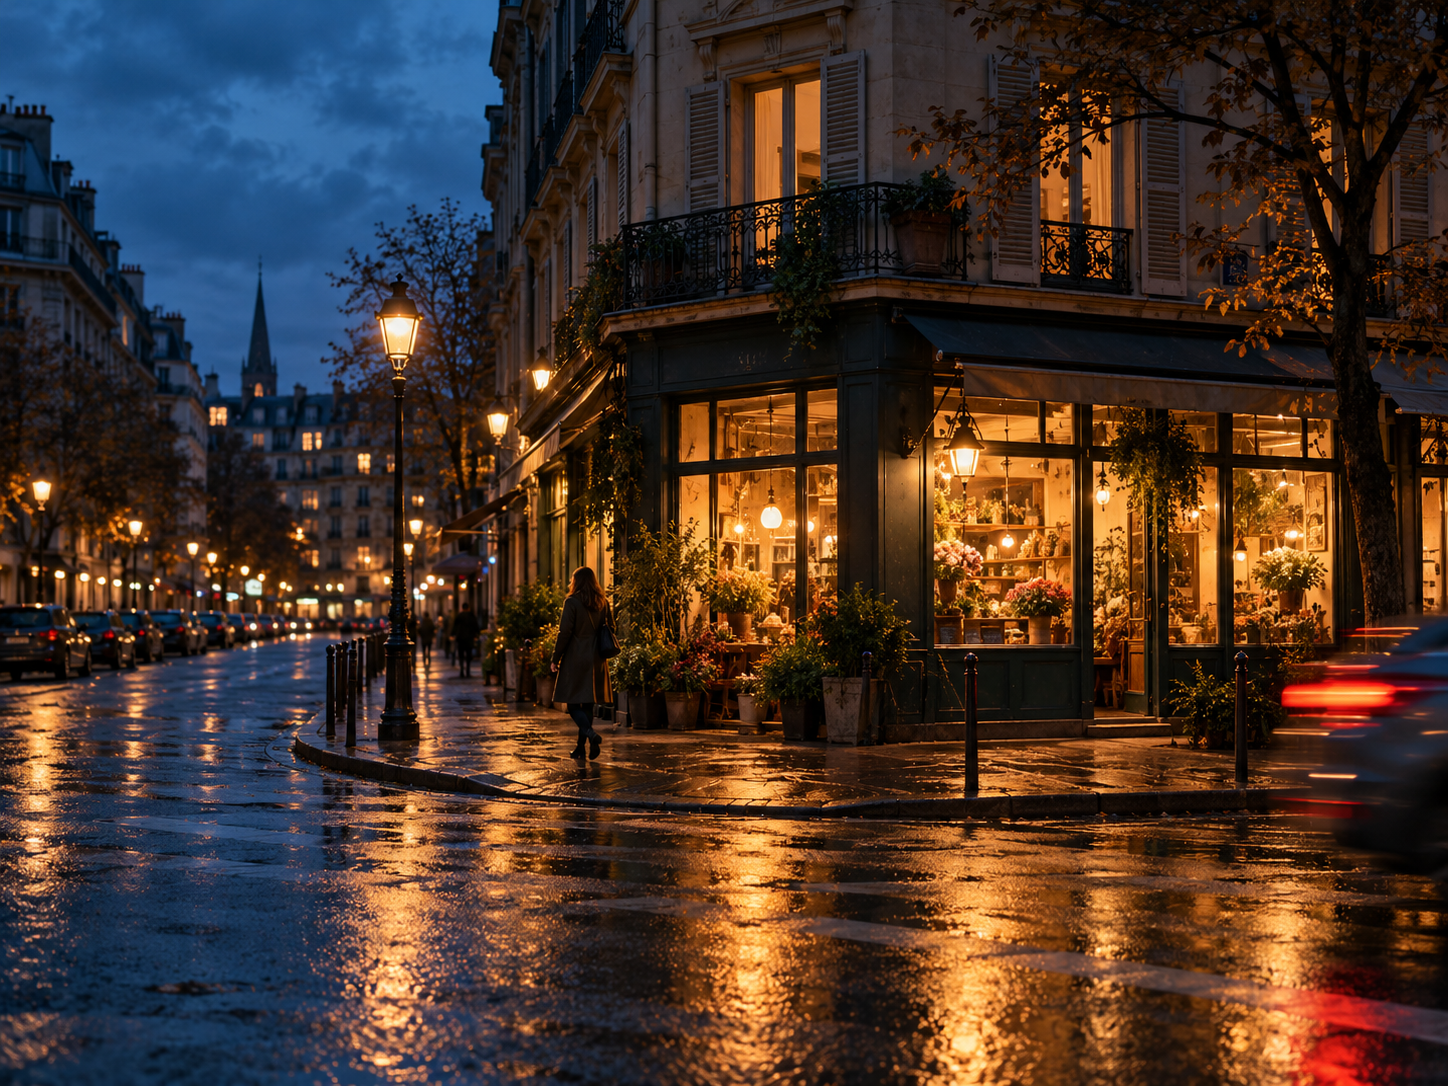
Find a second frame with a skyline, lamps or windows you can compare against the sky. In John Cunniff’s Brooklyn Bridge pair, the view stays roughly the same while daylight gives way to points of electric light. His 42nd Street pair gives you a street-level version of the same choice. Notice how much of the frame you want to give to windows, headlights or the remaining blue.
Photo: John Cunniff
Keep the camera steady as the light falls
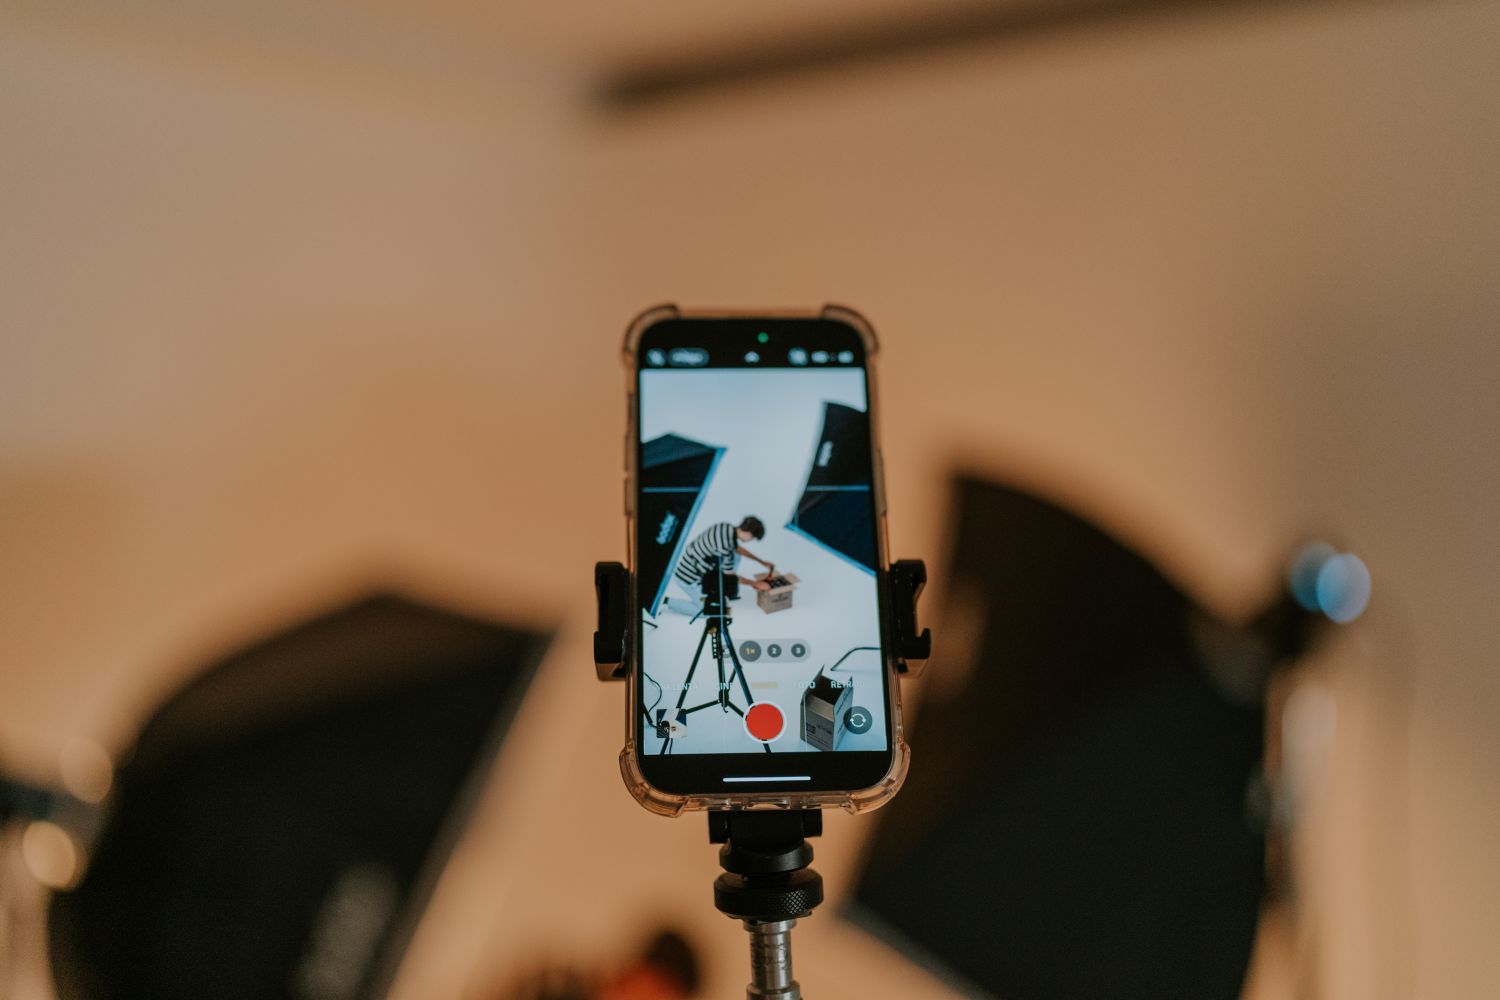
Tap the part of the scene you want to keep readable and check the brightest lamps for lost detail. Brace the phone on a railing when the exposure gets longer. If moving people or traffic smear more than you want, shoot while the sky is still brighter, or use the blur deliberately. Plan a short route with our guide to scouting photography locations and pick a second stop you can reach without rushing.
Something worth opening.
Photography, film, technology, art and culture. Get new stories from Remjet Magazine in your inbox.
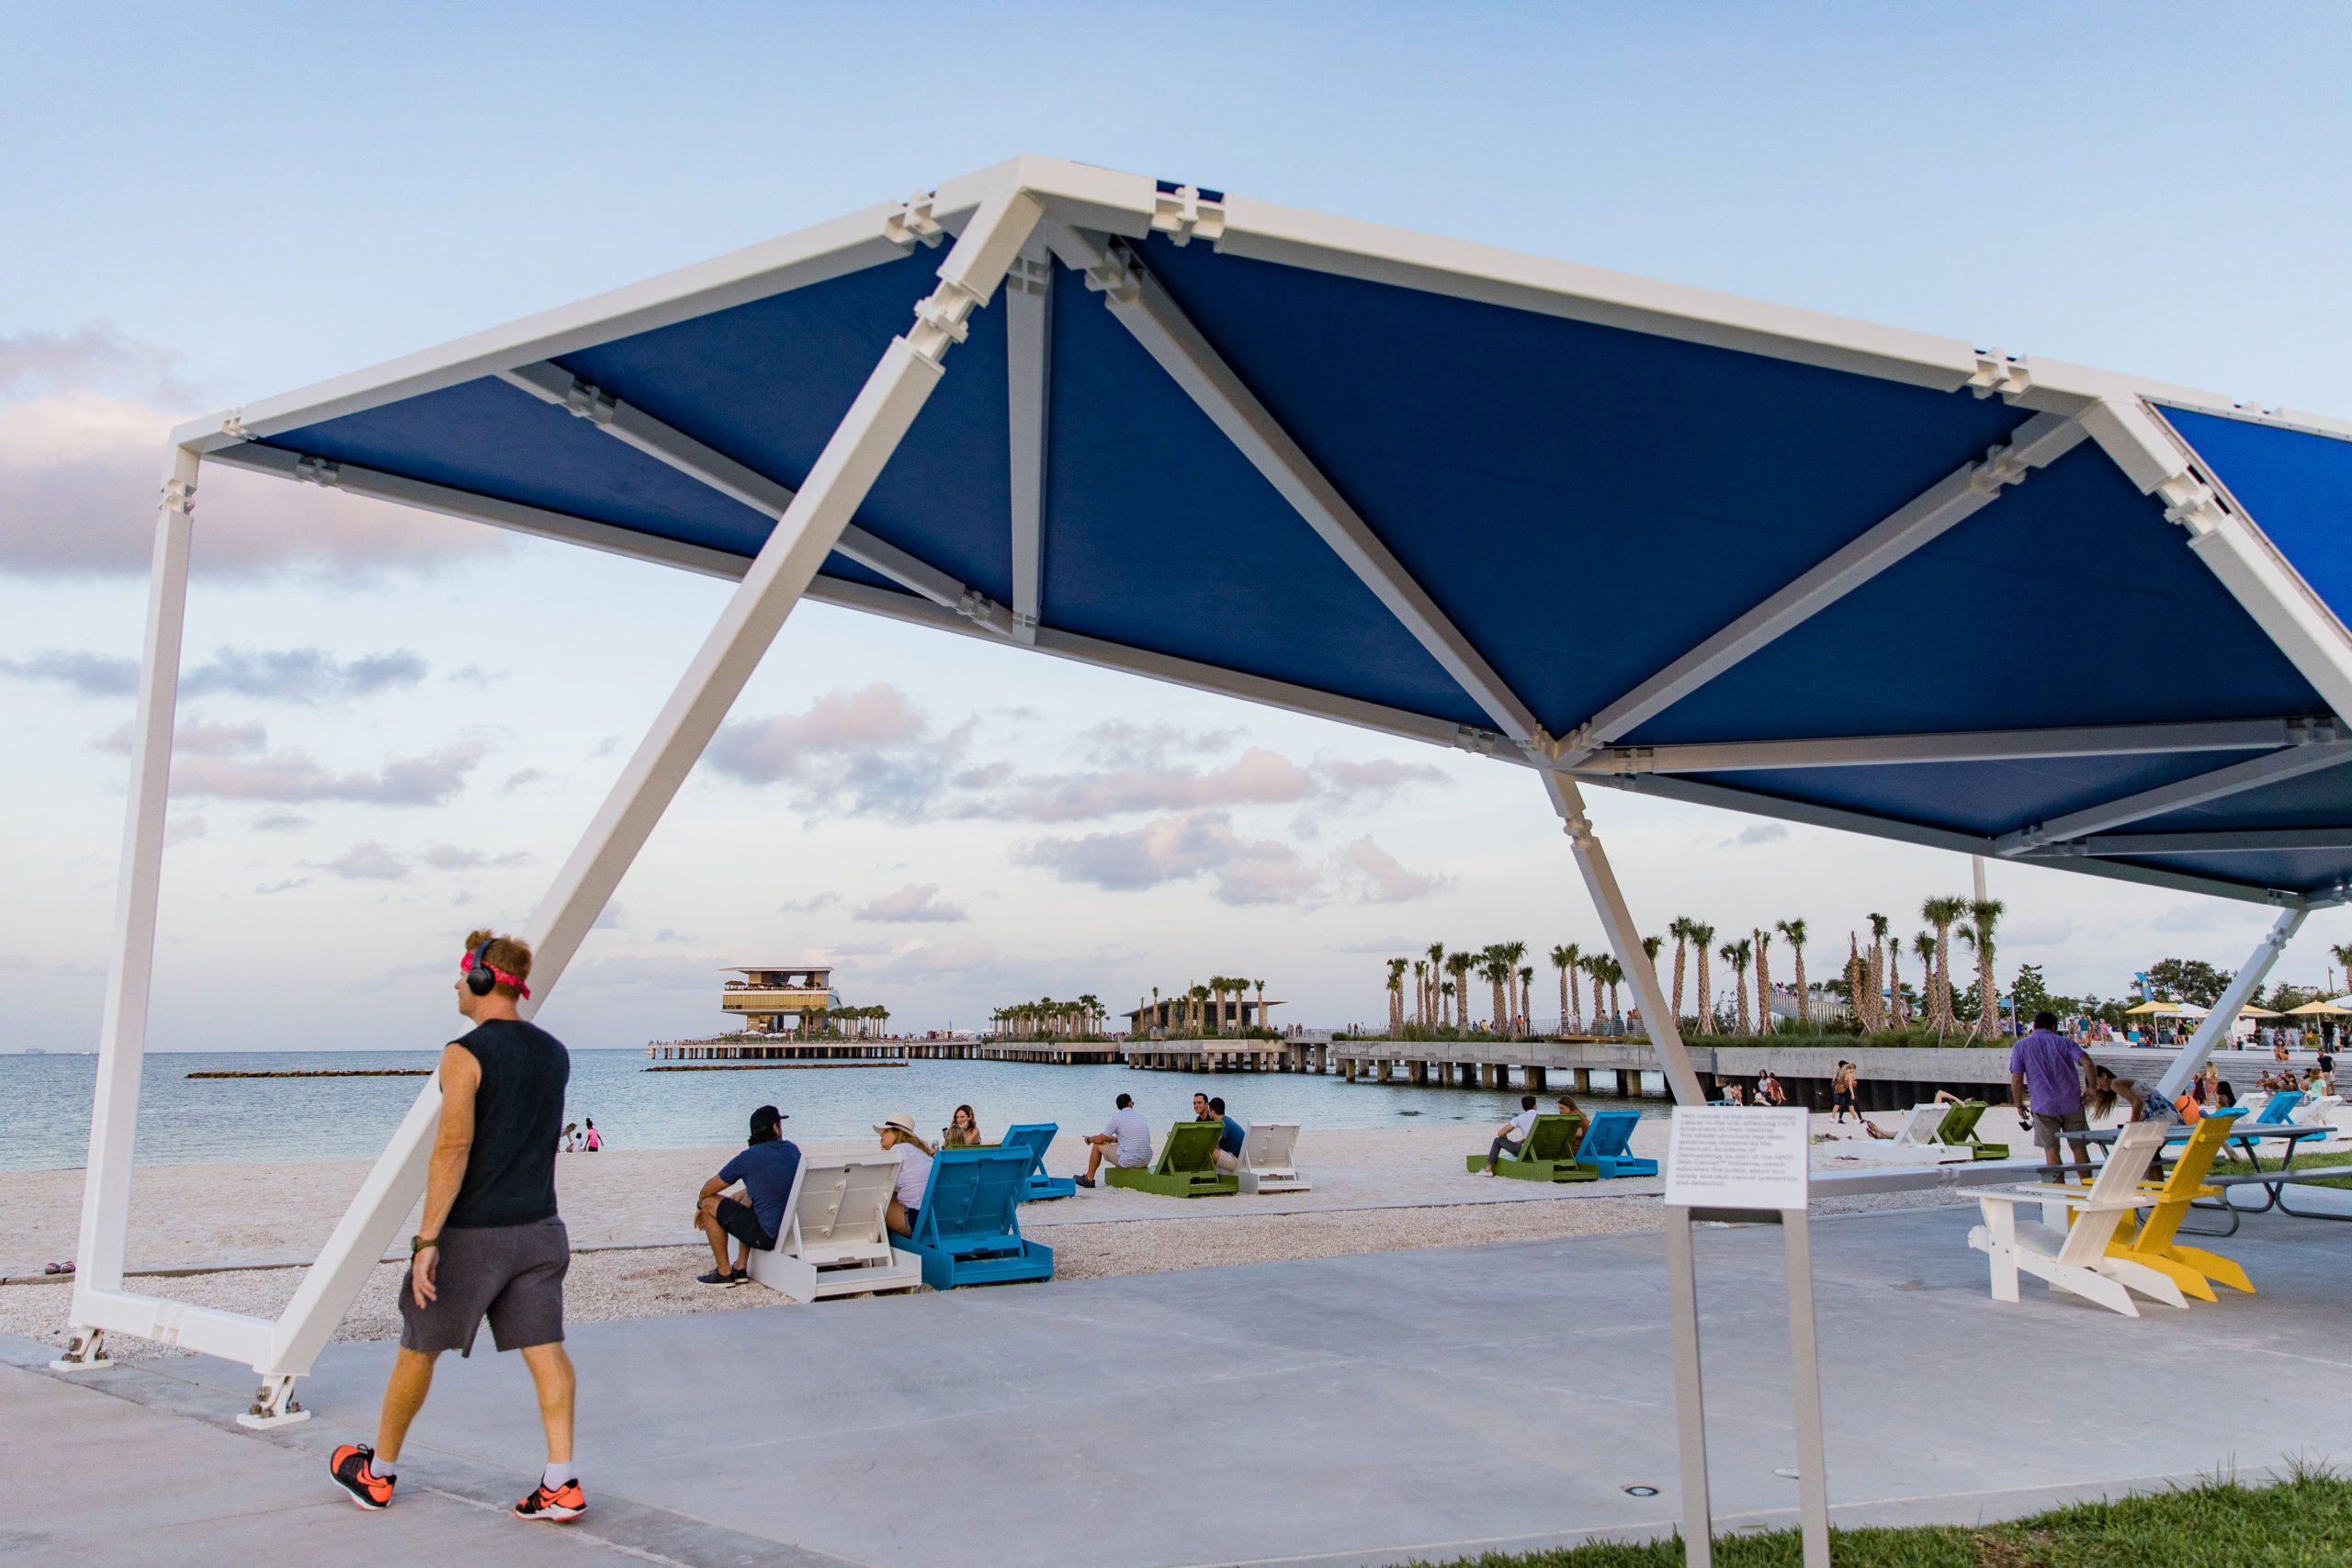
Follow the St. Petersburg waterfront from Spa Beach to the First Flight sculpture and the Fishing Deck. Each stop gives you a different way to frame Tampa Bay.
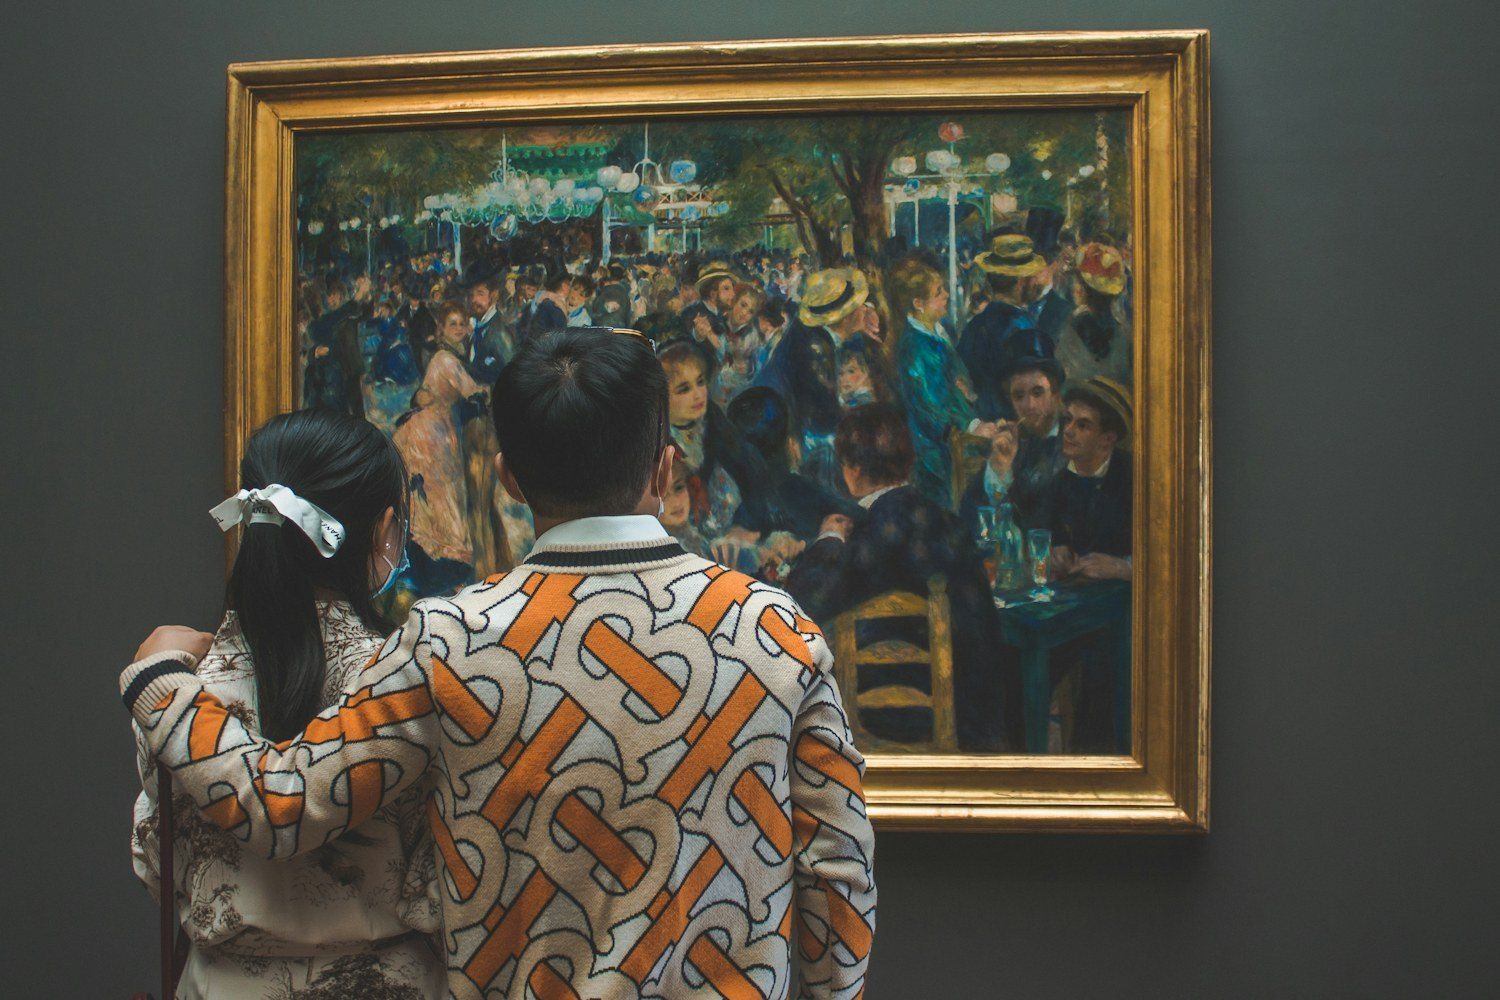
Check the museum’s visitor policy, then look for signs in the exhibition. A handheld photo, a tripod and a planned shoot can each follow different rules.
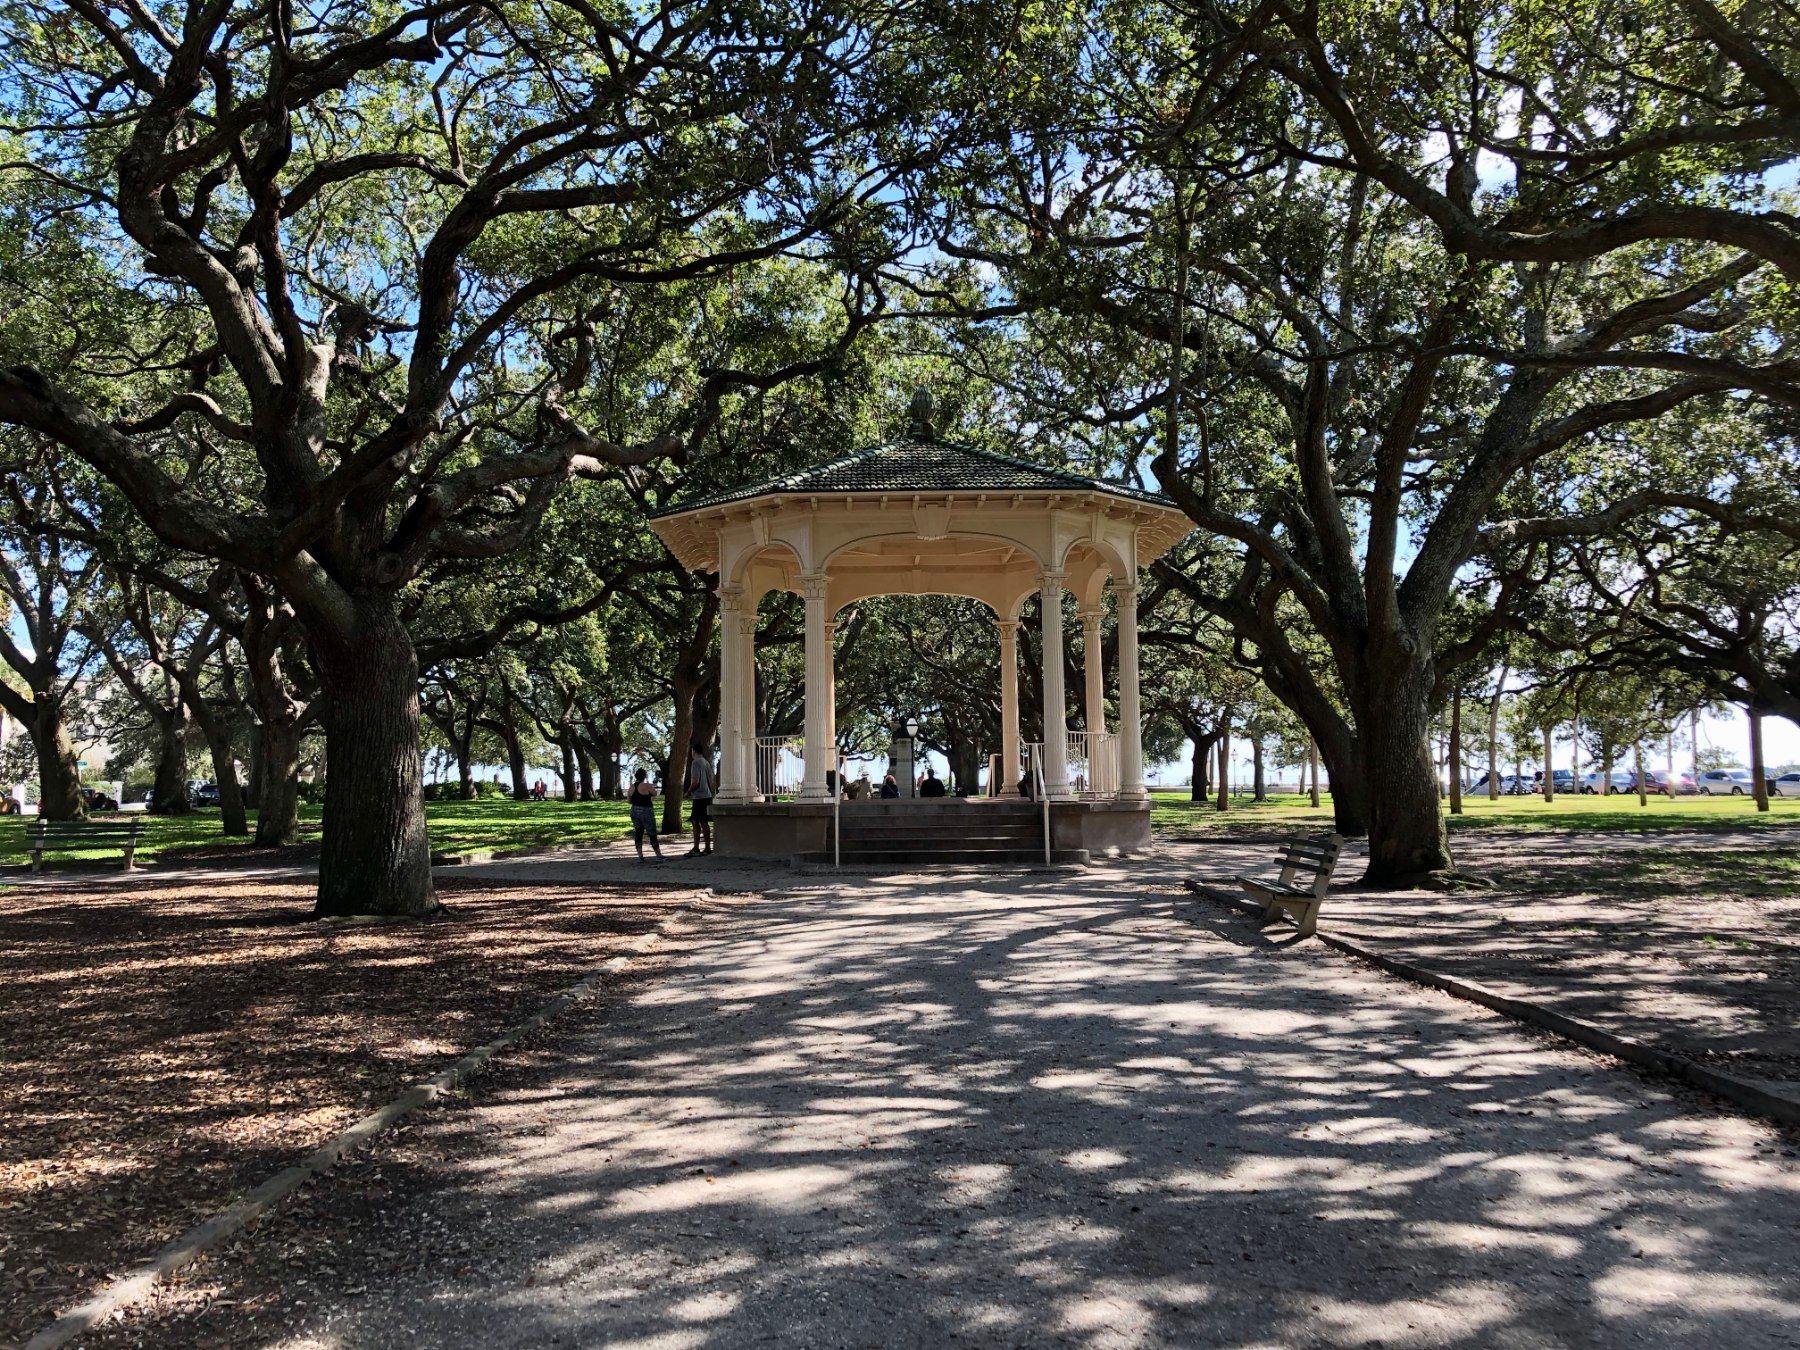
Walk from Charleston’s Waterfront Park to White Point Garden via Rainbow Row. Look for open harbor light, repeated facades, and the contrast between the oak canopy and the seawall.
Find the viewpoint, check the light and work out how to get there. A practical scouting plan for a photo walk, a day trip or somewhere you have never visited.
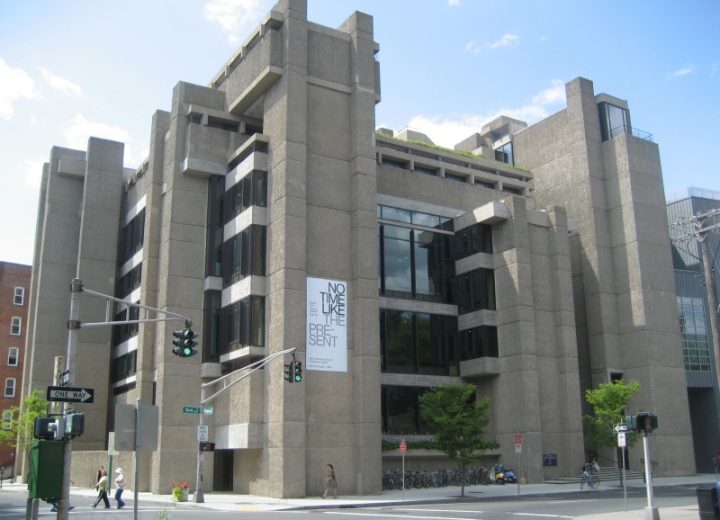
The ridges of Rudolph Hall cast narrow shadows. The Kimbell’s smooth concrete vaults spread daylight. Two buildings give photographers different ways to frame light.
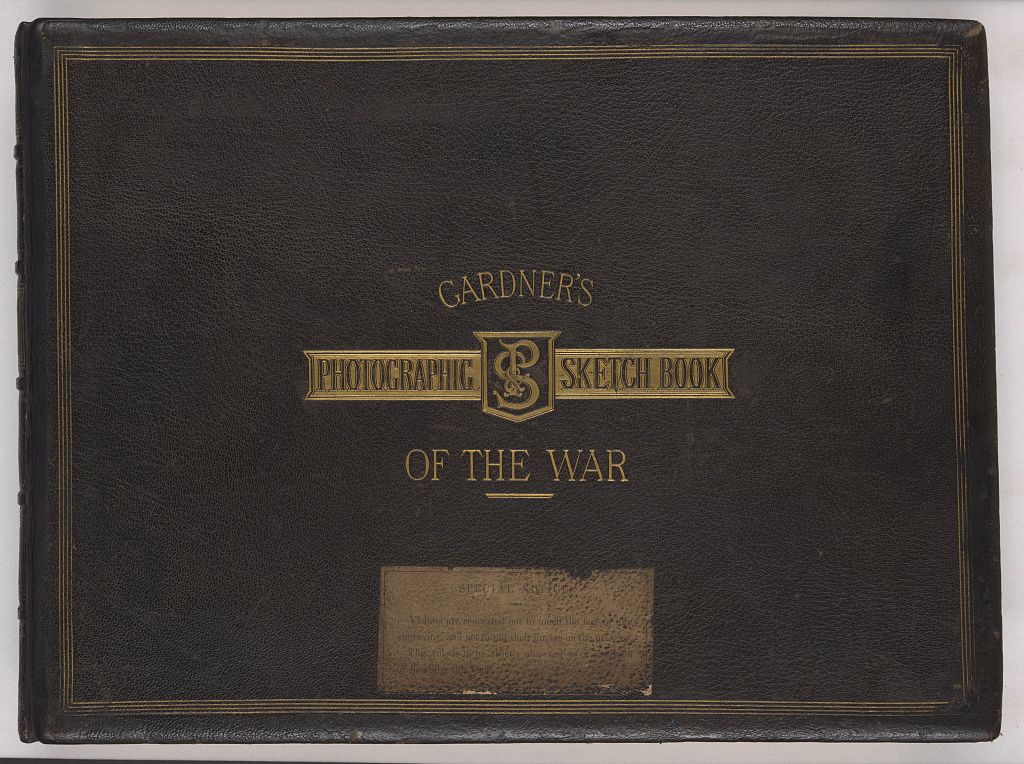
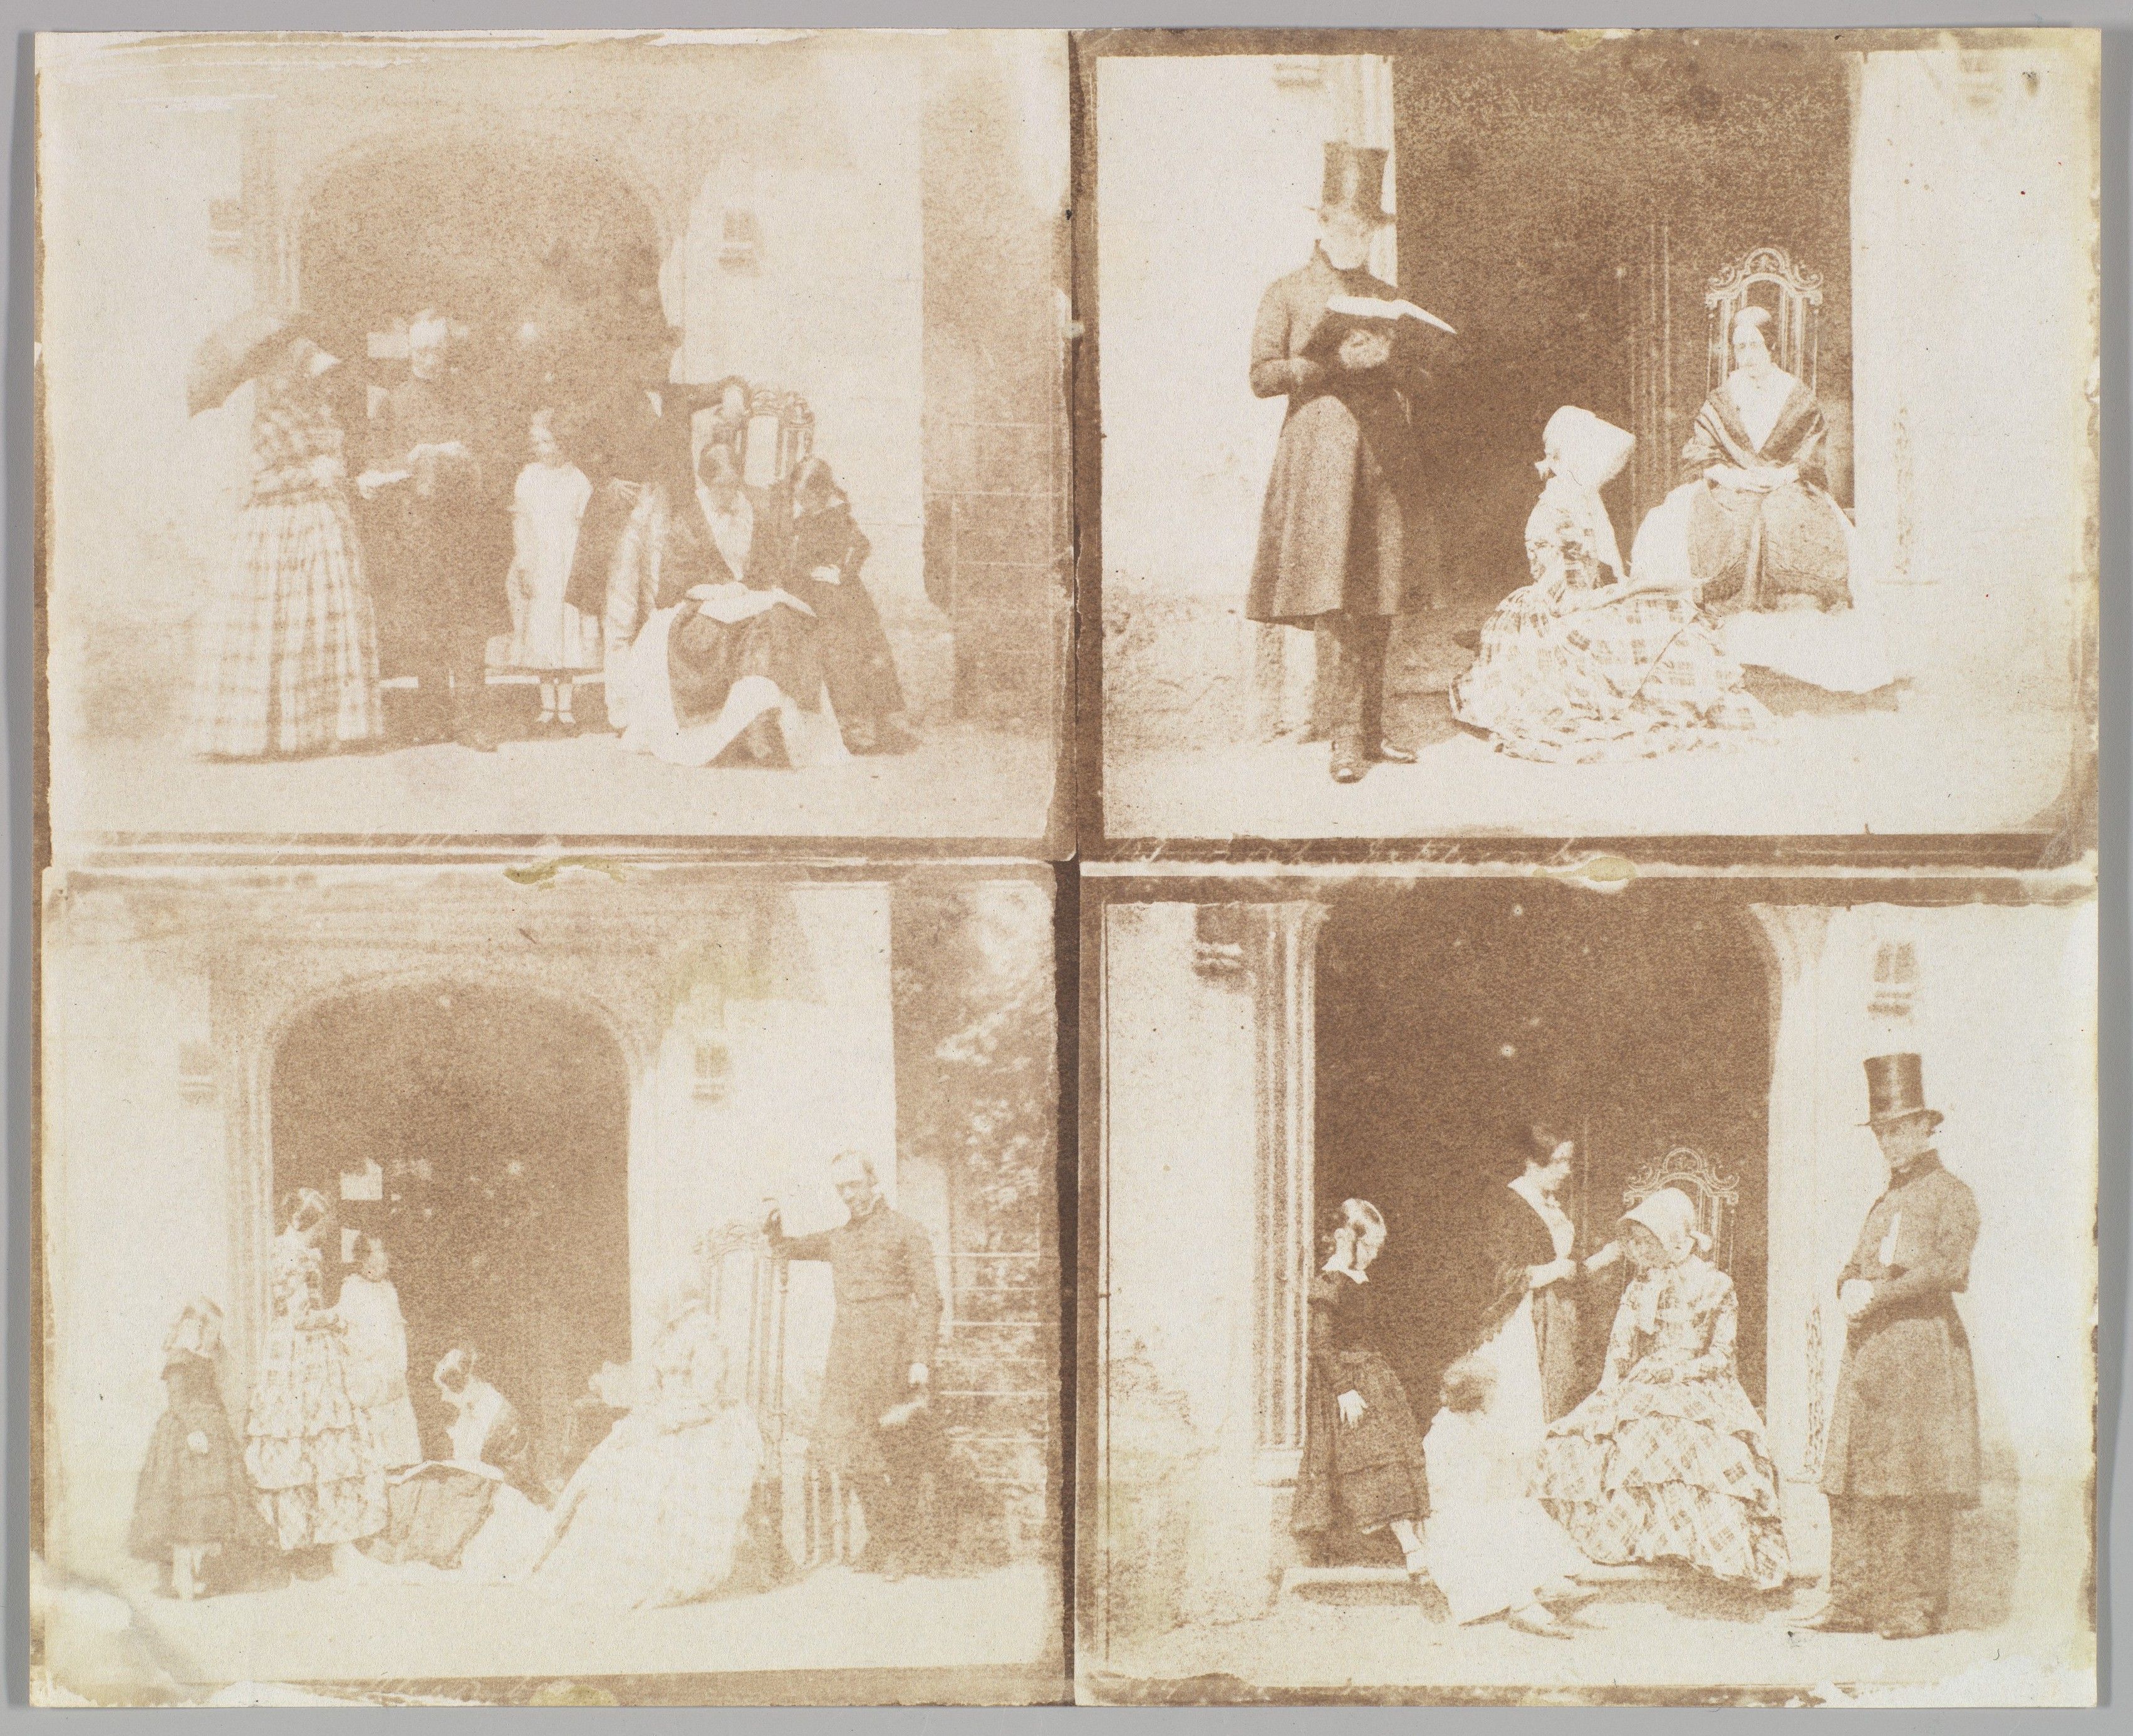
Read a photobook through its page turns, captions, scale and sequence. A practical looking exercise, with an 1866 book showing how text and photographs work together.
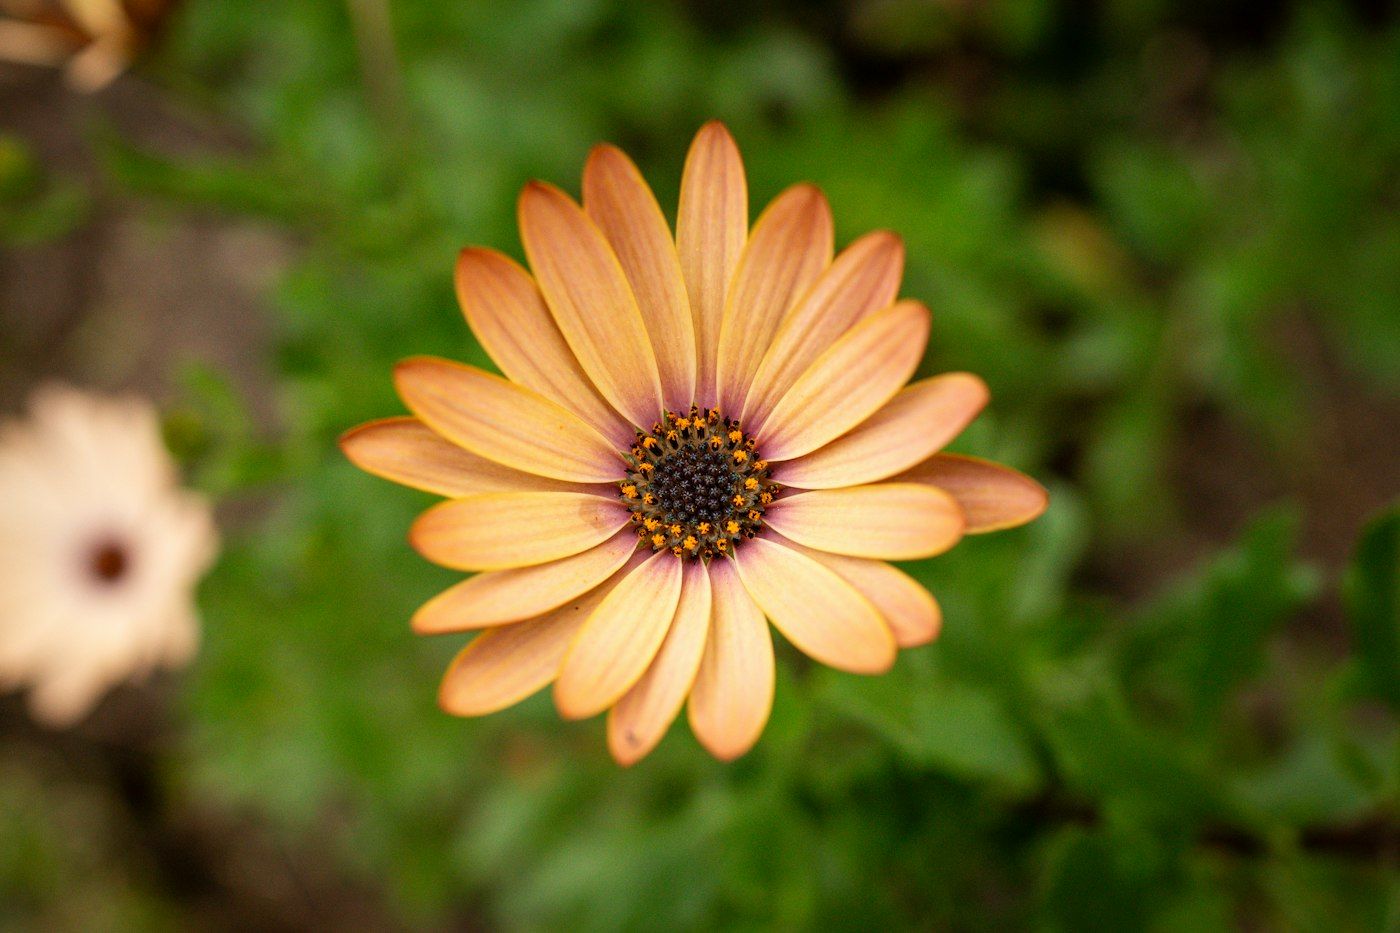
Depth of field describes the range that looks acceptably sharp. Learn how aperture, focus distance and background separation affect a picture, with a repeatable exercise.
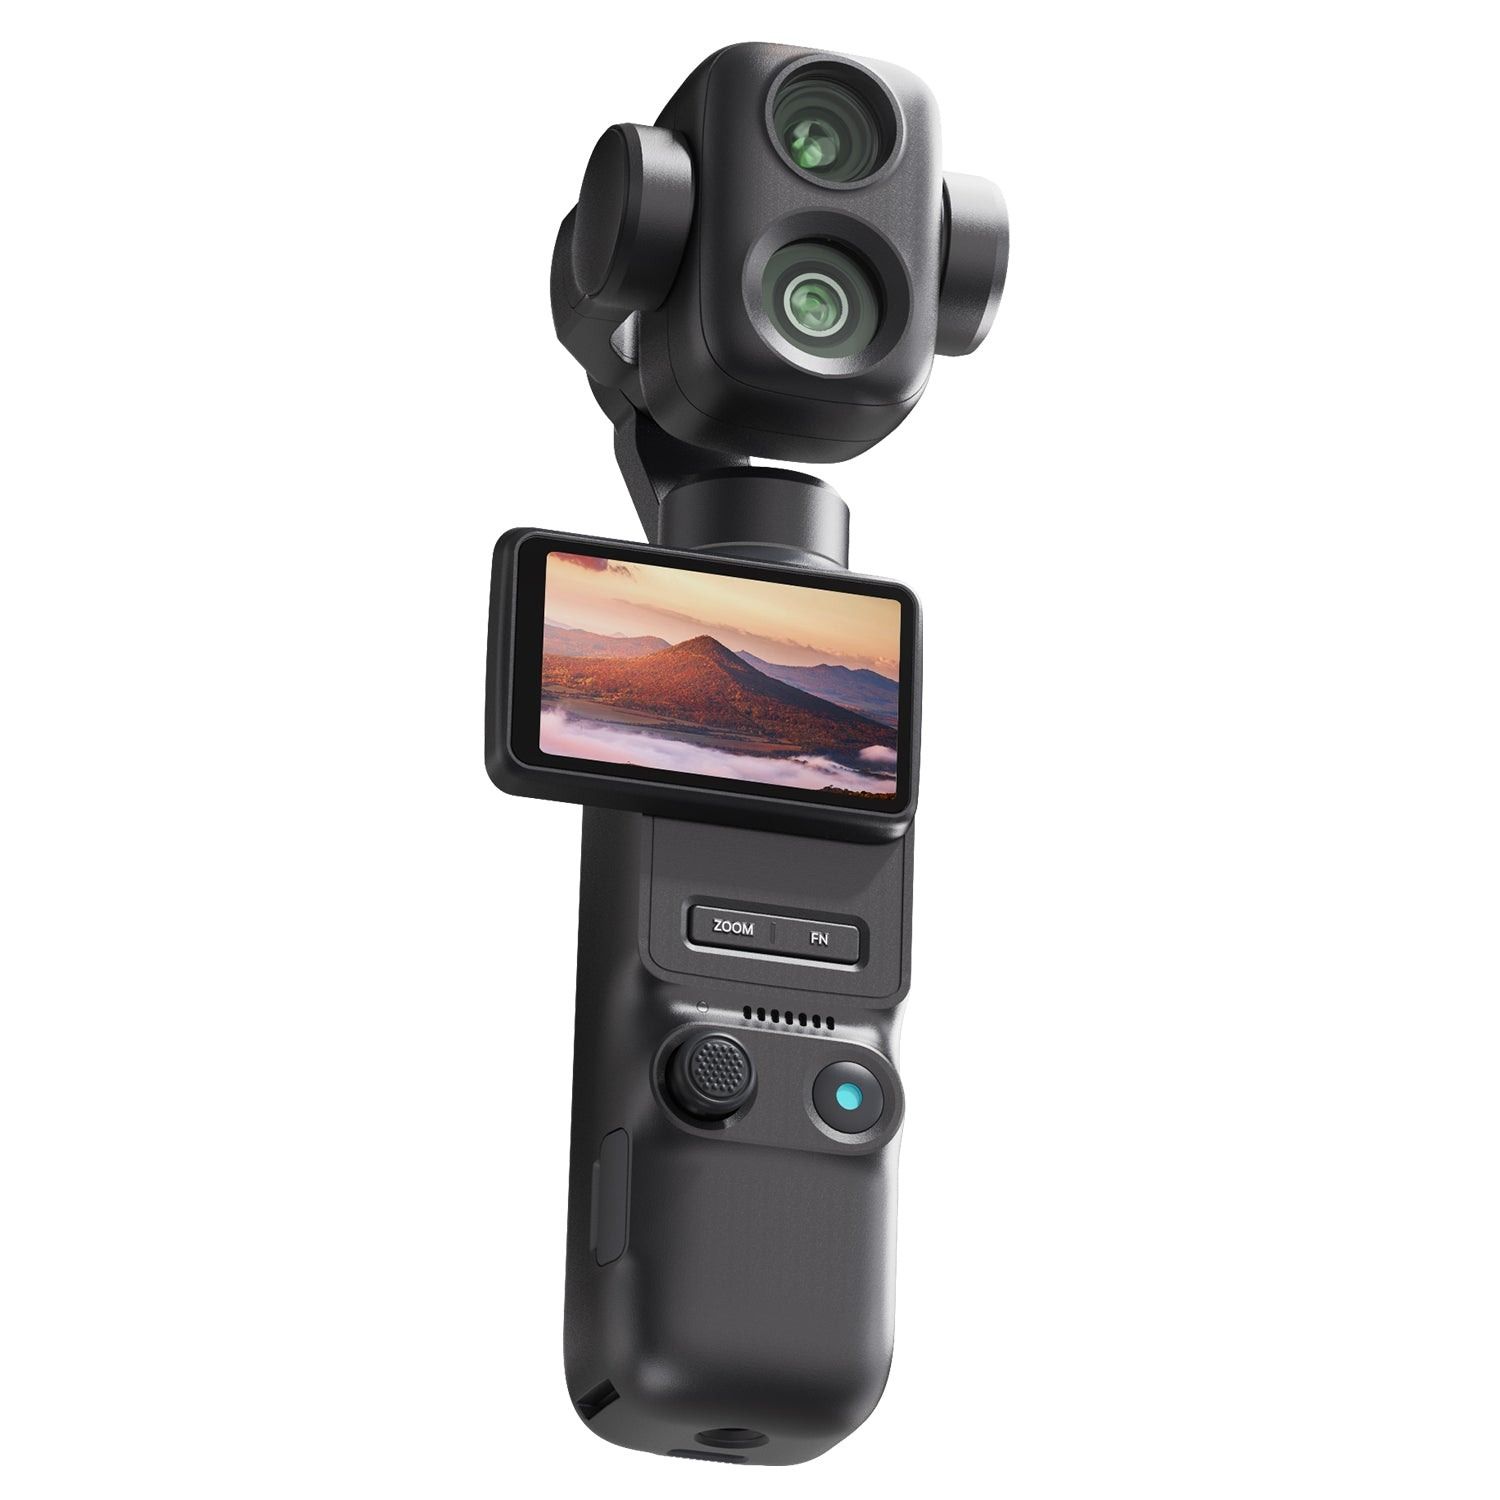
A separate camera needs a reason to leave the house. Compare framing, handling and the file workflow before assuming any compact is an upgrade from your phone.
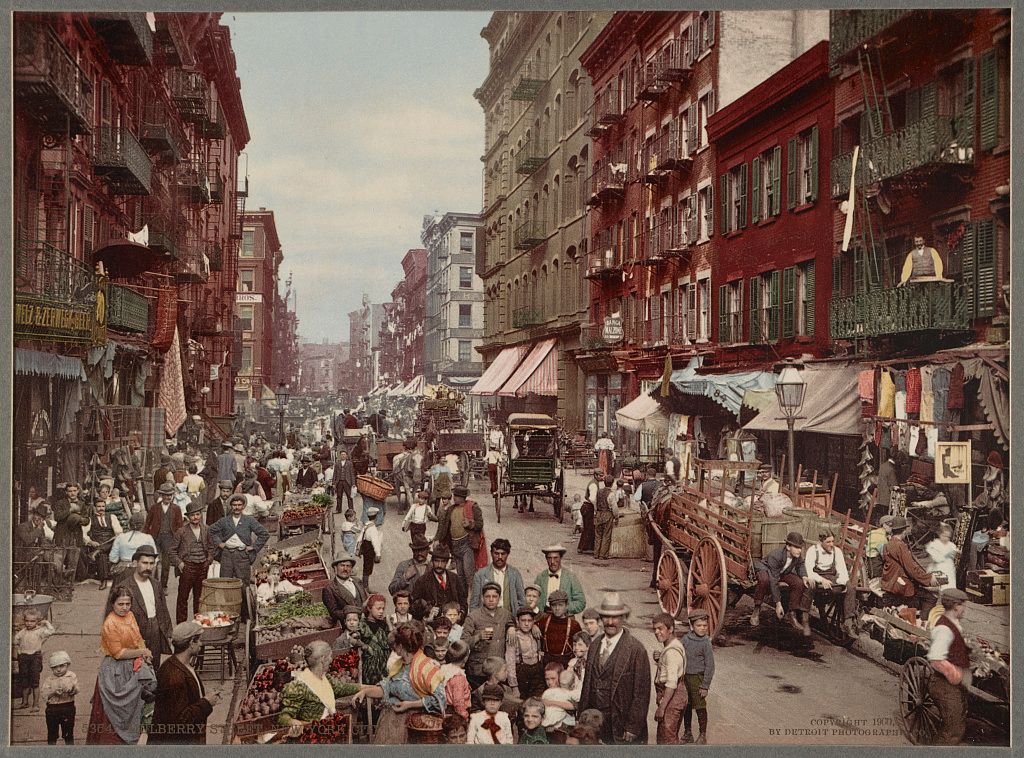
Street life, railway stations and an imagined New York reveal how postcards could picture a place, sell an idea and change from one printing to the next.
Explore Remjet 1.0 feature by feature: camera controls, RAW photos, video projects, color grading, audio, collages, exports, location scouting, and light planning.