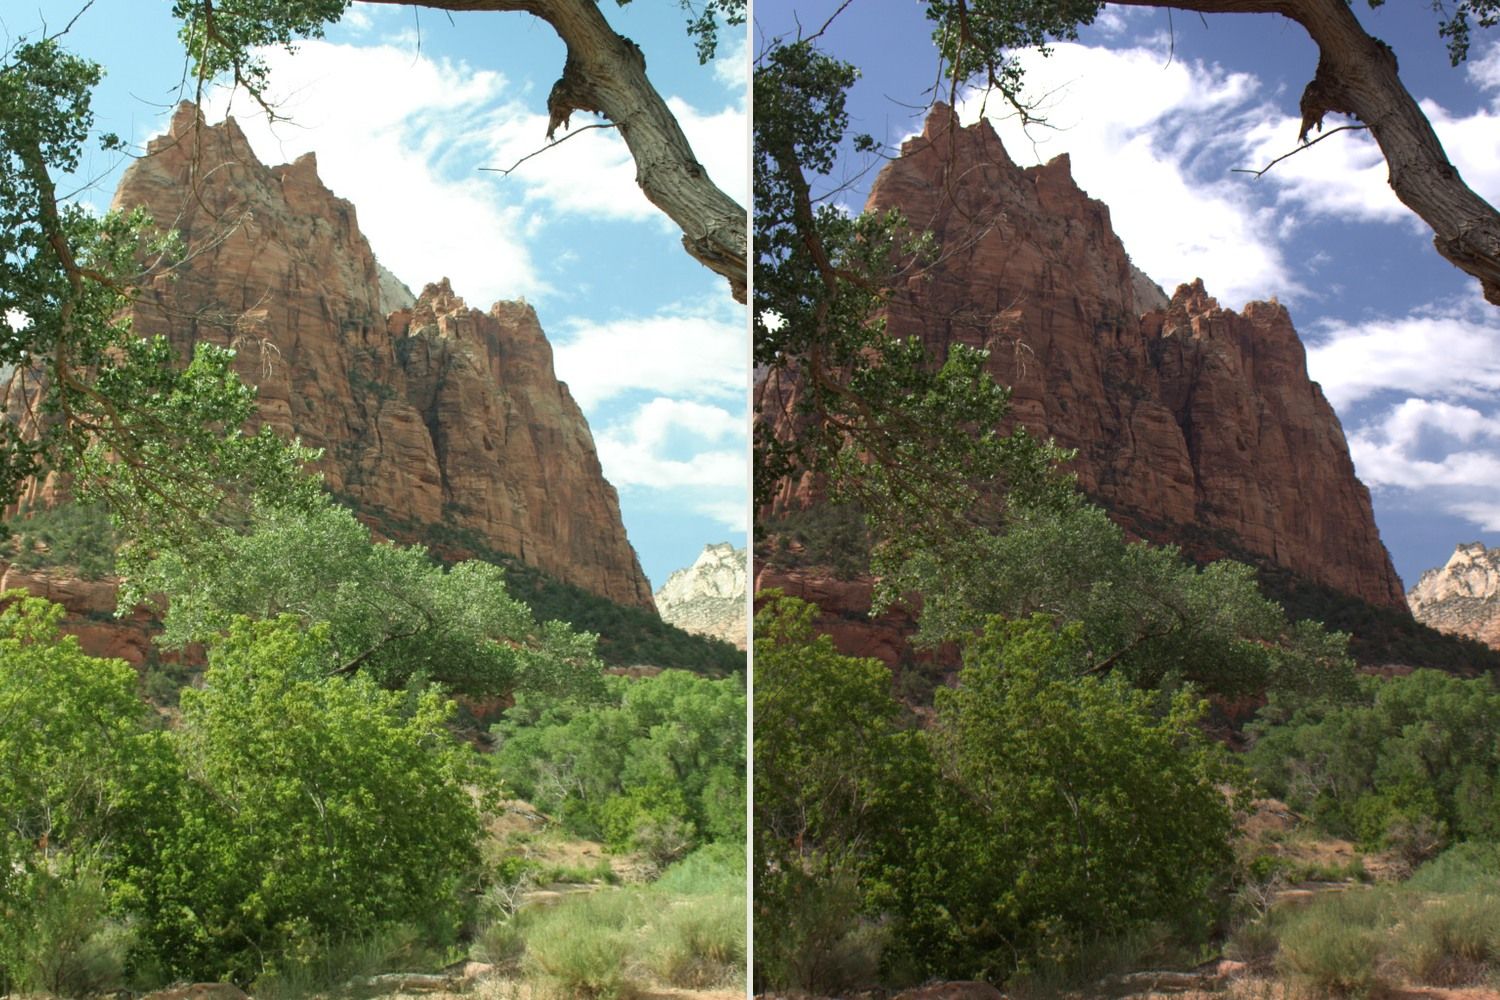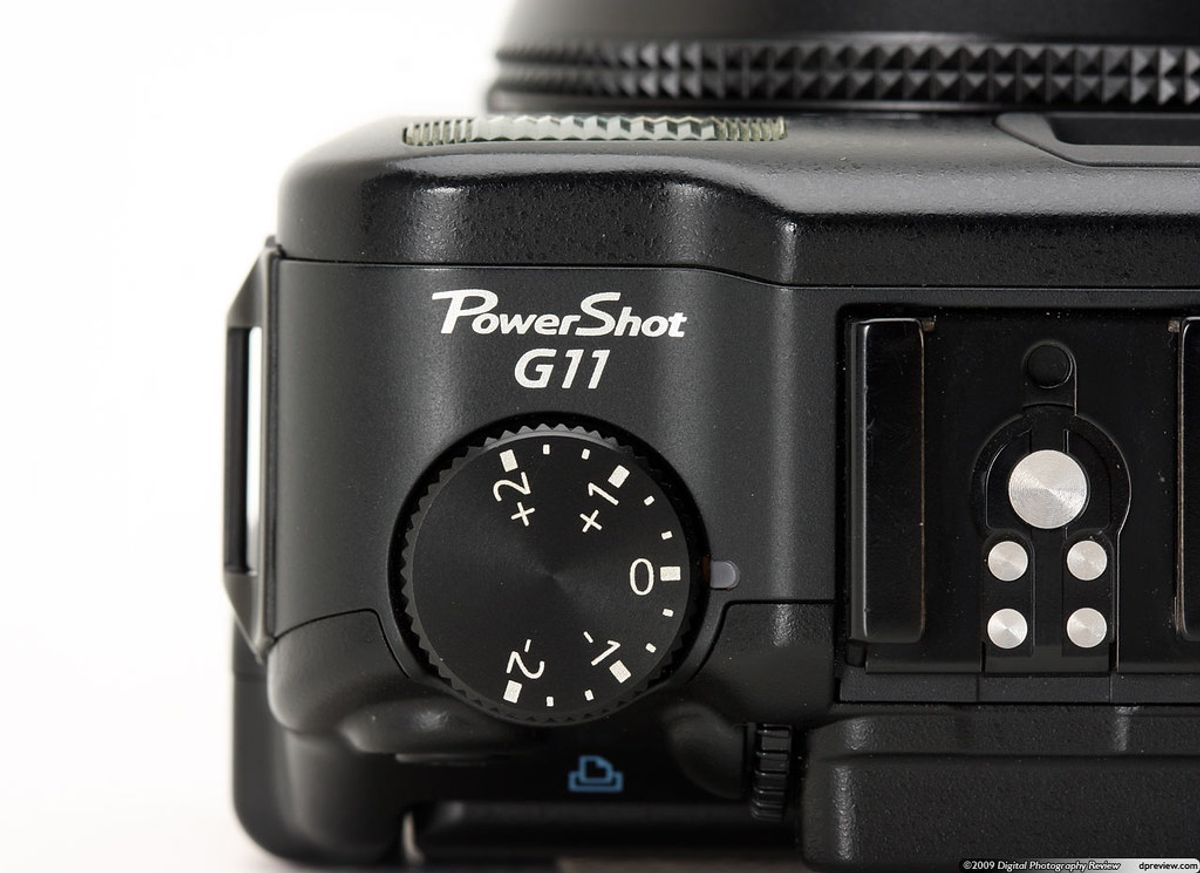
Exposure compensation tells a camera using automatic exposure to make the picture brighter or darker than its meter would normally choose. Positive values ask for a brighter result; negative values ask for a darker one. It is useful when the camera’s suggested exposure does not match what you want to preserve in the scene.
You do not need to use it for every photograph. Start at zero, make a picture, and look at what needs attention. The control is a correction to an automatic decision, not a brightness target you have to reach.
When the plus sign helps
A bright scene can come out darker than you expect. Snow, pale sand or a large light-colored wall may occupy much of the frame, while you want those surfaces to remain visibly bright. Try a small positive correction, then check the result. One-third or two-thirds of a stop can be a useful first adjustment, not a prescribed setting.
Do not add the same amount whenever you see snow. Direct sun, shade, a dark subject and the proportion of bright background all change the problem. Keep checking the important detail. Snow that becomes featureless white may mean you have gone too far for the result you want.
When the minus sign helps
A dark scene may look too light if the automatic exposure lifts it more than you intended. A small negative correction can help keep a dark background dark, or protect an important bright area that is losing detail. Watch the subject as well as the background: protecting every highlight is not useful if the person you meant to photograph disappears.
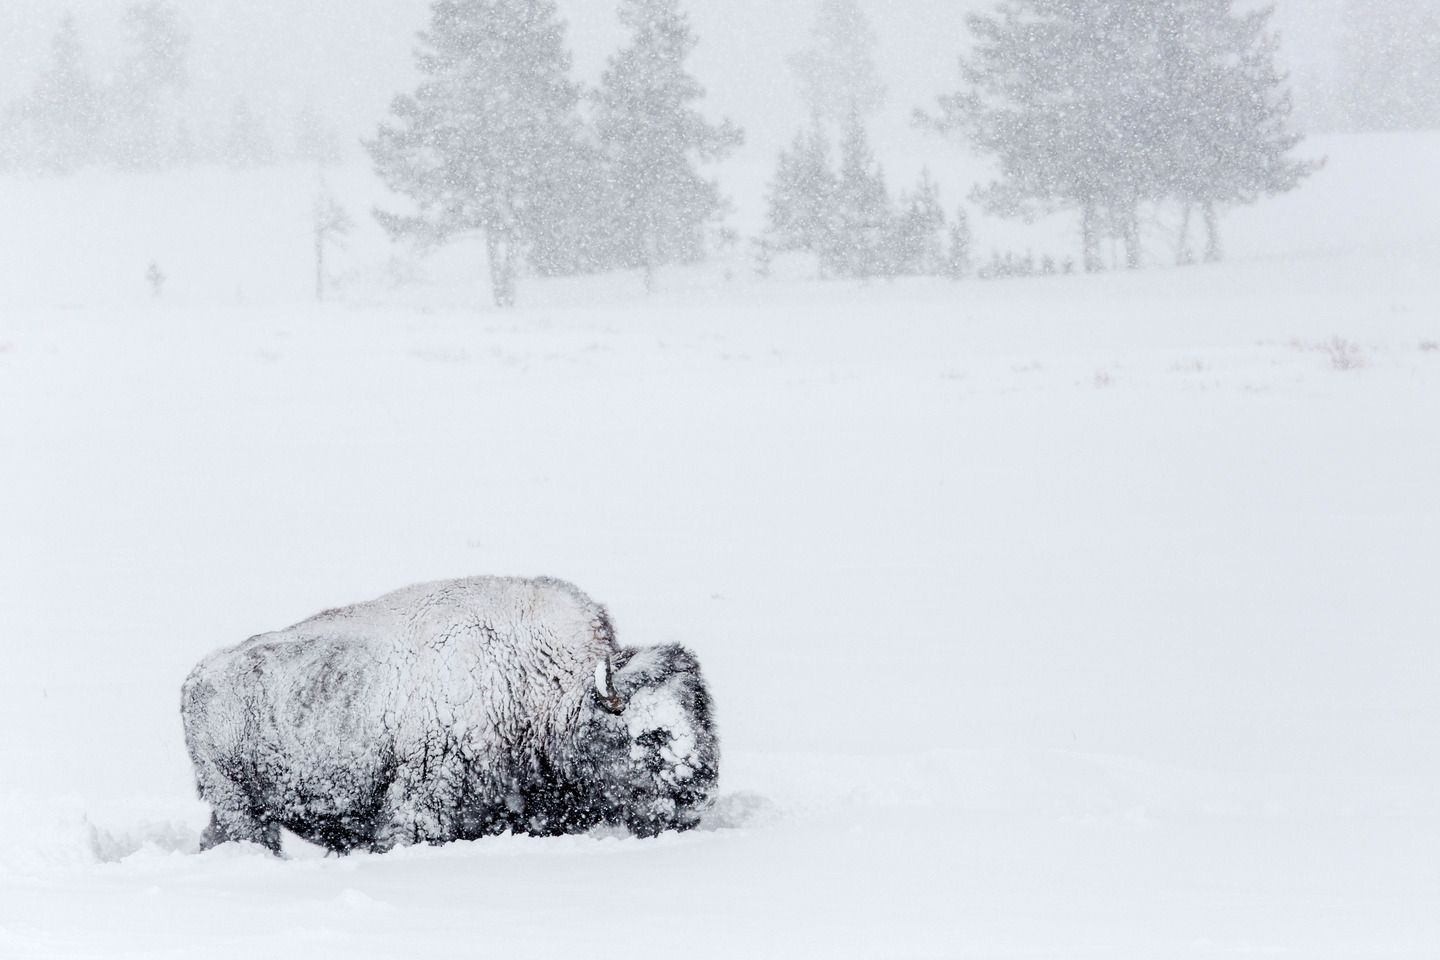
A dark animal against snow makes the tradeoff easy to see. Which detail matters most: the fur, the snow, or a balance between them? Compensation changes the overall exposure. It cannot independently brighten the animal while leaving the snow untouched.
What a stop means
A one-stop increase corresponds to twice the exposure; a one-stop decrease corresponds to half. In practice, your camera may achieve a correction through shutter speed, aperture, ISO or a combination, depending on its mode. Increasing ISO changes the camera’s sensitivity setting rather than adding light to the sensor. The number alone does not tell you which setting changed.
In aperture priority, watch the shutter speed after a positive adjustment: a slower exposure can introduce motion blur. In shutter priority, watch whether the lens has enough aperture range left. At an automatic setting’s limit, asking for more compensation may not produce the requested result.
Manual mode needs a closer look
With shutter speed, aperture and ISO all fixed, exposure compensation generally cannot change the exposure itself. On the D7500, Nikon specifies that it affects the meter indication in manual mode. With Auto ISO enabled, behavior can differ by camera: some models use compensation to shift the ISO they choose. Verify that combination in your manual rather than assuming the dial has stopped working.
A repeatable way to use it
Make a reference picture at zero. Identify the part that is wrong, then move the compensation a little in the needed direction and shoot again. Check your histogram and highlight warnings if available, but also inspect the subject. A histogram describes the distribution of tones; it does not know which part of the photograph matters to you.
Keep an eye on shutter speed and ISO as you work. If the correction creates blur or pushes noise beyond what you want, reconsider the exposure mode, the light or the moment. There may not be a single setting that holds a bright window and a deeply shaded face exactly as you imagined.
Return compensation to zero when you finish the sequence. An adjustment that helped with one scene can quietly carry into the next. The habit to build is simple: look, correct, check and reset.