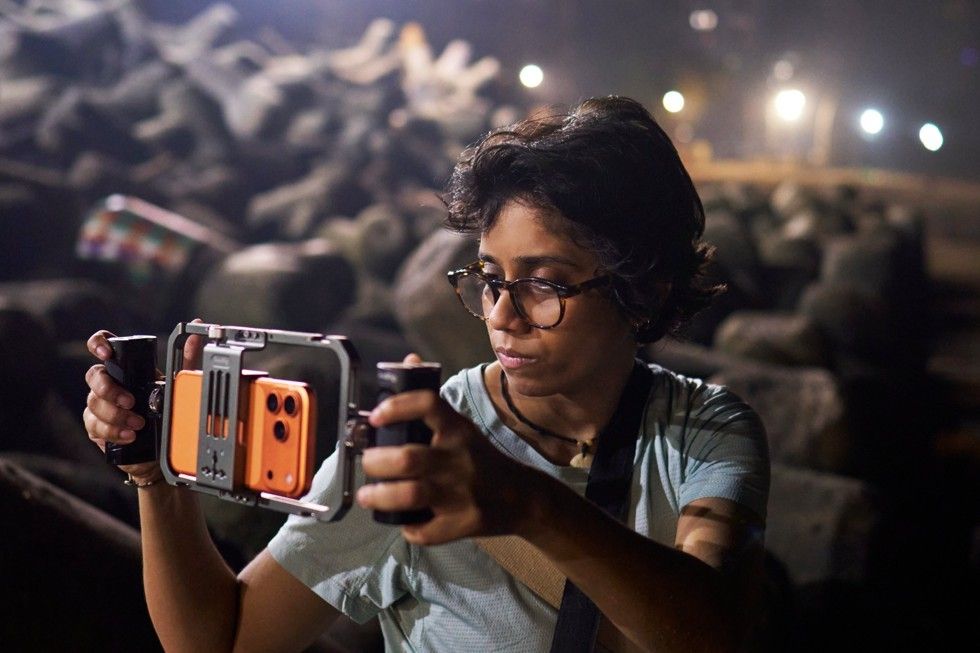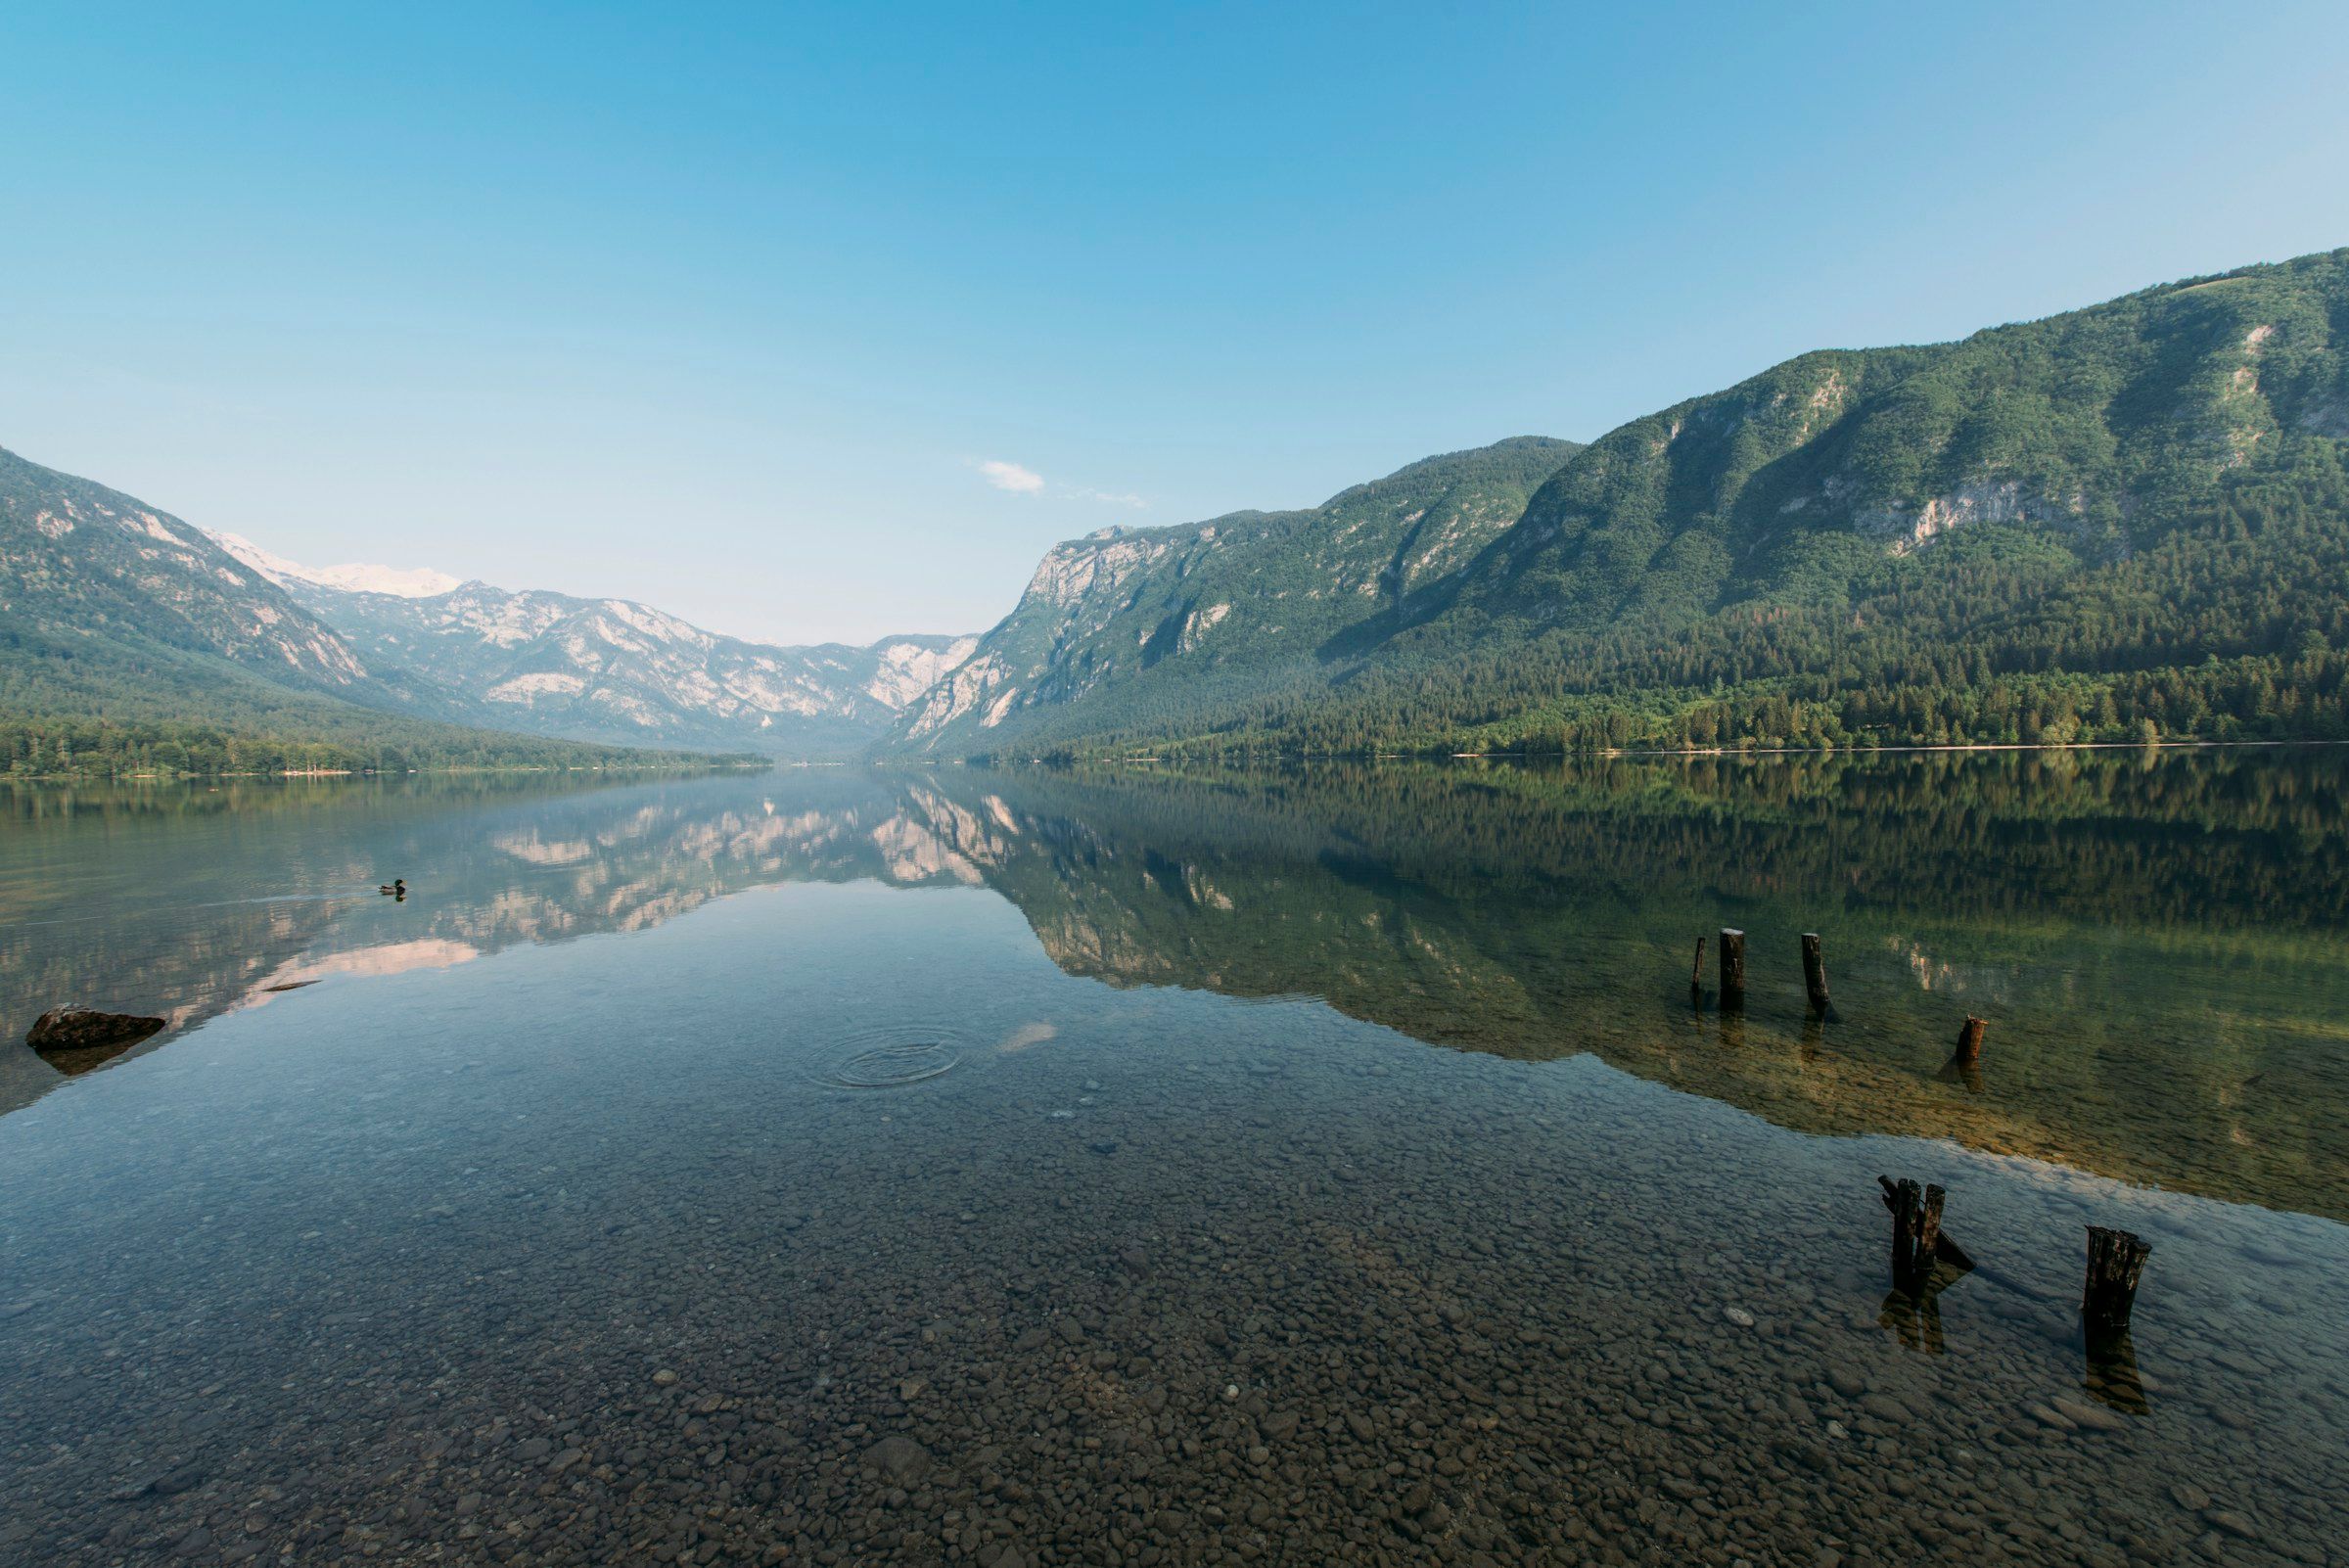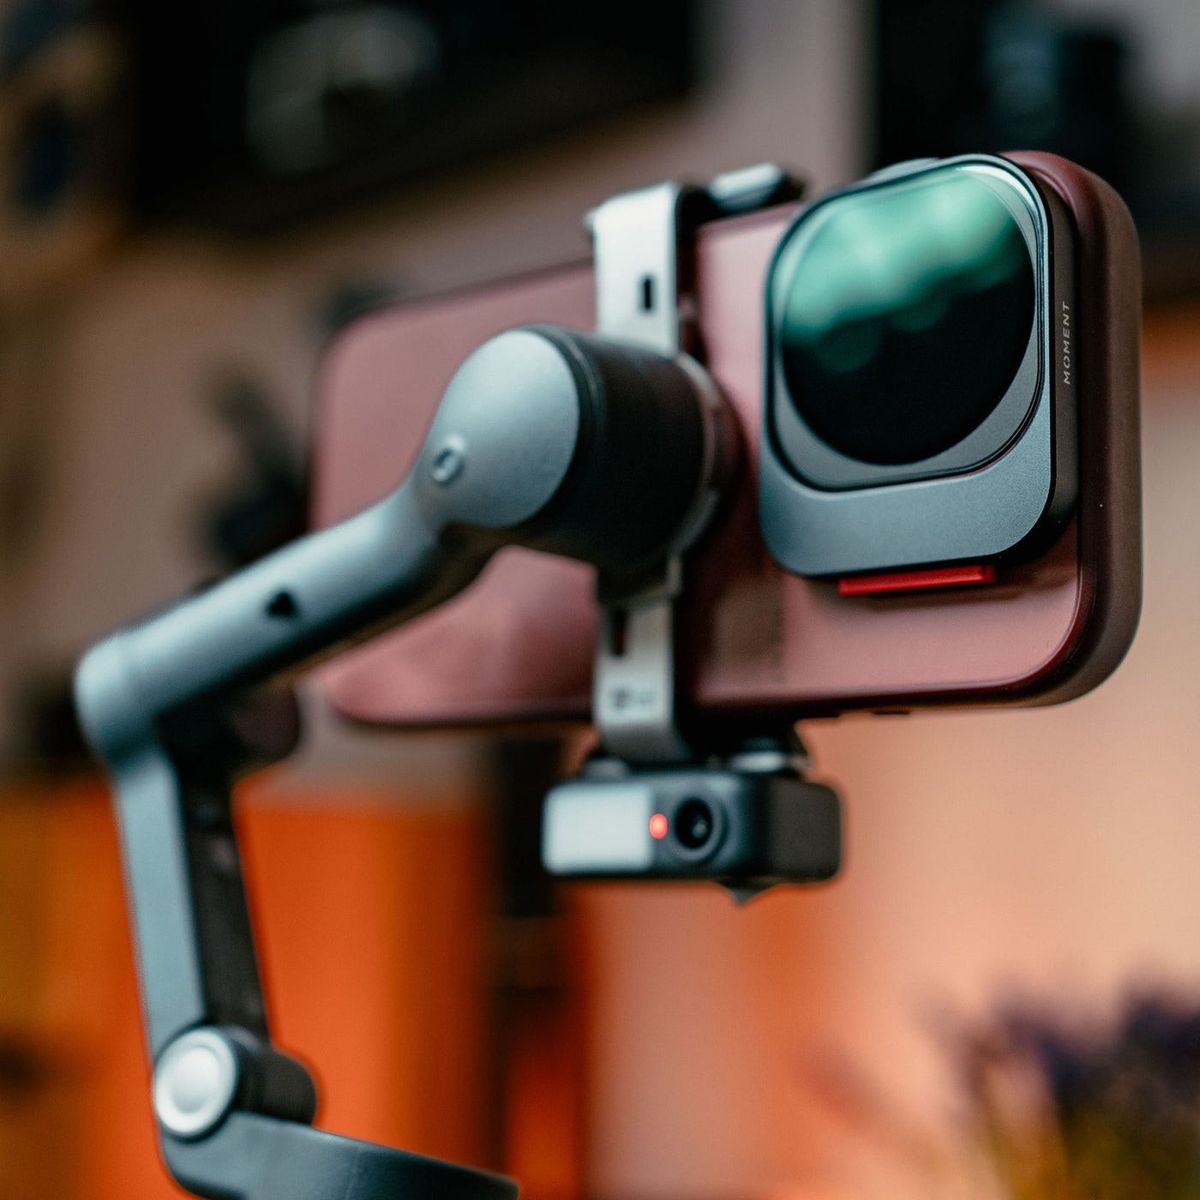
An ND filter helps when you want to keep a particular shutter speed outdoors and the image is still too bright at your chosen ISO. It cuts light before it reaches the lens. If you’re happy with the motion in your iPhone’s automatic exposure, or the shot is already dark, leave the filter off.
Check the shutter before adding a filter
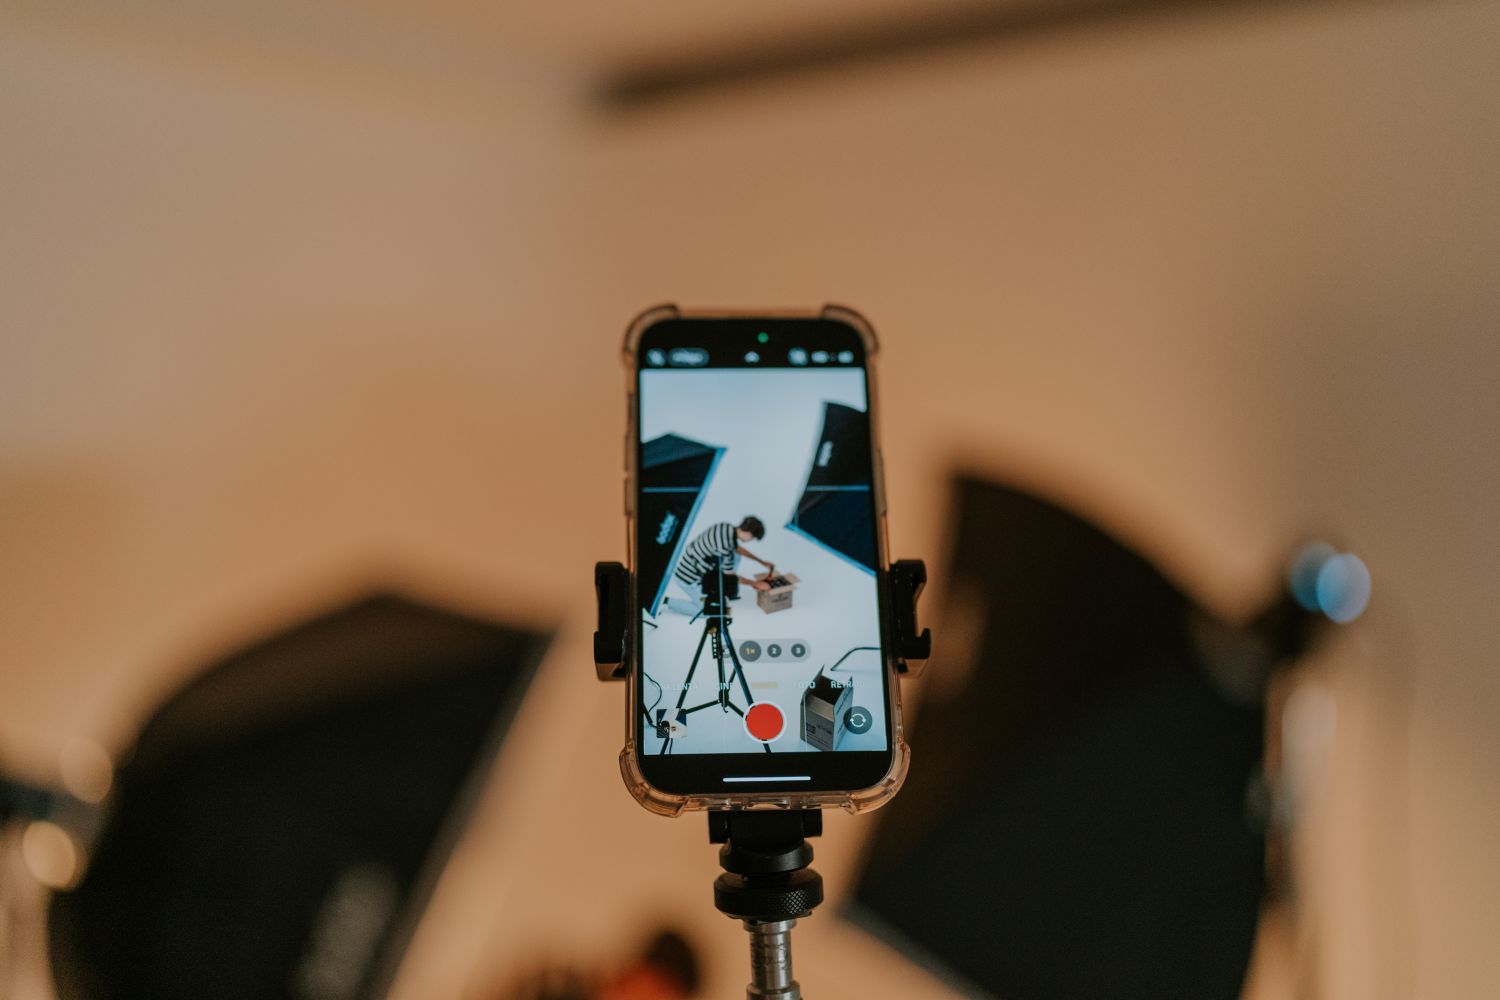
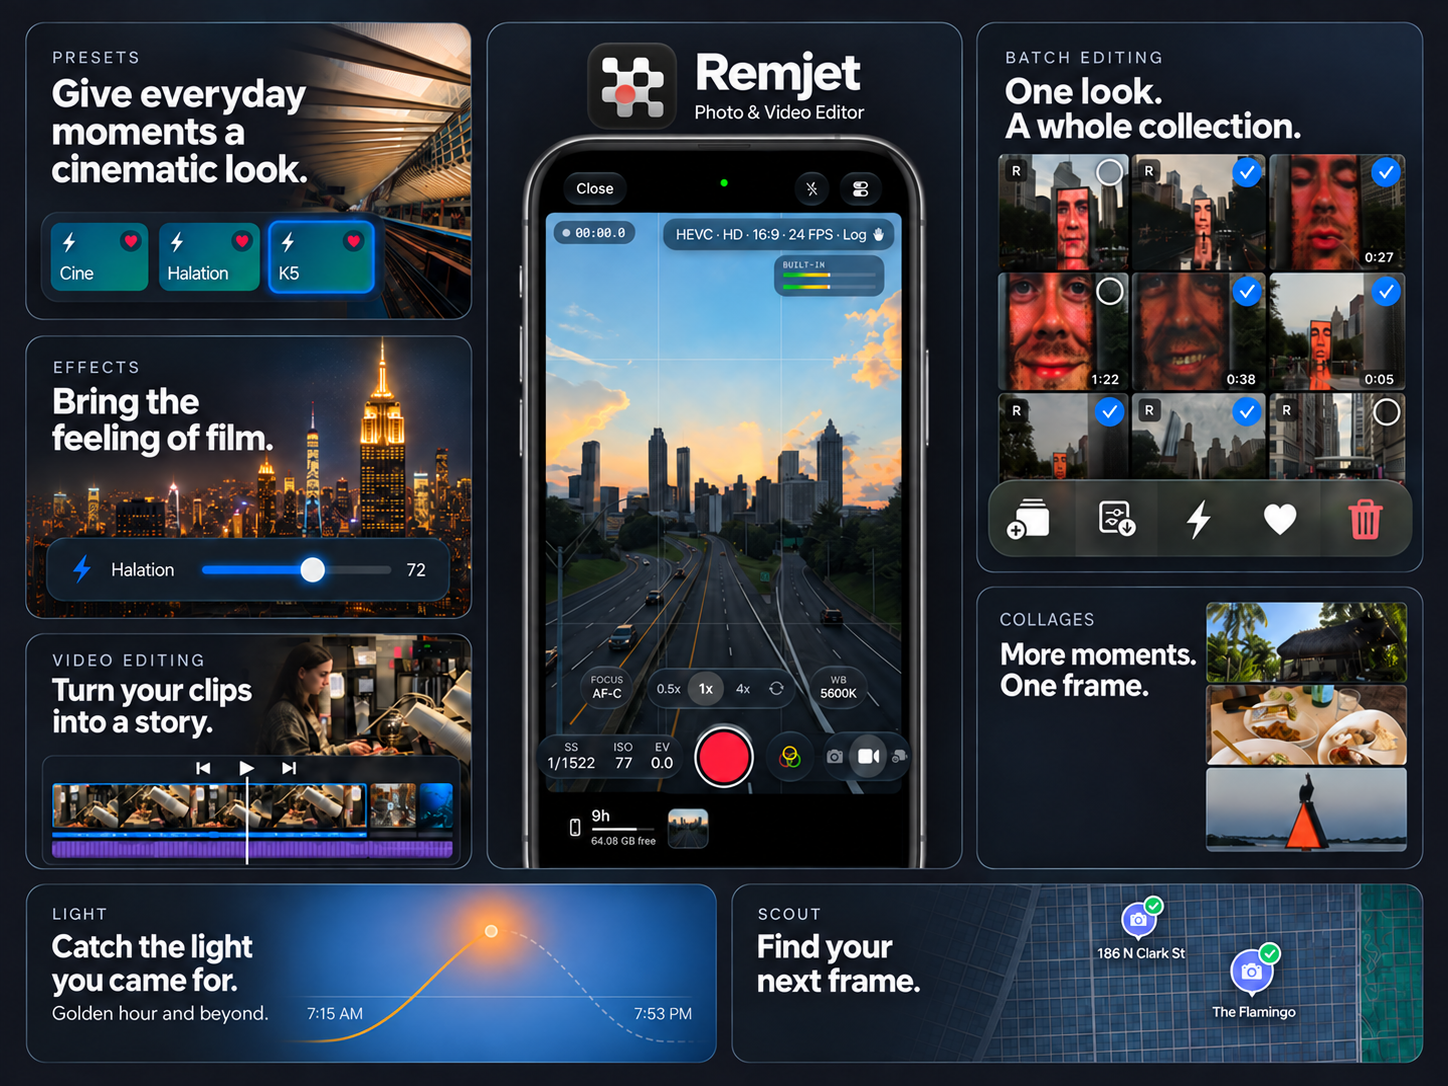
Start with how you want movement to look. At 24 frames per second, 1/48 second is a common starting point for motion blur. In Final Cut Camera, you can adjust shutter speed or shutter angle and ISO manually. Lock the shutter you want, set the ISO you intend to use, and check the brightest important area. If it clips even at a lower usable ISO, cut the light with ND.
Choose the strength by how much light you need to cut
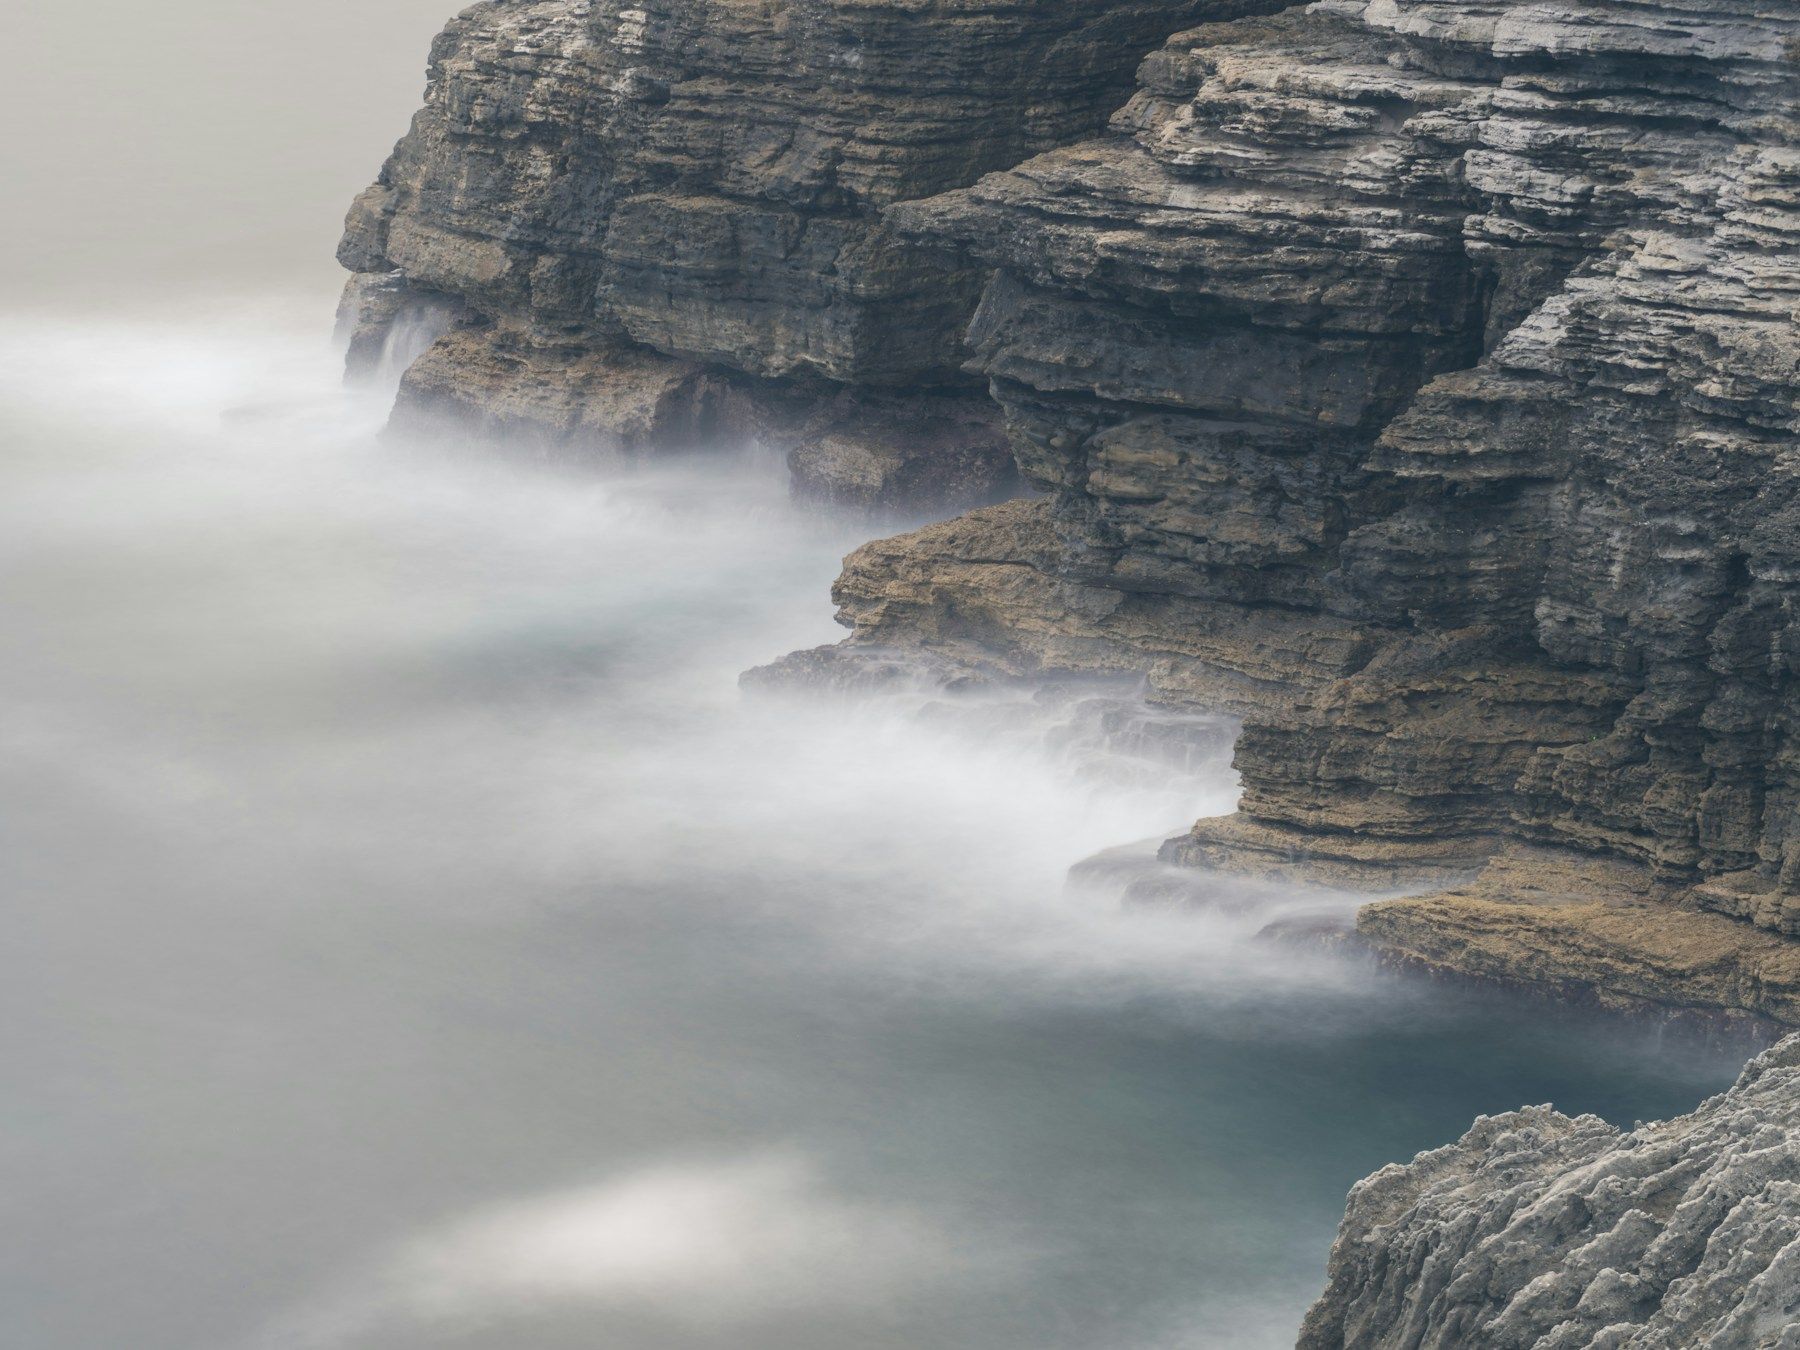
As a rough starting point, if 1/384 second gives you the exposure you want at the same ISO and aperture and you want to slow to 1/48, you need about three stops of ND. Each stop halves the light and the longer exposure admits eight times as much. With a variable filter, turn it until the exposure looks right, then check a bright wall or sky for uneven dark patches or a color cast.
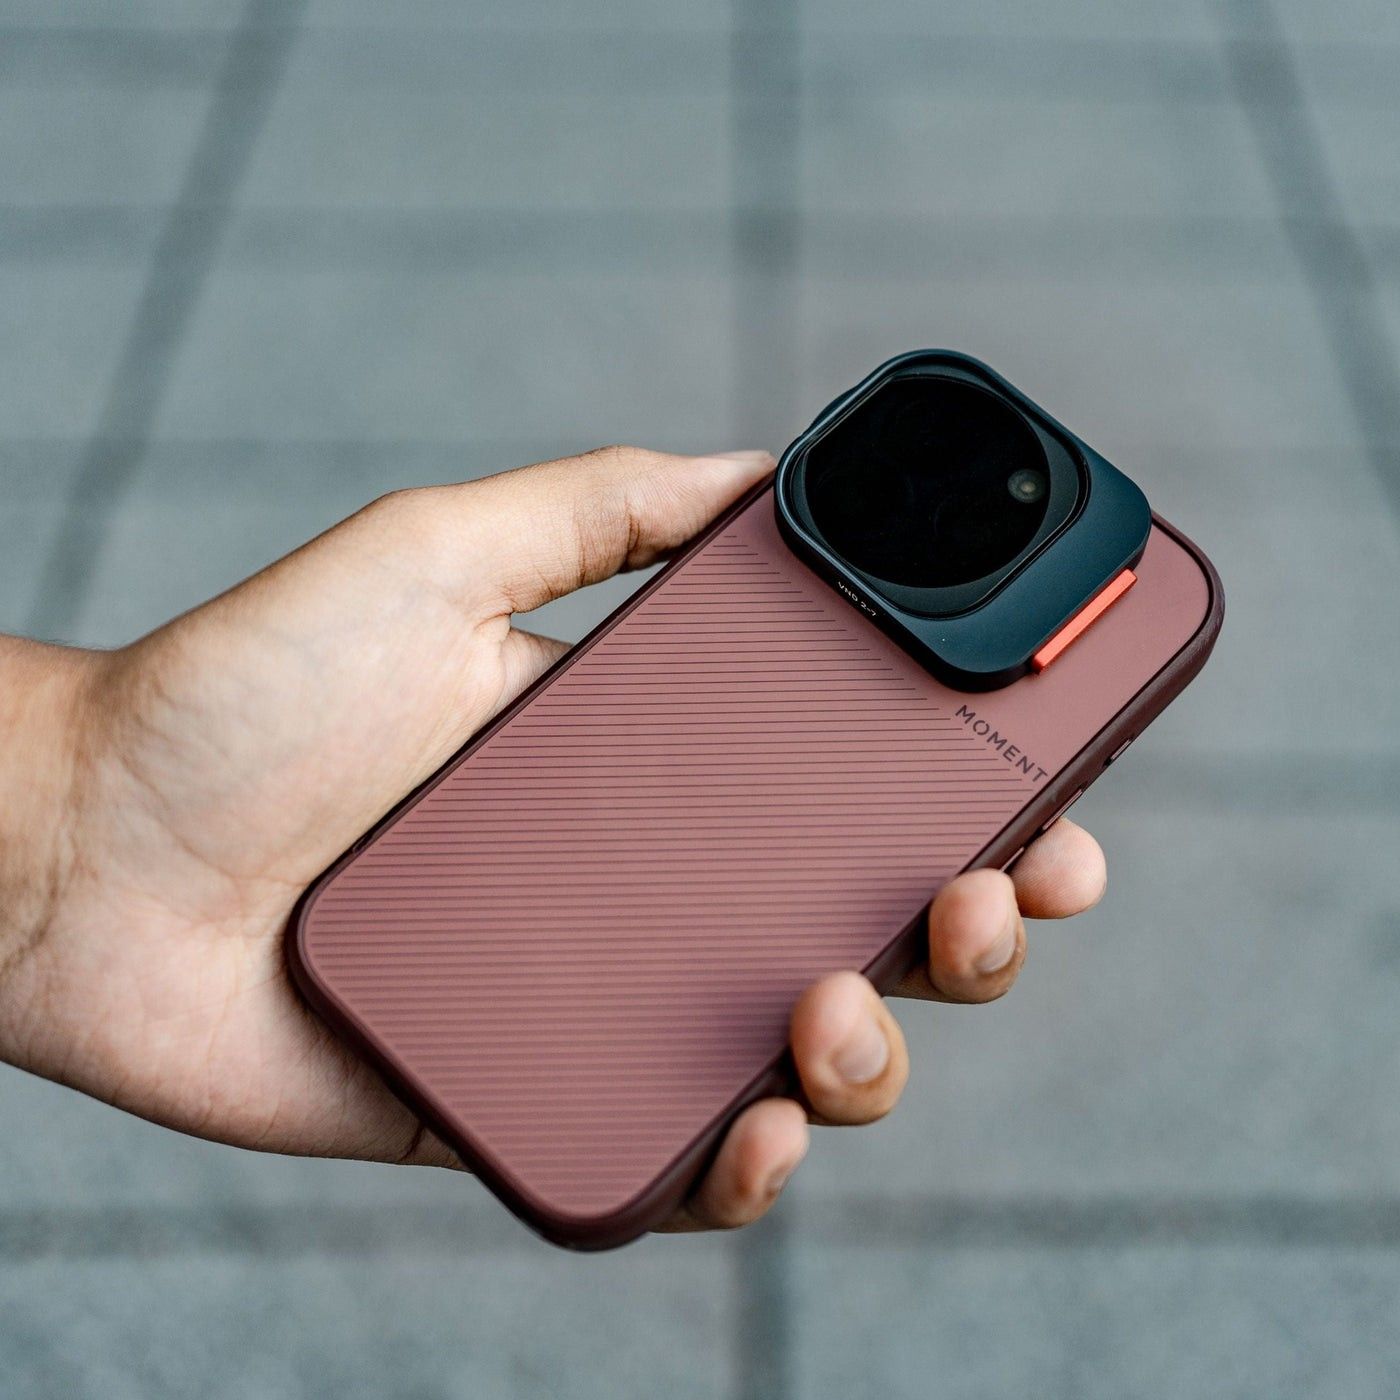
Take it off when the light drops
If you walk into shade, check before continuing to record. The same filter may force you to raise ISO or underexpose the shot. Check which lens the phone is using, too. The filter needs to cover that camera without shading one edge of the frame.