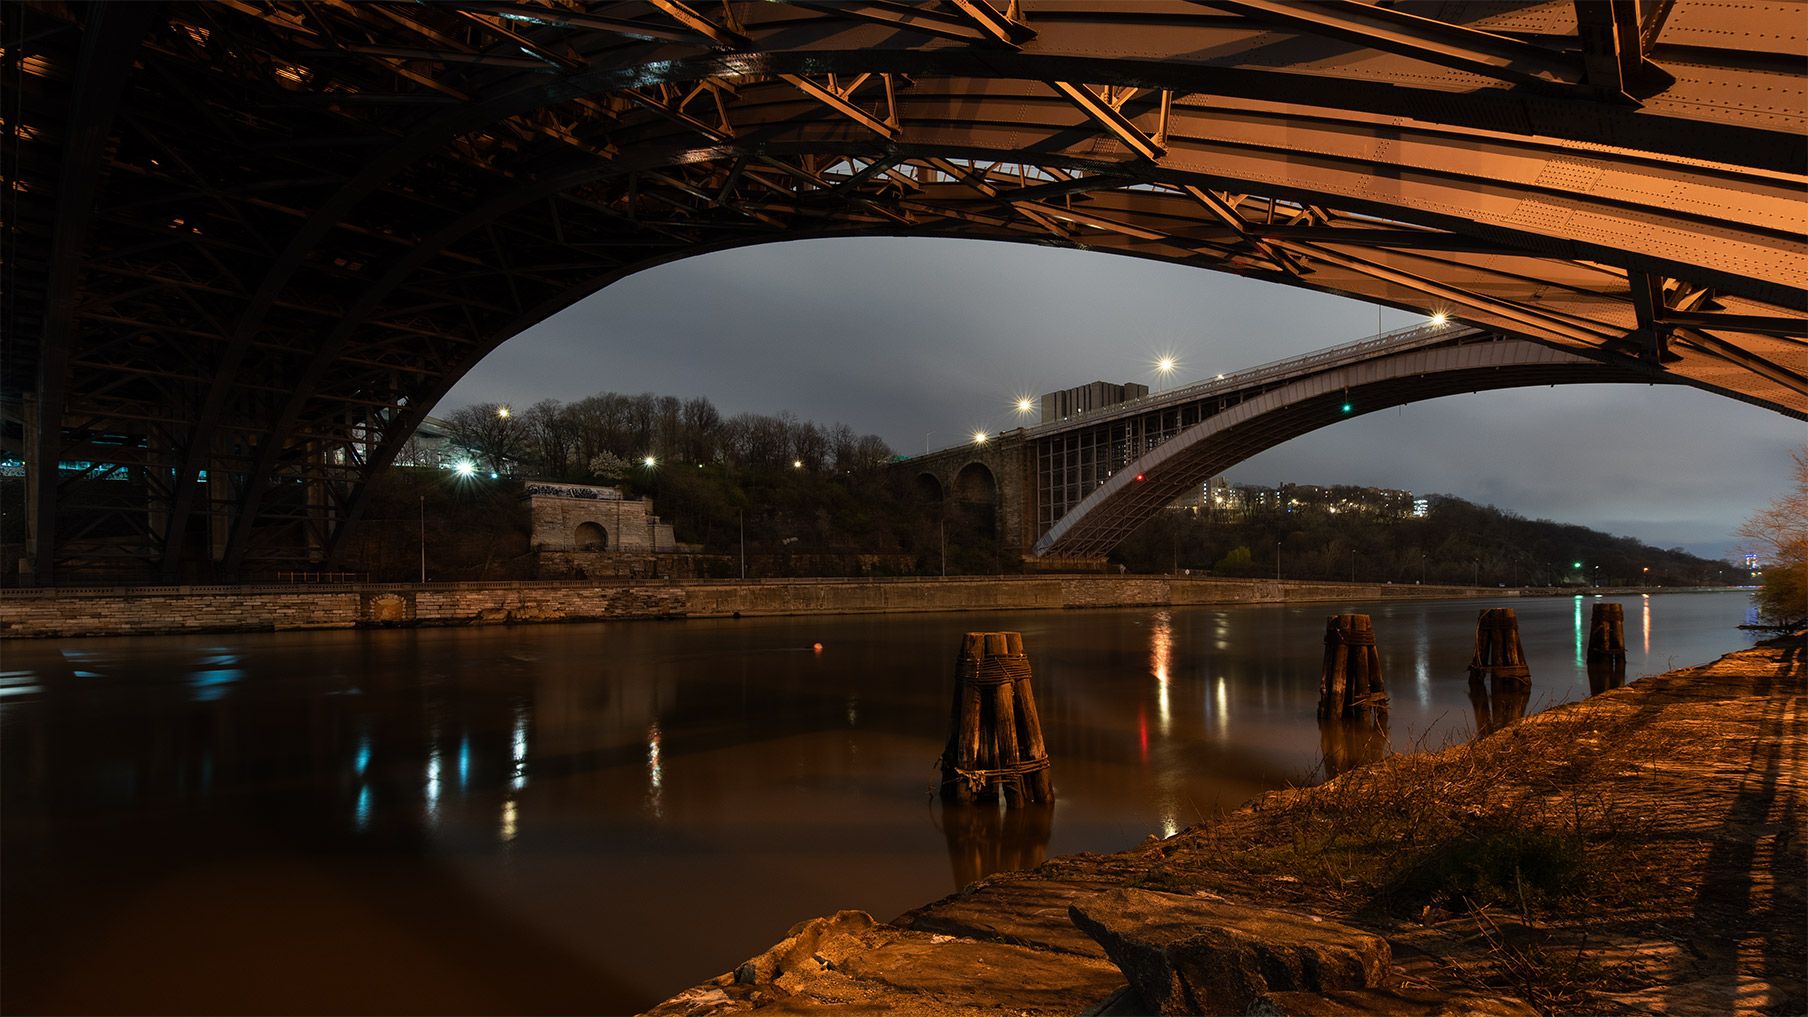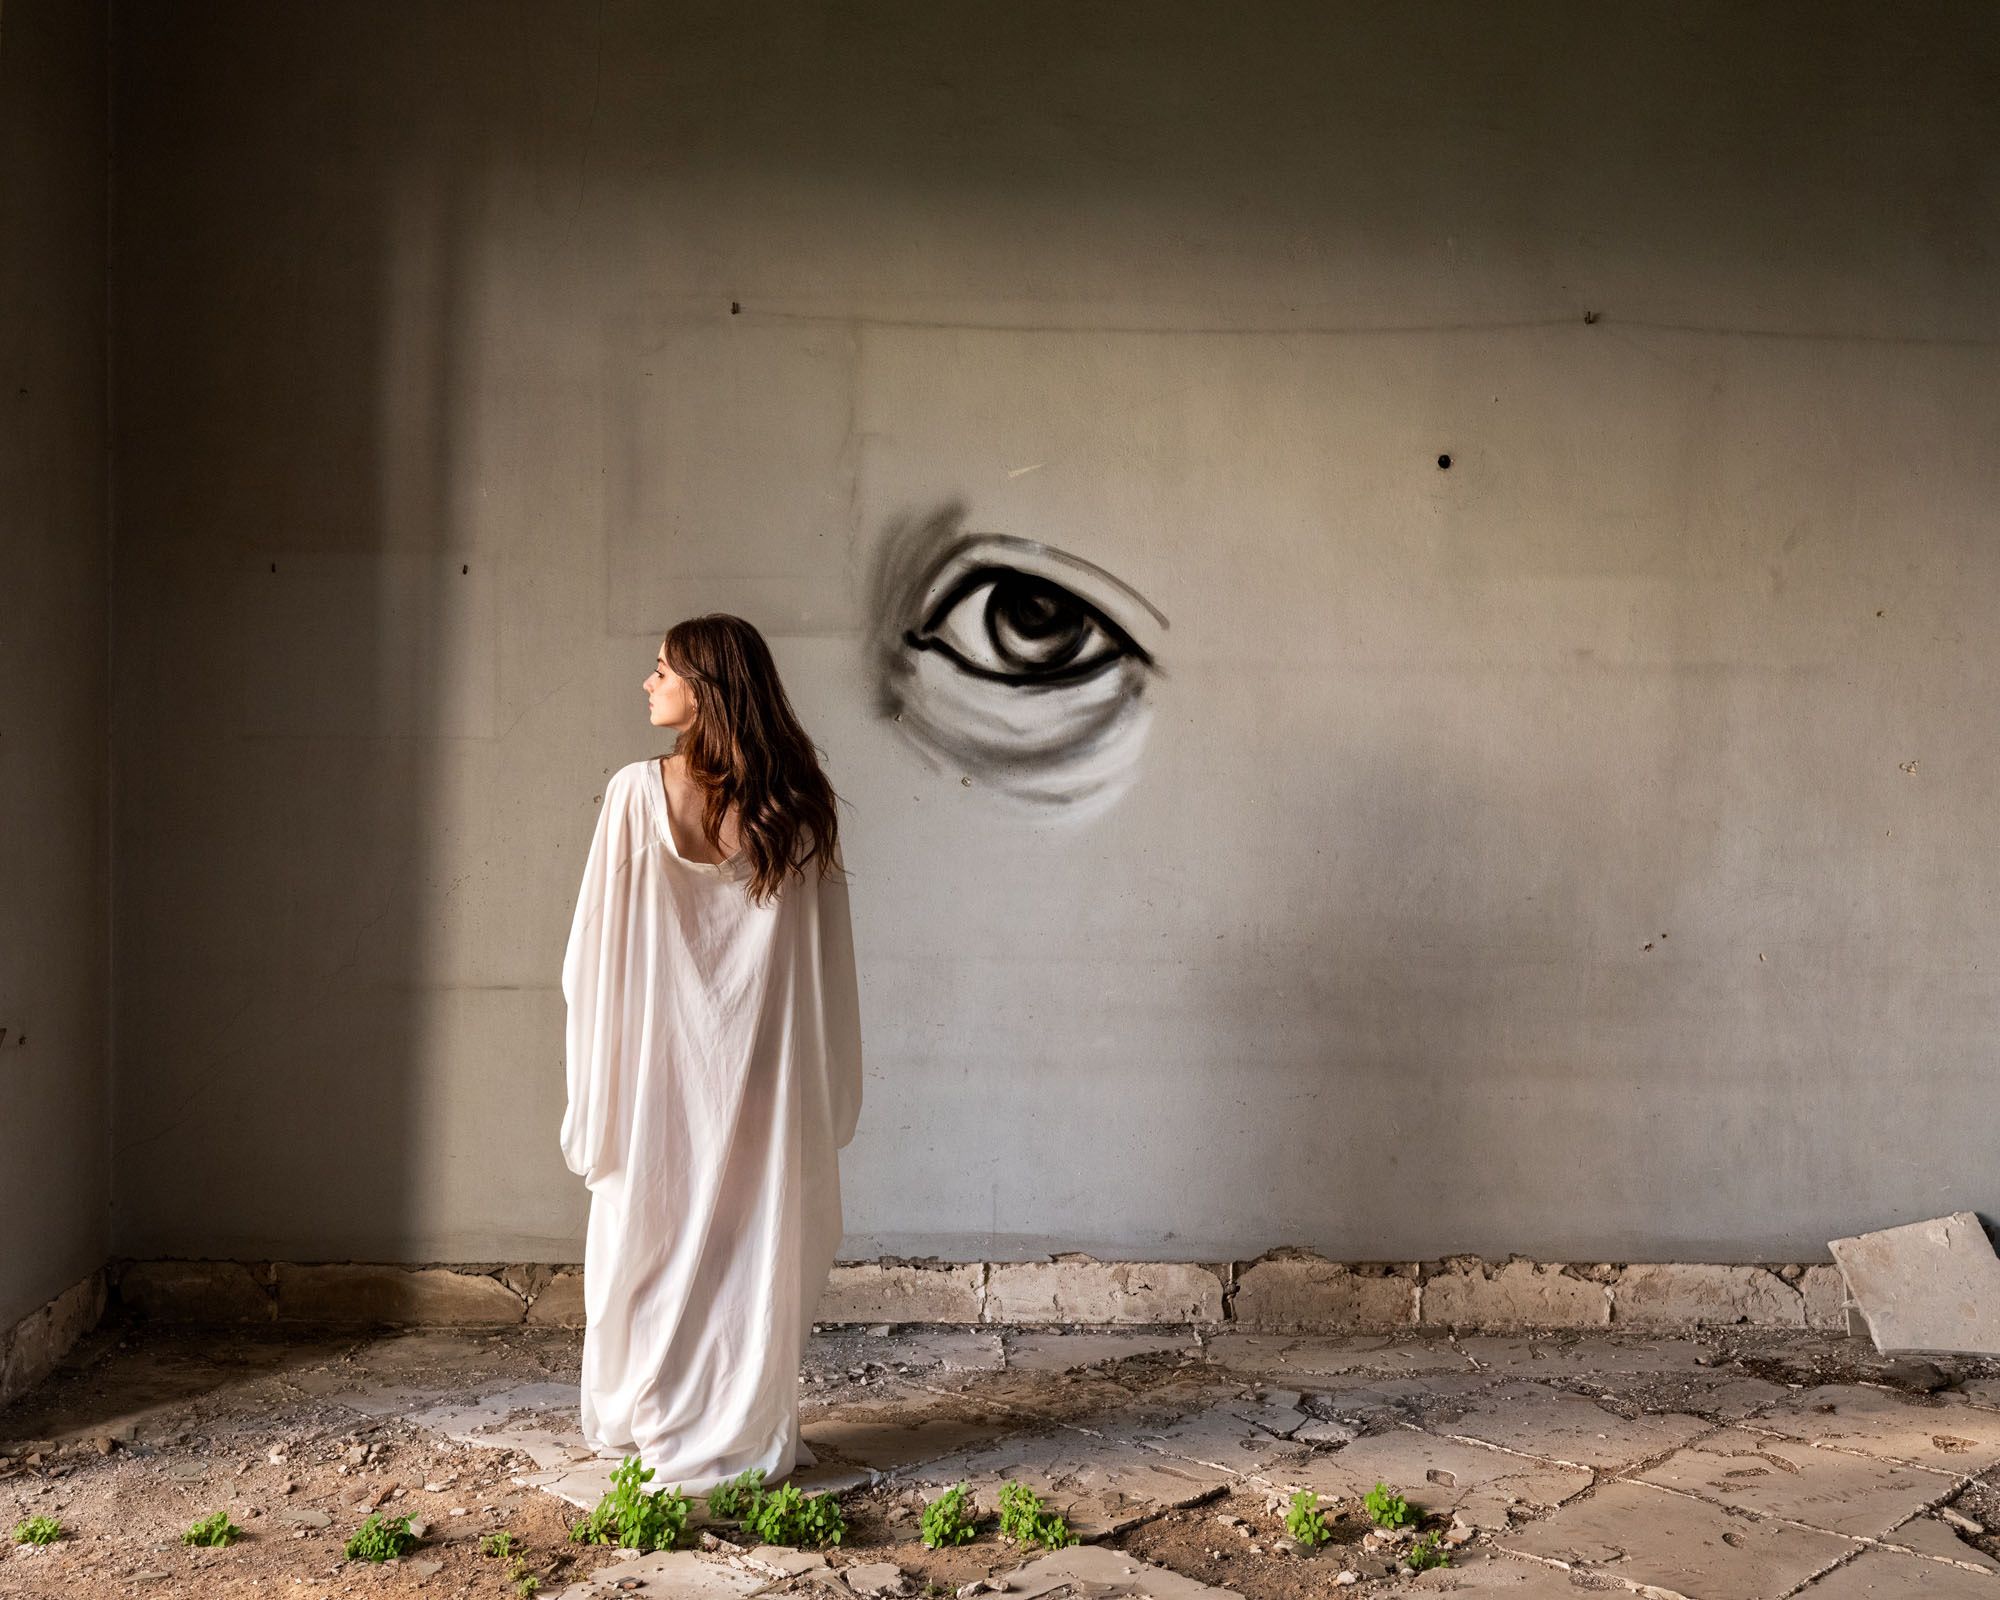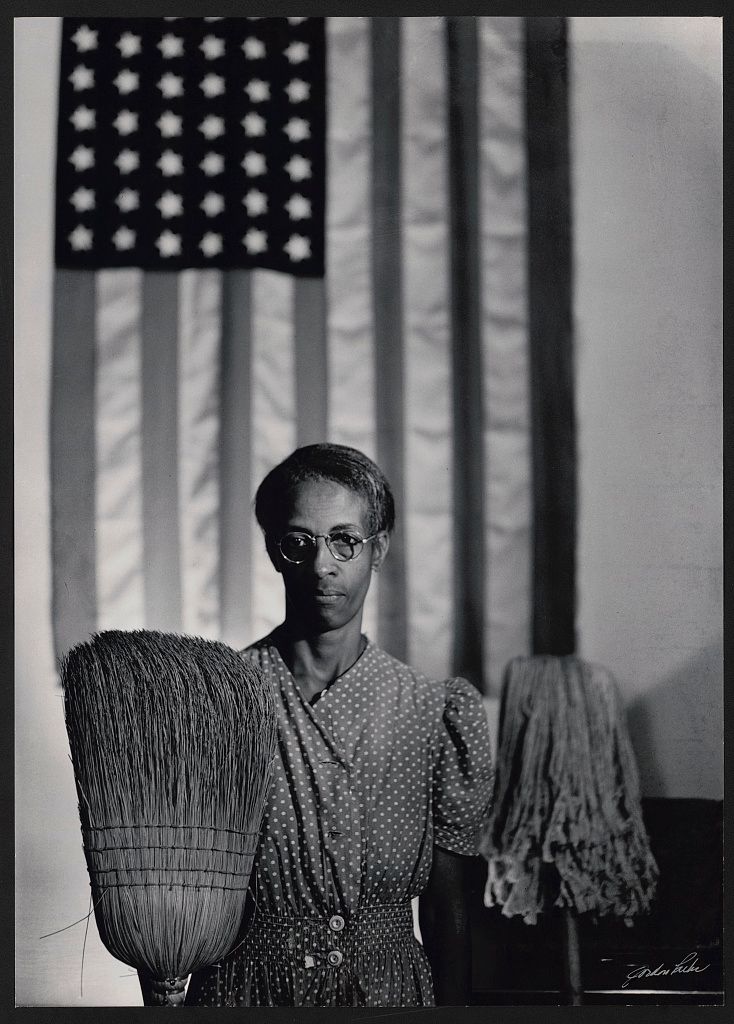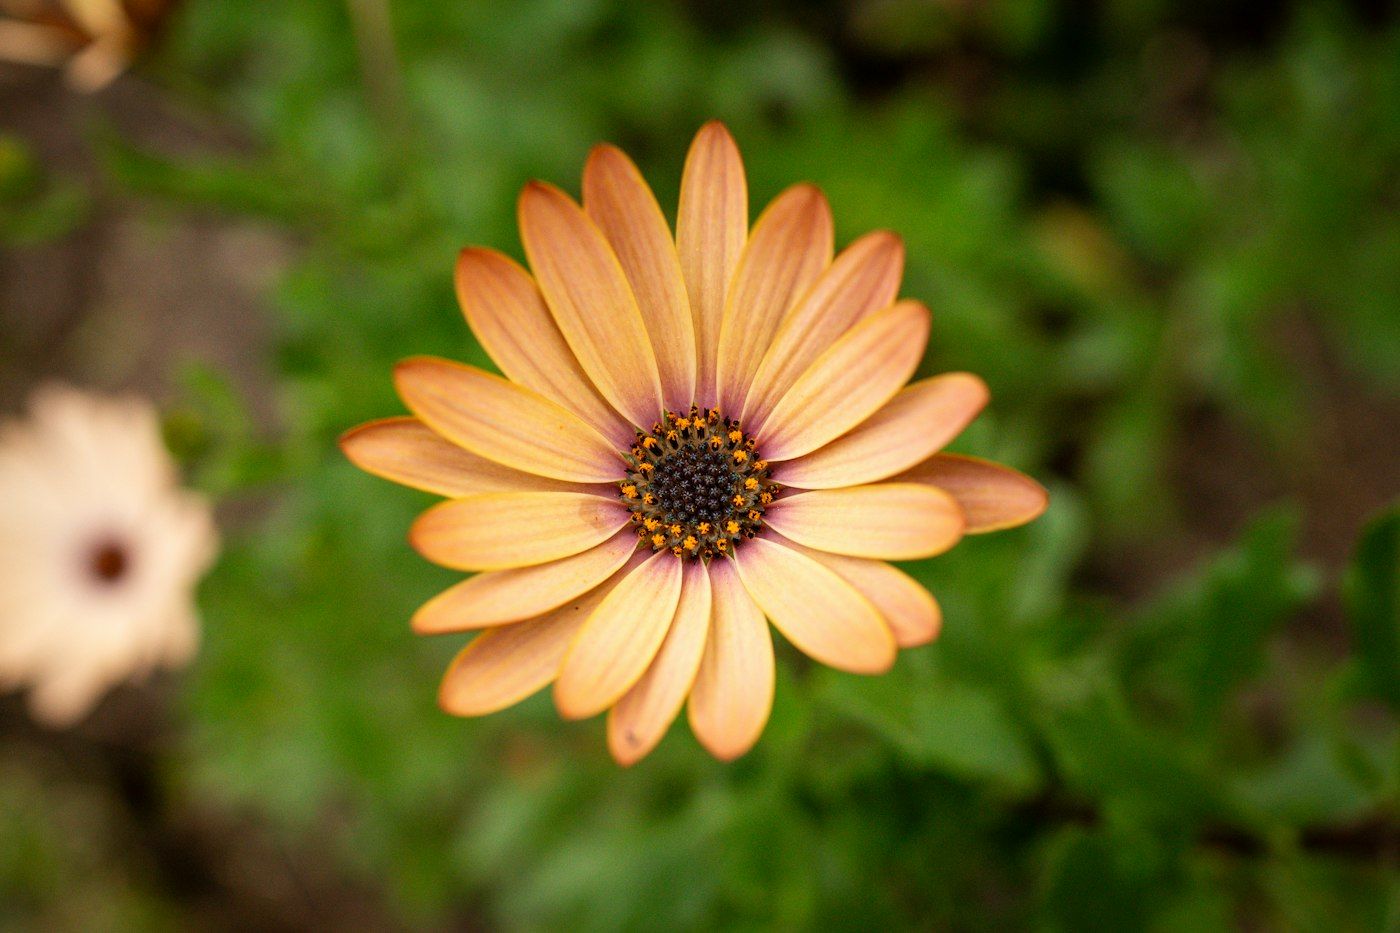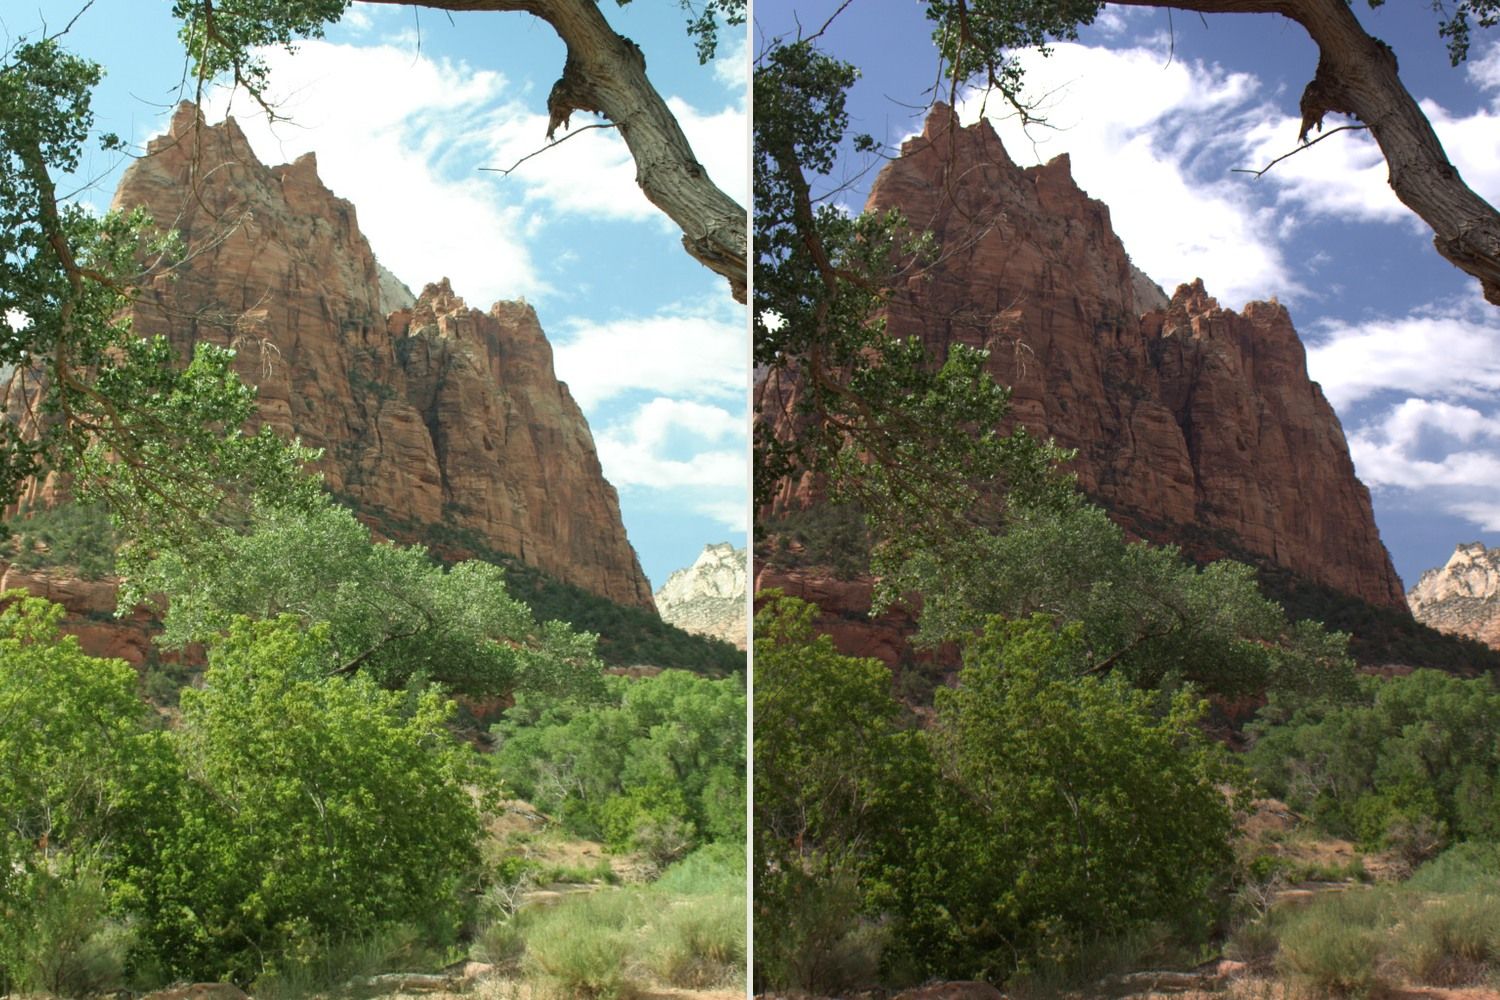
For a website with no specific upload instructions, start with a JPEG in sRGB, a 1,600-pixel long edge and Quality around 80. Check the exported file at the size people will see it, then adjust if the site needs a smaller file or a larger image. Keep your original in Lightroom Classic so you can make a new export for a different use.
Where to set JPEG, sRGB and quality
Select your photos in Lightroom Classic and choose File > Export. Under File Settings, set Image Format to JPEG and Color Space to sRGB. Set Quality around 80 as a first pass. It’s a starting point for the slider, and the resulting file size depends on the photograph. A finely textured coastline can need more data than a smooth sky at the same dimensions. See the Adobe export controls.
What pixel size to enter
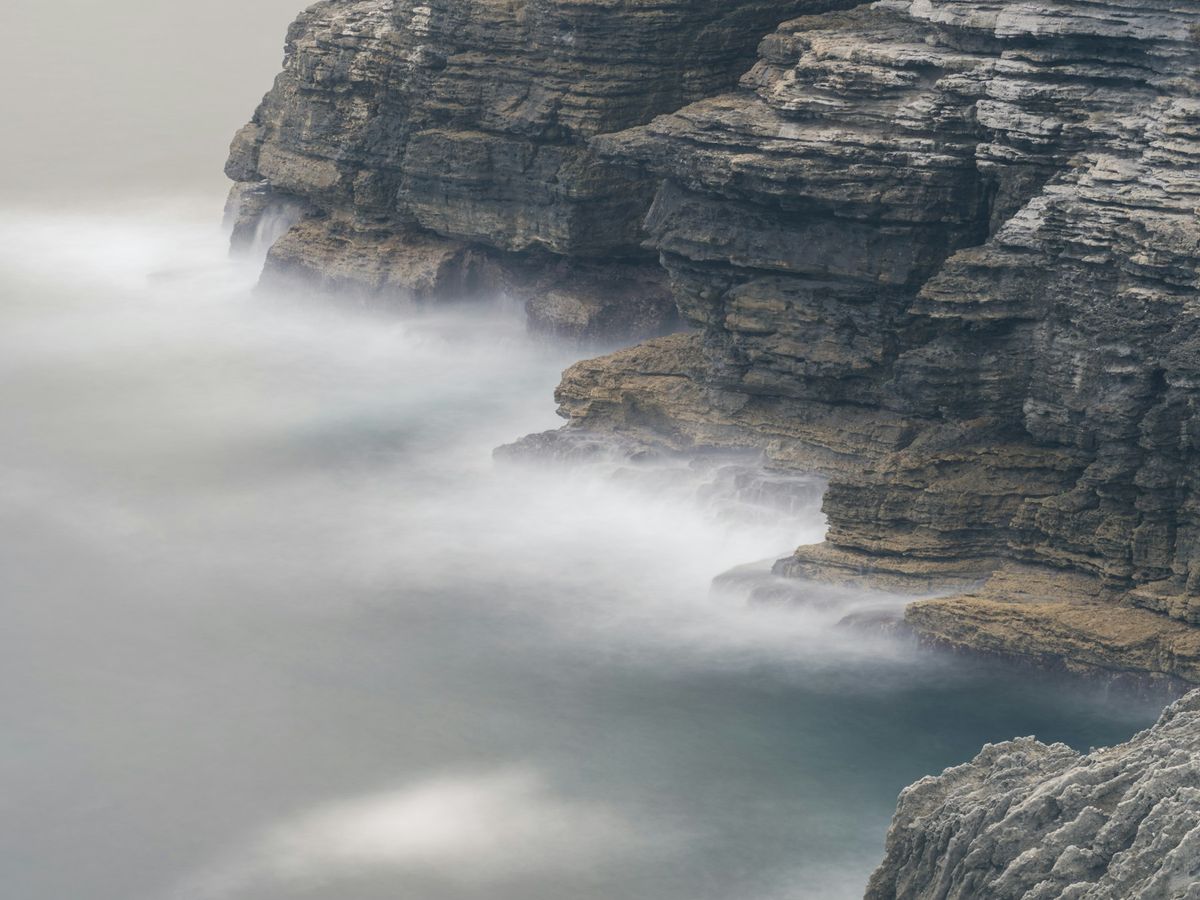
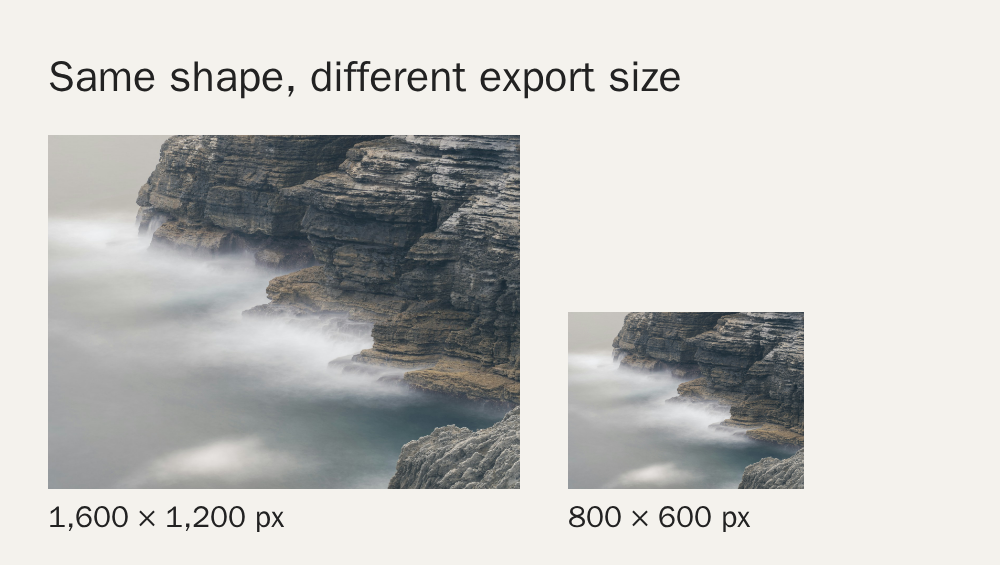
Under Image Sizing, check Resize to Fit and choose Long Edge. Enter 1,600 pixels for the first export and check Don’t Enlarge. That caps the long side whether the photo is horizontal or vertical. A 4:3 landscape photo comes out at 1,600 × 1,200 pixels, assuming the original is large enough. If the site calls for a particular shape, crop first and then size the export. See how crop and aspect ratio work.
How to check the exported file
Open the JPEG and look at the areas where compression is easiest to see. On a coast photograph, check the dark rock texture and the smooth transition in the surf. If a hard upload cap is the problem, try a slightly smaller long edge or a lower quality setting. If fine edges look soft at the intended viewing size, try the Screen option under Output Sharpening and compare it with an export without sharpening.
Make a separate export for each destination when their size requirements differ. The JPEG is the copy you send. Keep the original and its edits for future exports. Read more about which RAW and JPEG files to keep.