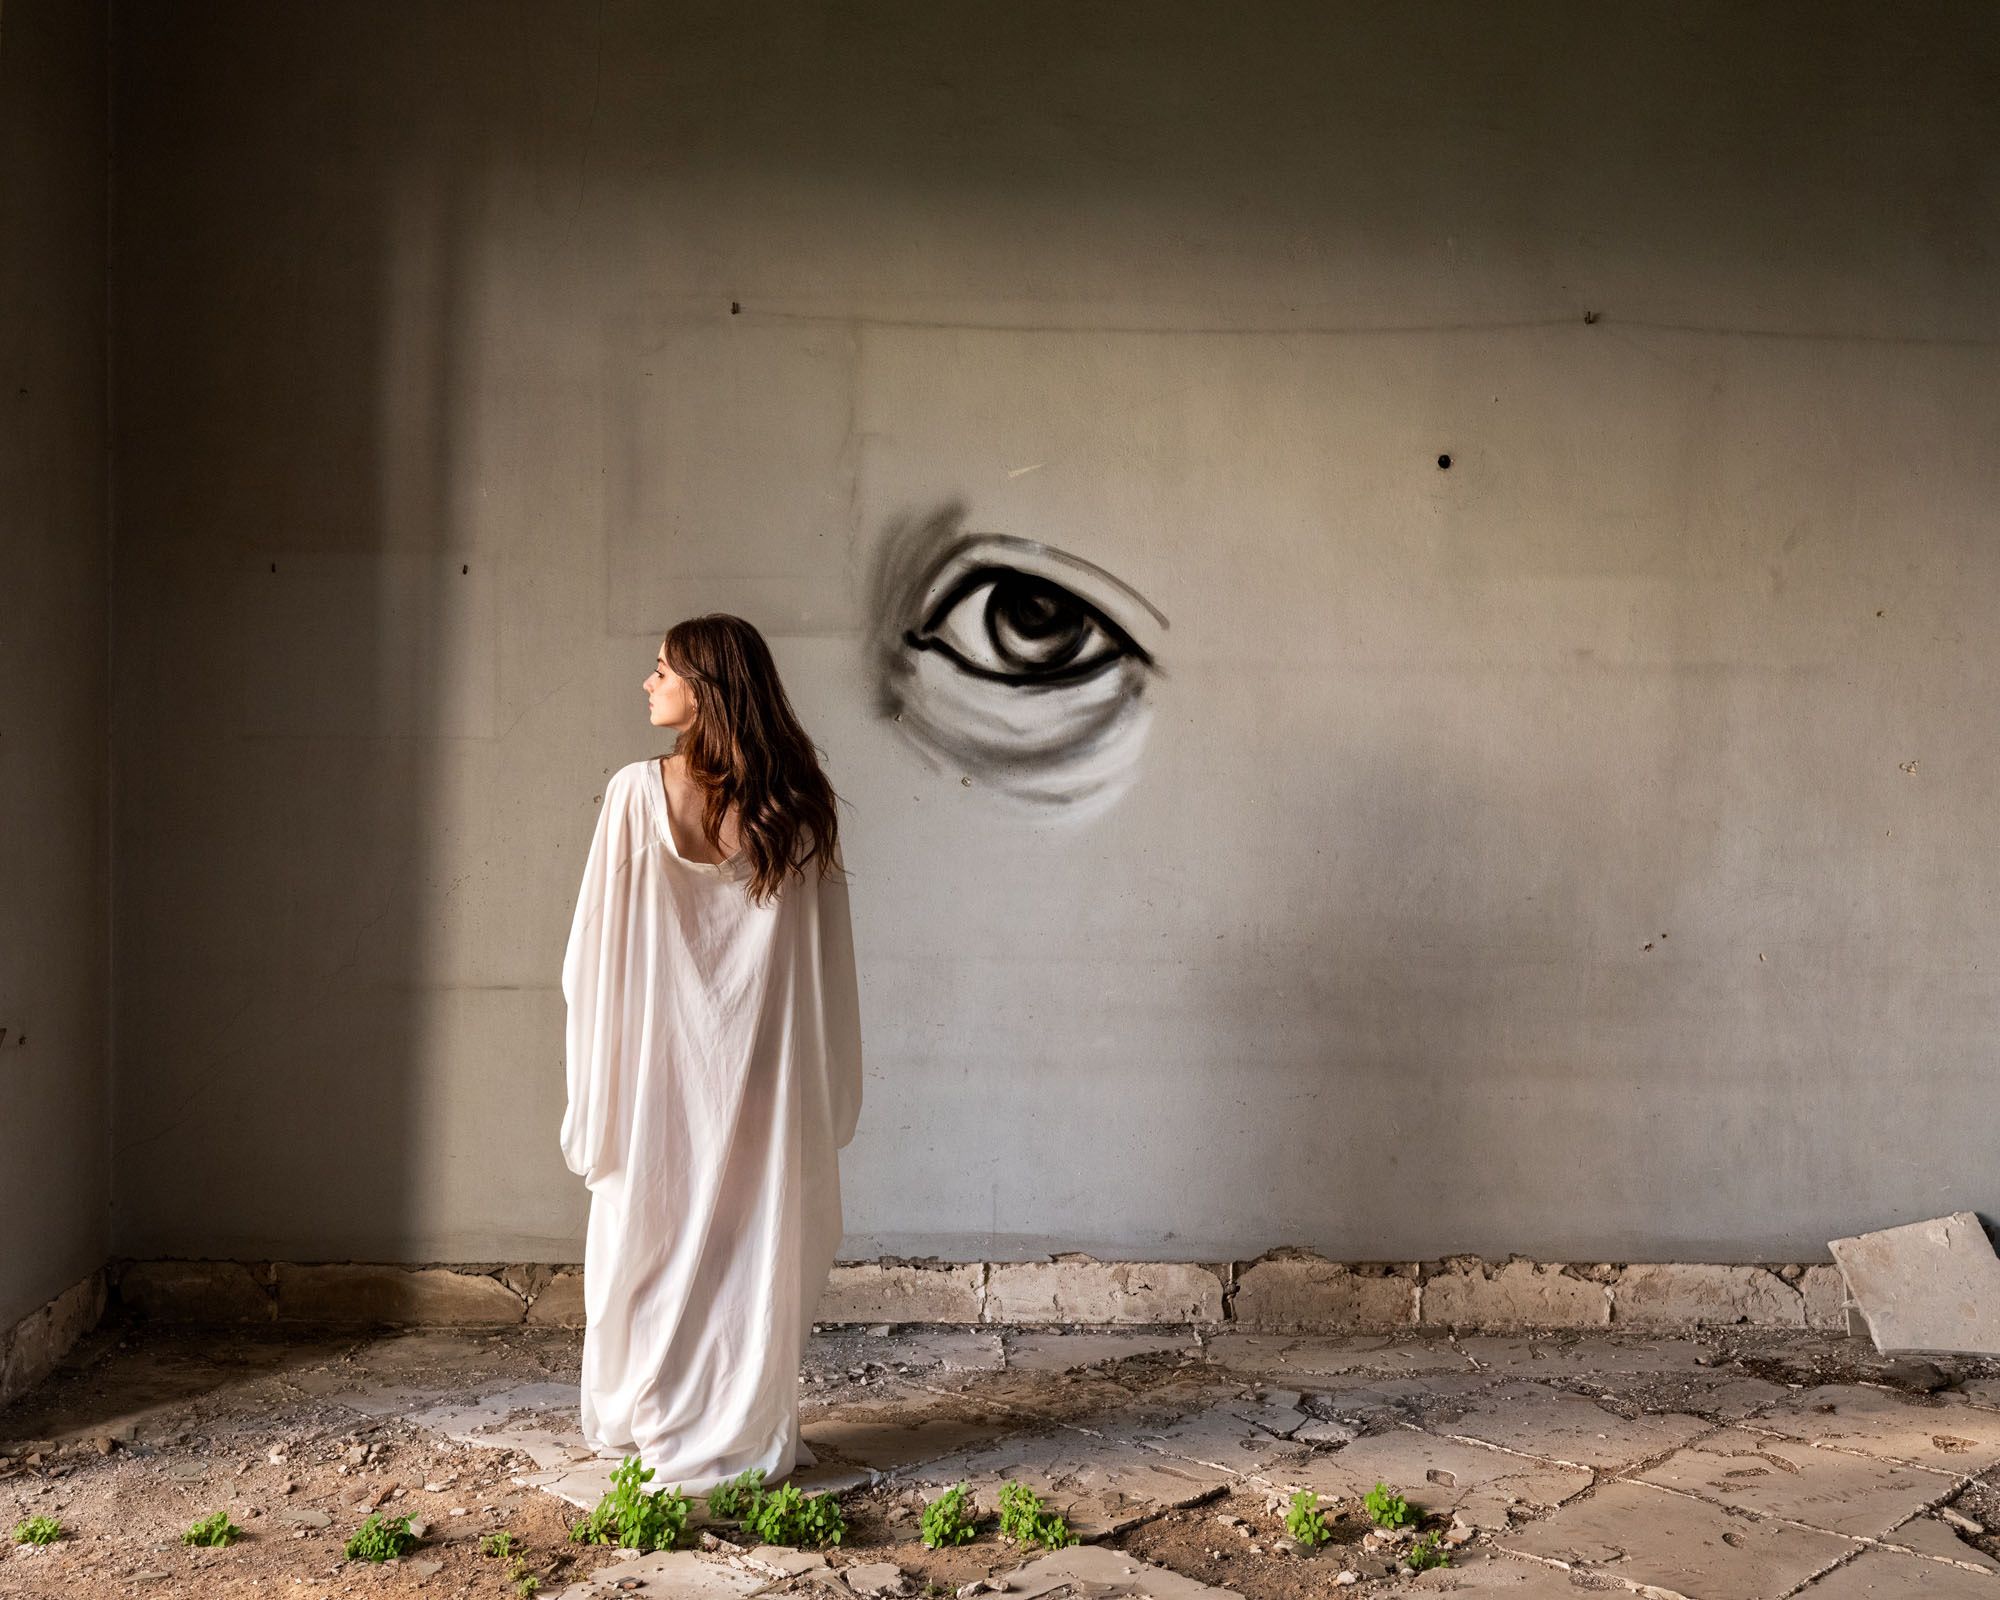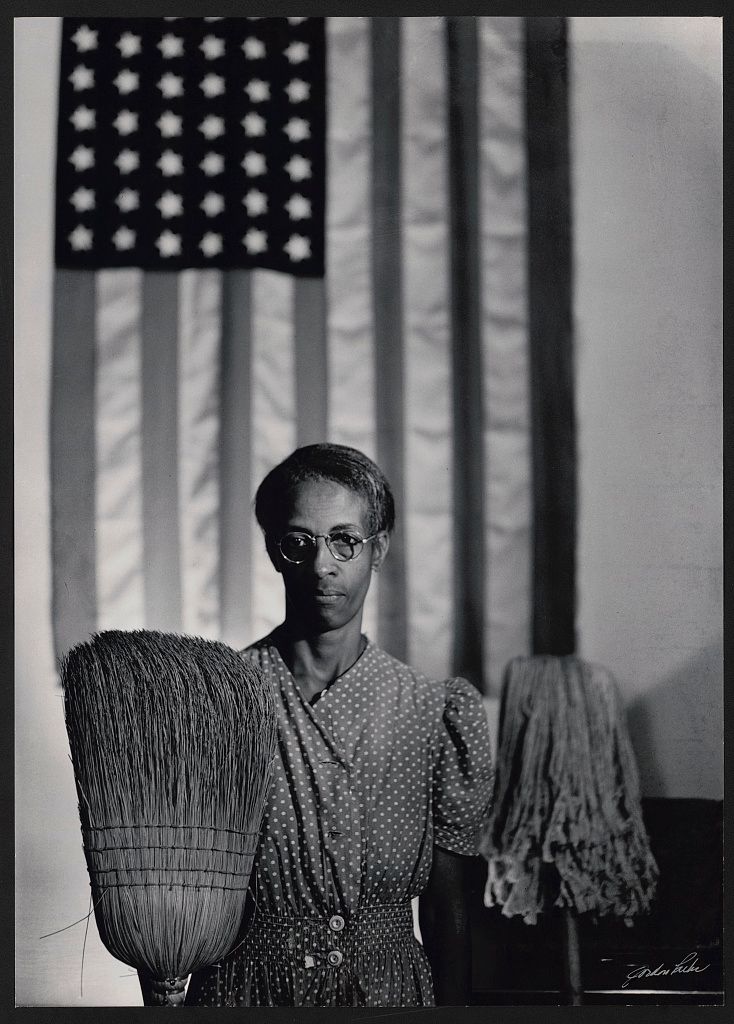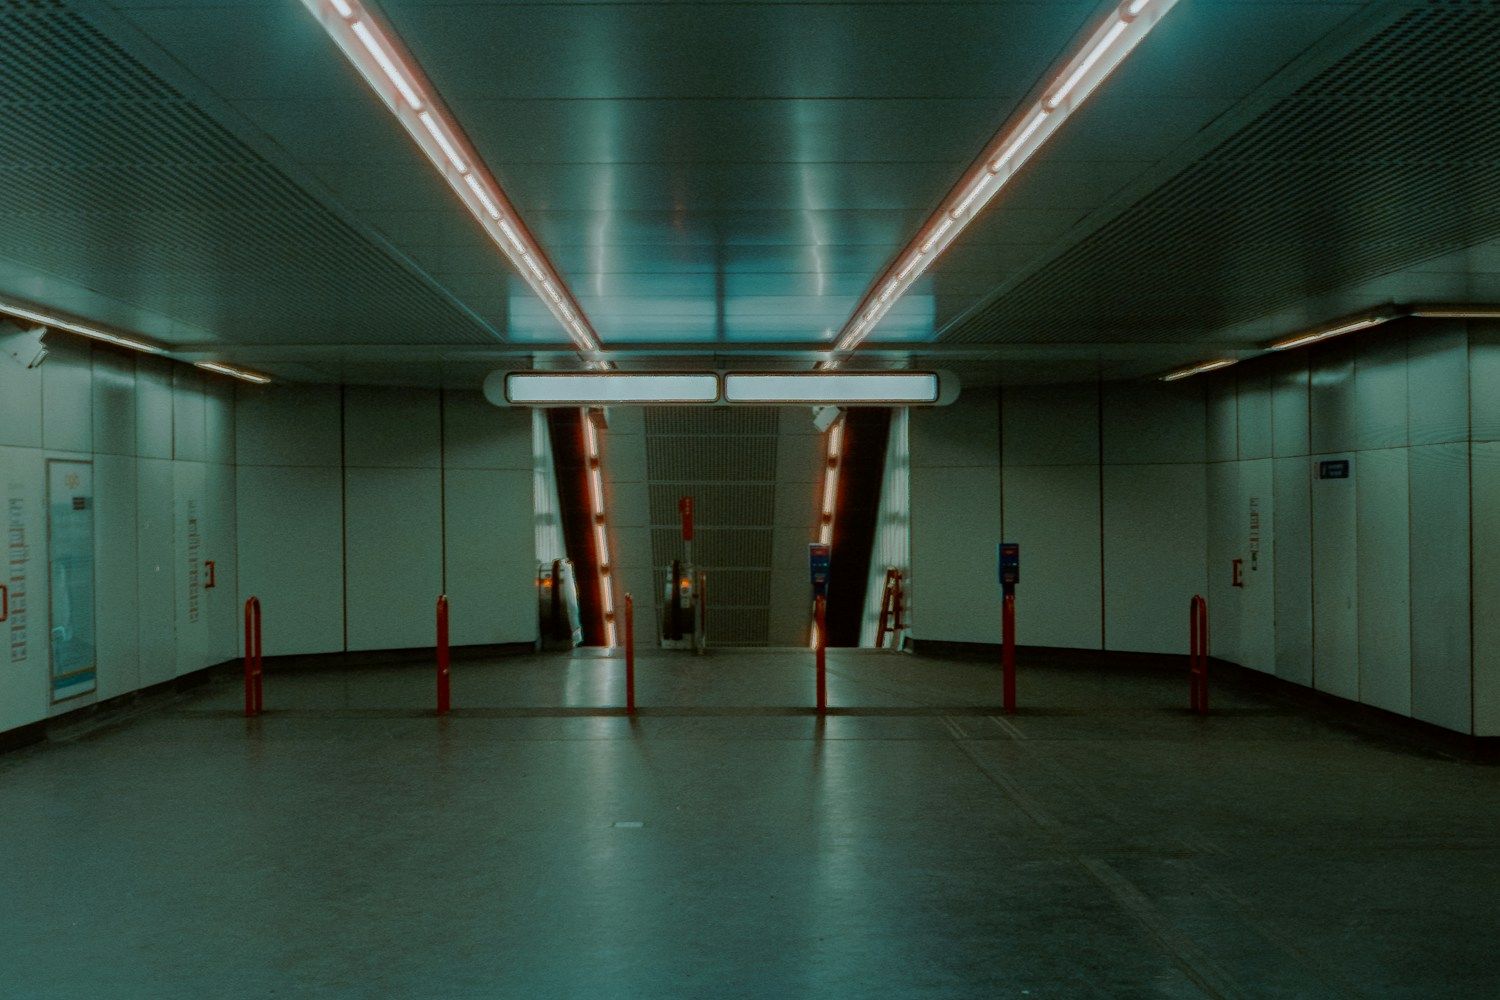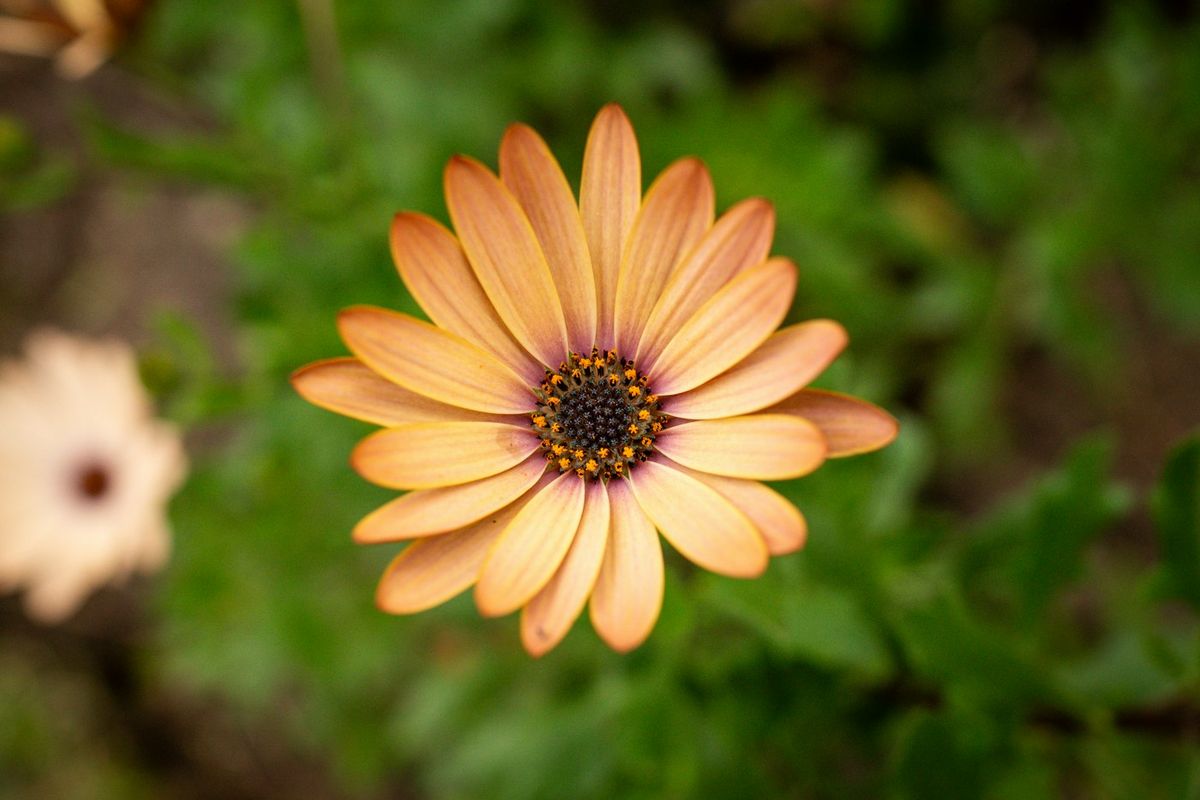
A photograph can make one flower feel close and leave everything around it as color. Another picture of the same garden might describe the leaves, fence and path as clearly as the flower. Depth of field is part of that difference: it is the range of distances that appears acceptably sharp around the distance you focused on.
Start with the point of focus
Focus is not a command to make the entire scene sharp. It places the best focus at a particular distance. Some space in front of and behind that distance can still look acceptably sharp, depending on the camera, lens, settings and how the picture is viewed. A small phone preview can hide softness that is obvious in a large print.
If the wrong flower is sharp, first check where the camera focused. Increasing depth of field can help include more of a scene, but it is a roundabout fix for selecting the wrong subject. Camera shake and subject movement can also soften a photograph; neither is the same problem as an out-of-focus background.
Change one thing at a time
With the camera position, focal length and focus distance held constant, a wider aperture, such as f/2.8, gives less depth of field than a narrower aperture, such as f/8. The larger f-number describes the smaller opening. Moving closer to focus on a nearby subject can also reduce depth of field. Those relationships are more useful when you keep track of what else changed.
Try a stationary cup with writing on it. Keep the camera steady, use one focal length and focus on the same letters. Make one picture at a wider aperture and another at a narrower one, adjusting exposure as needed. Compare the cup and the objects behind it at the same viewing size. Record the settings rather than treating these suggested numbers as a recipe for every camera.
Background distance is another choice
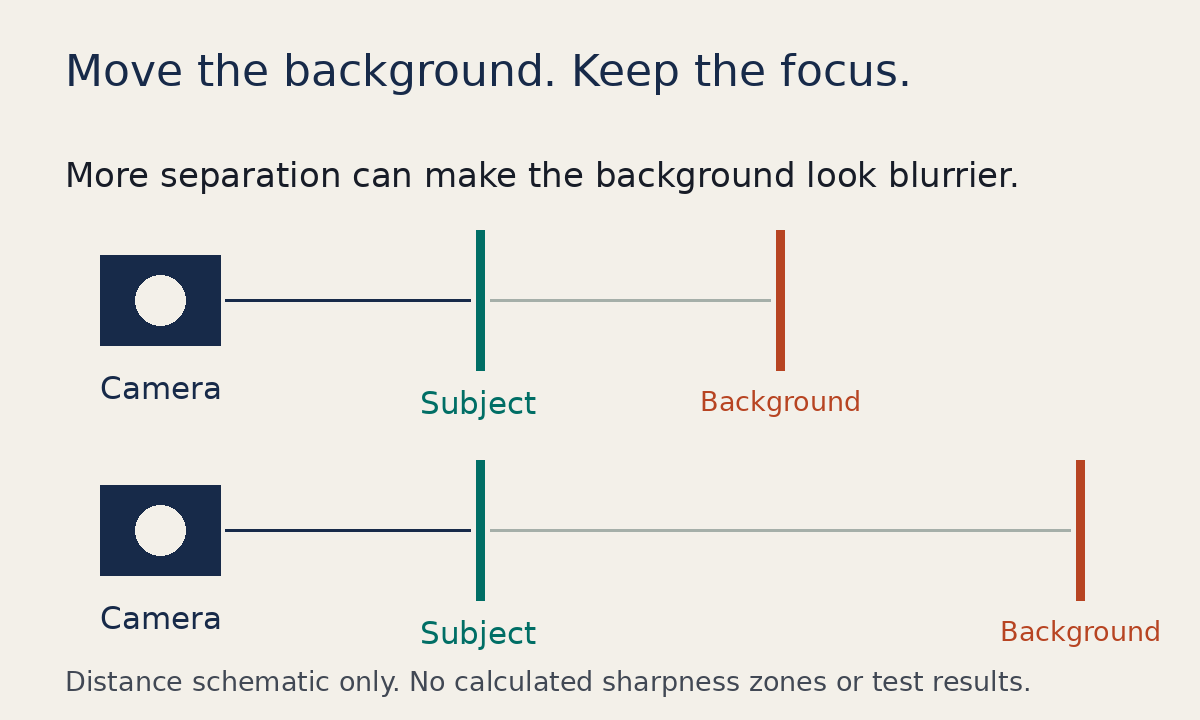
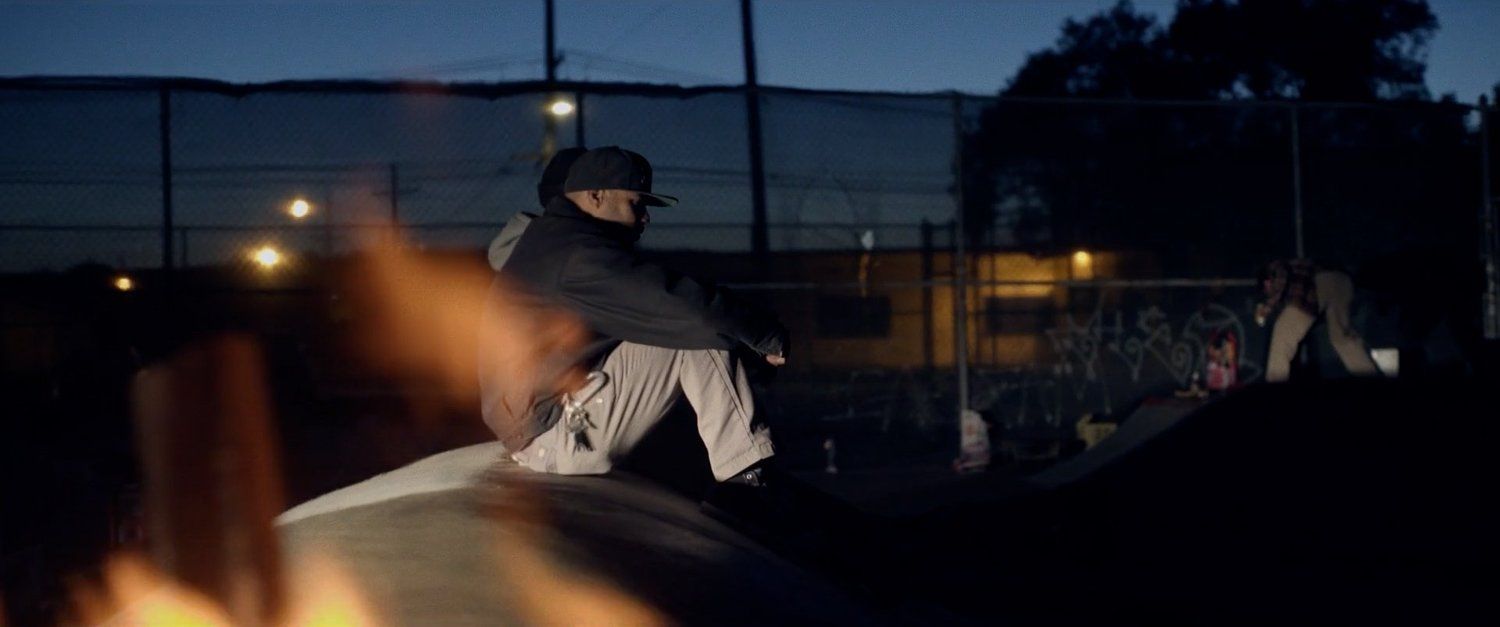
You can make a background less distinct by increasing the space between it and the subject. If a portrait subject is pressed against a wall, try a permitted position farther from the wall while keeping your camera-to-subject distance consistent. The change is not the same as opening the aperture: you have moved the background relative to the focused subject.
That is why “more background blur” and “less depth of field” are not interchangeable descriptions of every change. Ask which distances and settings changed before explaining two photographs.
Choose what needs to stay readable
A blurred background is useful when it quiets a distraction. A detailed background is useful when the place matters. For a group portrait, check the people at different distances, not just the nearest face. For a small object, inspect its front and back edges. Decide what the picture needs to explain, then adjust and check the result.
If changing the zoom also changes the look of your comparison, return to our focal-length and camera-position guide. Keep the framing decision separate from the focus decision.